Over The Top Mommy

Crafts & DIY

Summer Fun at the Sizzix 1950s Sock Hop! #Sizzix1950s

I was so excited to receive an invitation for a an evening of Sizzix fun with some of my bloggy friends at the Ellison Headquarters. The event was a 1950s Sock Hop and they requested we come dressed for the occasions. I love any excuse to dress up in a costume. Normally I’m a poodle skirt kind of girl, but for this occasion I chose petal pushers and a t-shirt/sweater combo. I also felt it was necessary to pick out some faux cat eye glasses to wear.

pre-party 1950s selfieI know they didn’t take selfies in the 1950s before going to a Sock Hop, but I decided to! 

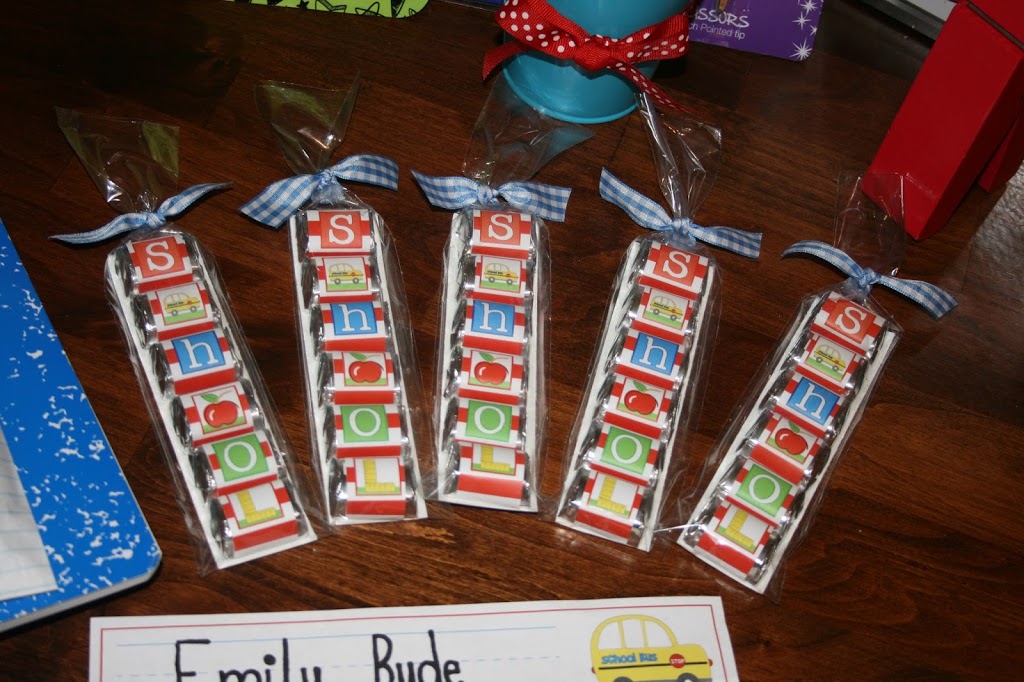
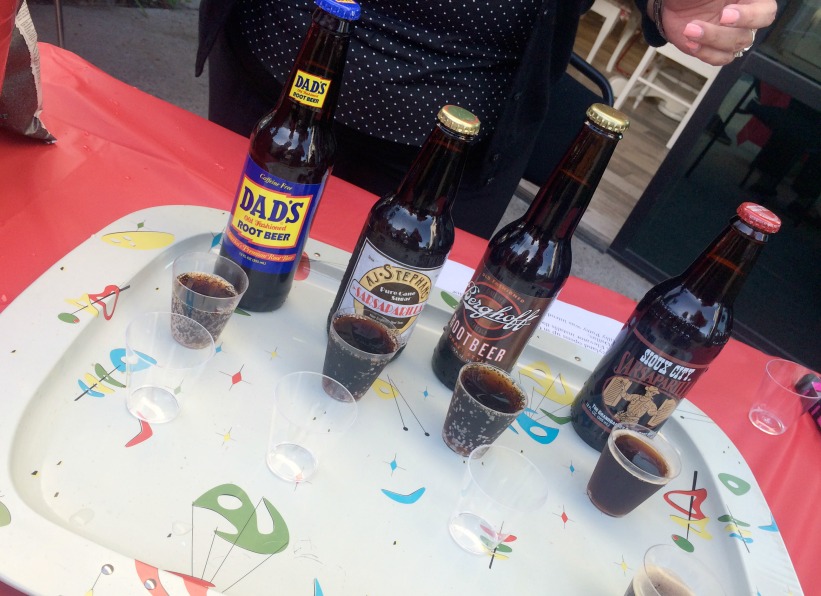
When I arrived at the Sock Hop there were a couple of classic cars on site and everyone was dressed so cute! They made adorable name tags for each of us using Sizzix.  There was a root beer tasting table set up with 4 different kinds of root beers for guests to try. I just love 1950s nostalgia.

name tags made with Sizzix

I love the name tags they made using Sizzix! Can you spot mine?

rootbeer tasting tableThe guys from Burger Monster were on hand, grilling up BBQ’d burgers for dinner. They made each burger to order. I was adventurous with the avocado. In 1950s terms, their food was “swell”! Their burgers are actually WAY yummier than just swell though!
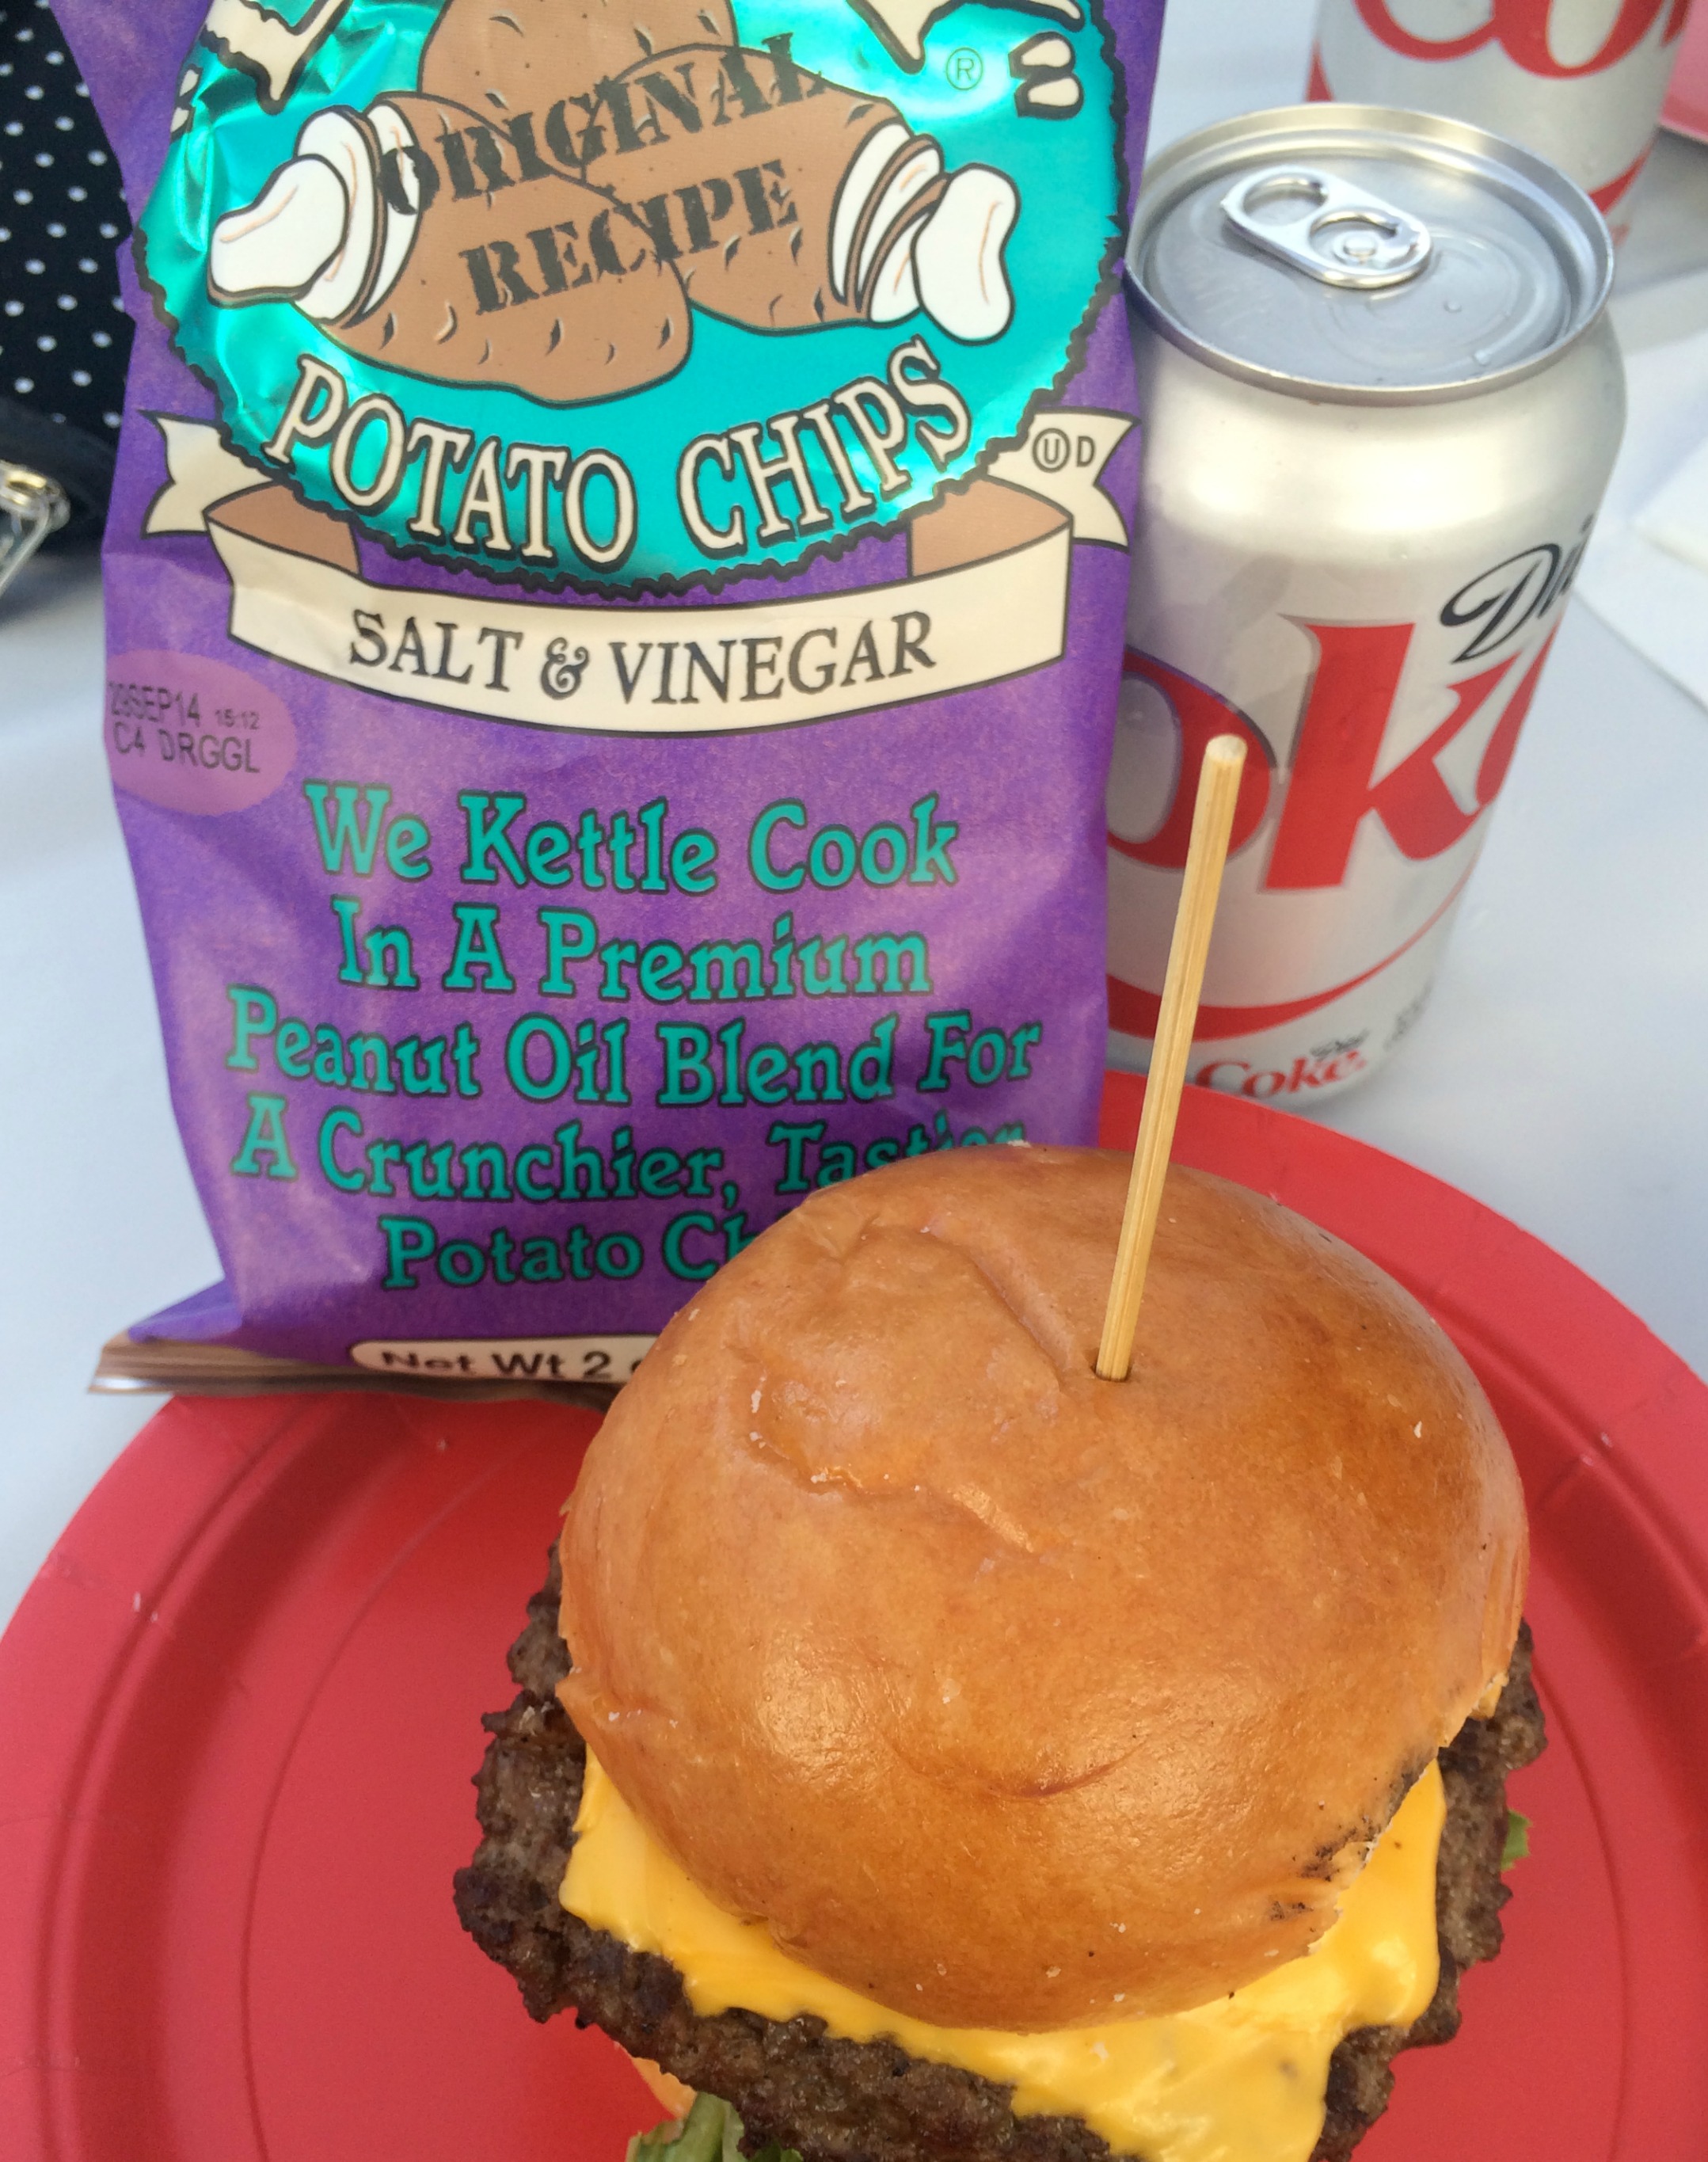
Burger Monster guy

monster burger dinnerNOM NOM NOM! 

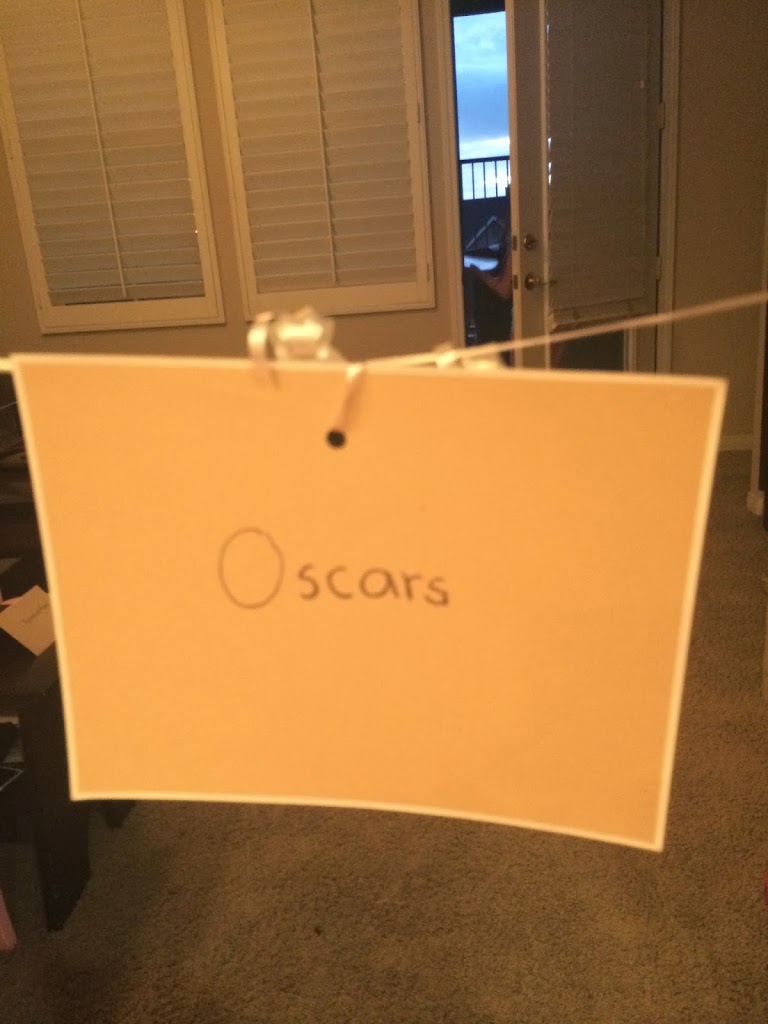
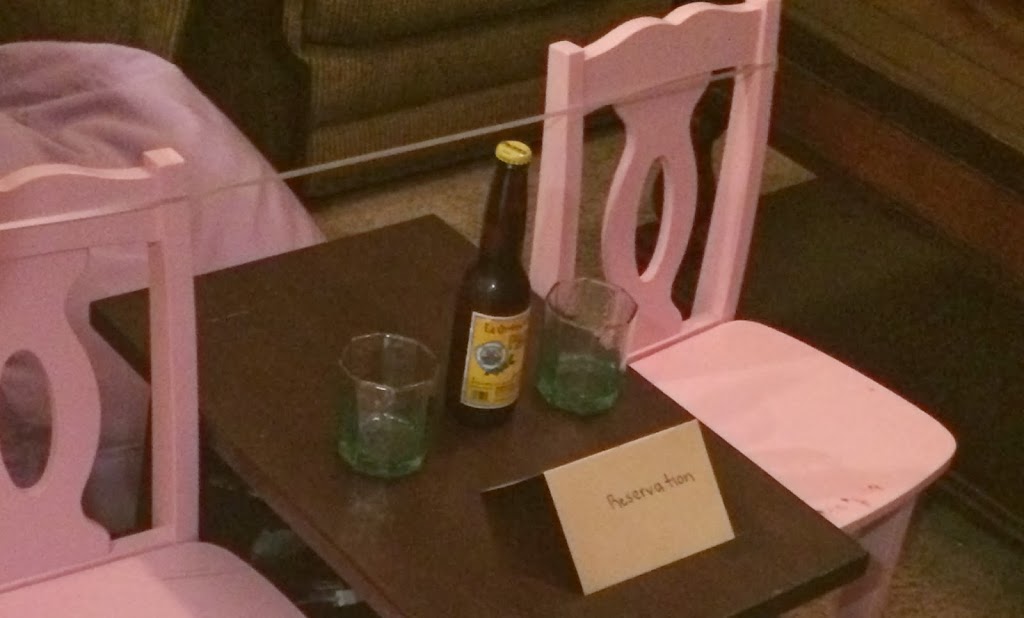
A little while later we got to head inside the Sizzix studio. They gave us time to browse the studio and there was SO MUCH to see in there! The Sizzix team had transformed an entire corner of the room to look like a 1950s Soda Fountain, using Sizzix collections. There were also centerpieces and place settings for a 1950s party that actually made me want to throw a Sock Hop party just because!

sizzix 1950s decorations 
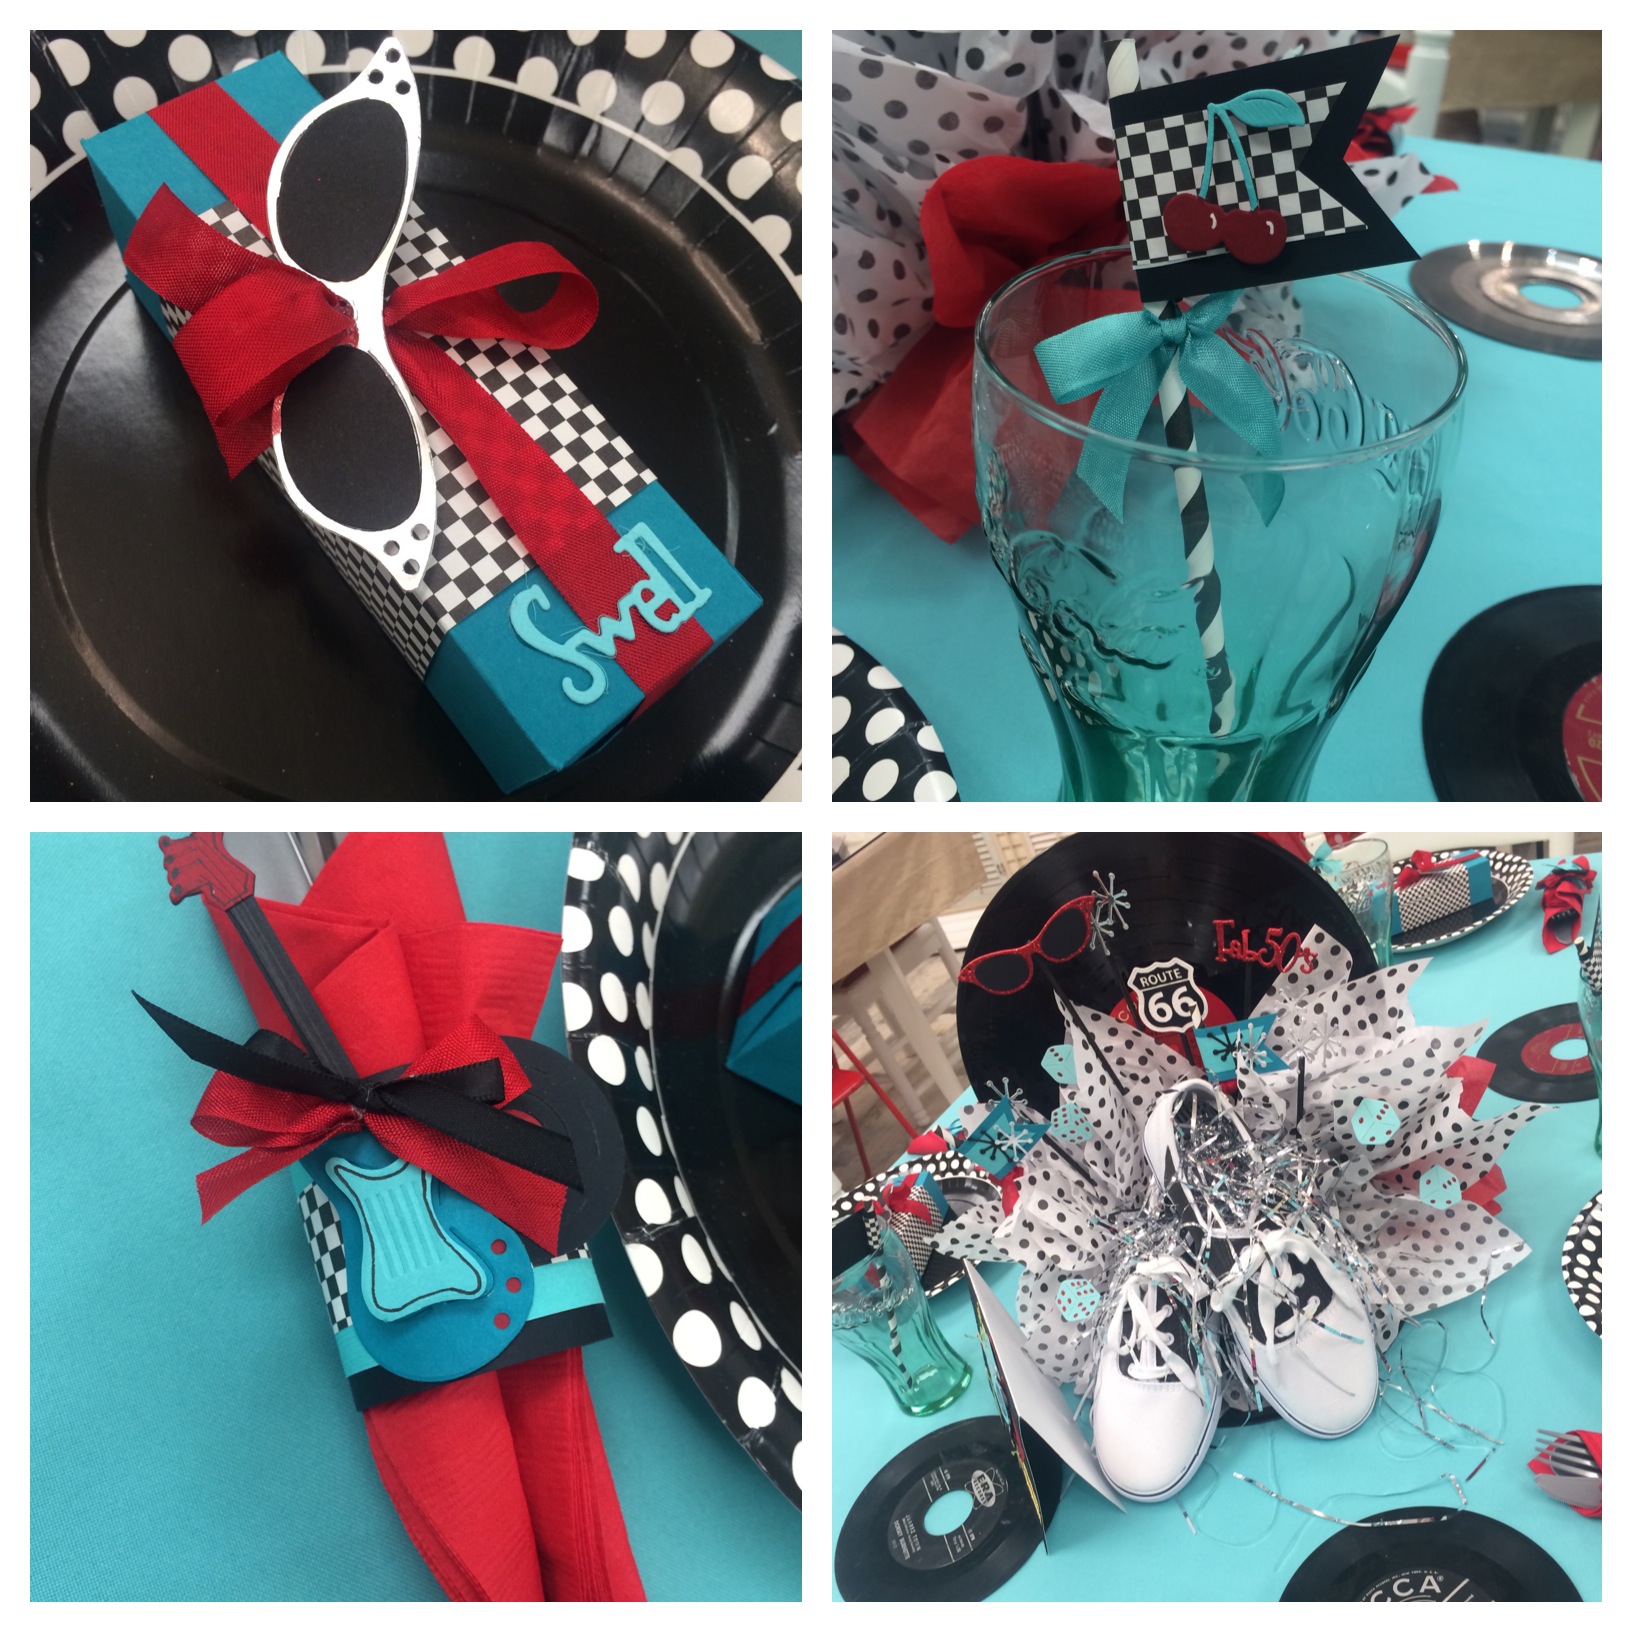
Such adorable creations make me want to throw a party NOW! 

We got to meet Jen Long, the designer of the Sizzix 1950s line and listen to her speak about her inspiration for these designs and how she created them. It was so exciting to hear about how she developed this collection.

Jen Long Sizzix Designer
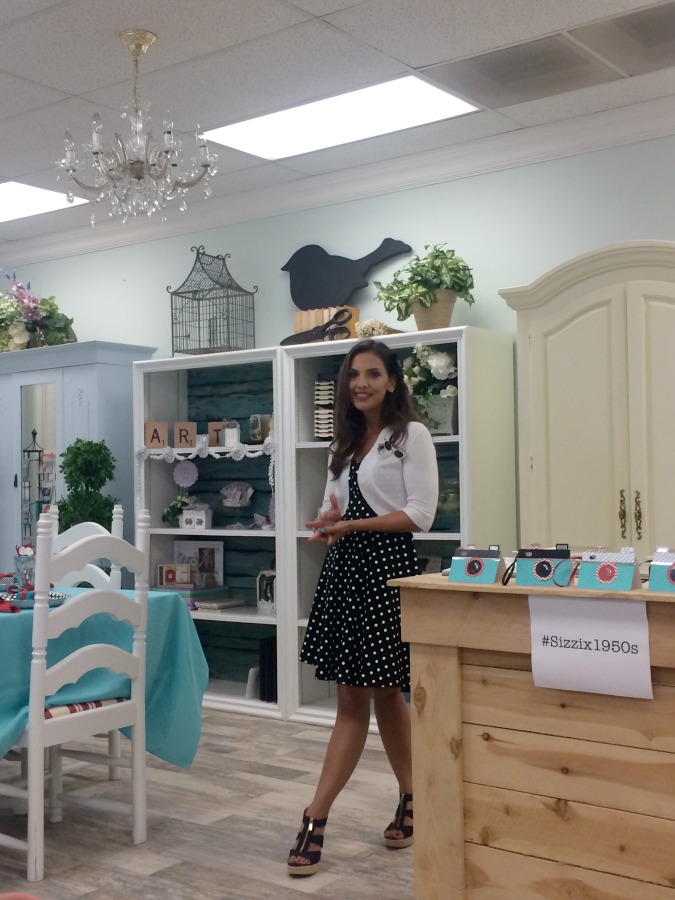
Seriously, how adorable is she? 

Jen Long sketchbook
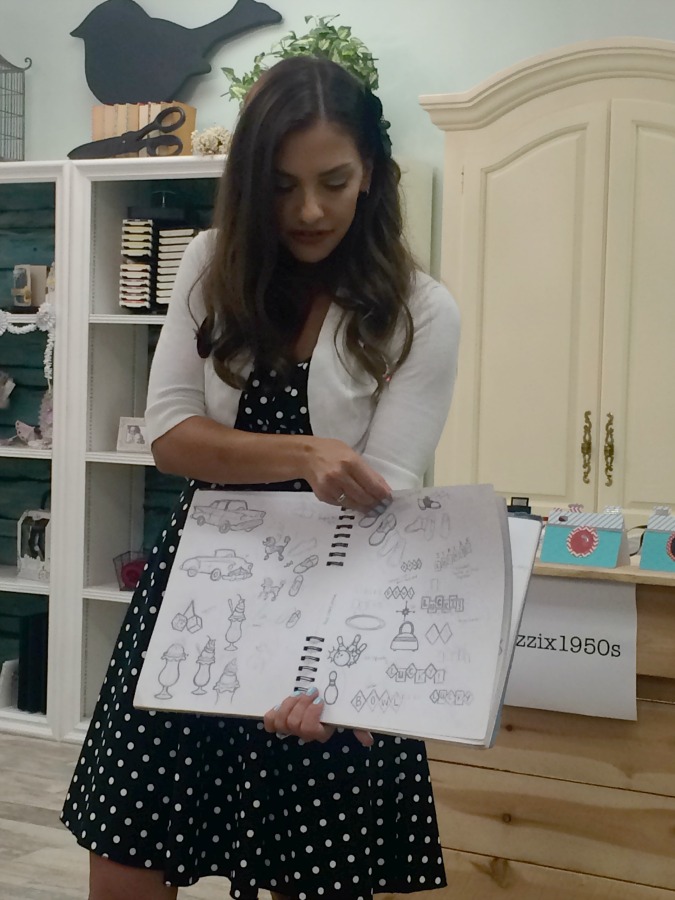
She also showed us her actual sketchbook, which was a collection of sketches that she has done over the years. Jen is an amazing artist and I was wow-ed by her talent!

Each of the tables we were seated at had Big Shots to work with and supplies for a “Make and Take”. We got to make an adorable retro camera card that looks like this one!

Sizzix Big Shot

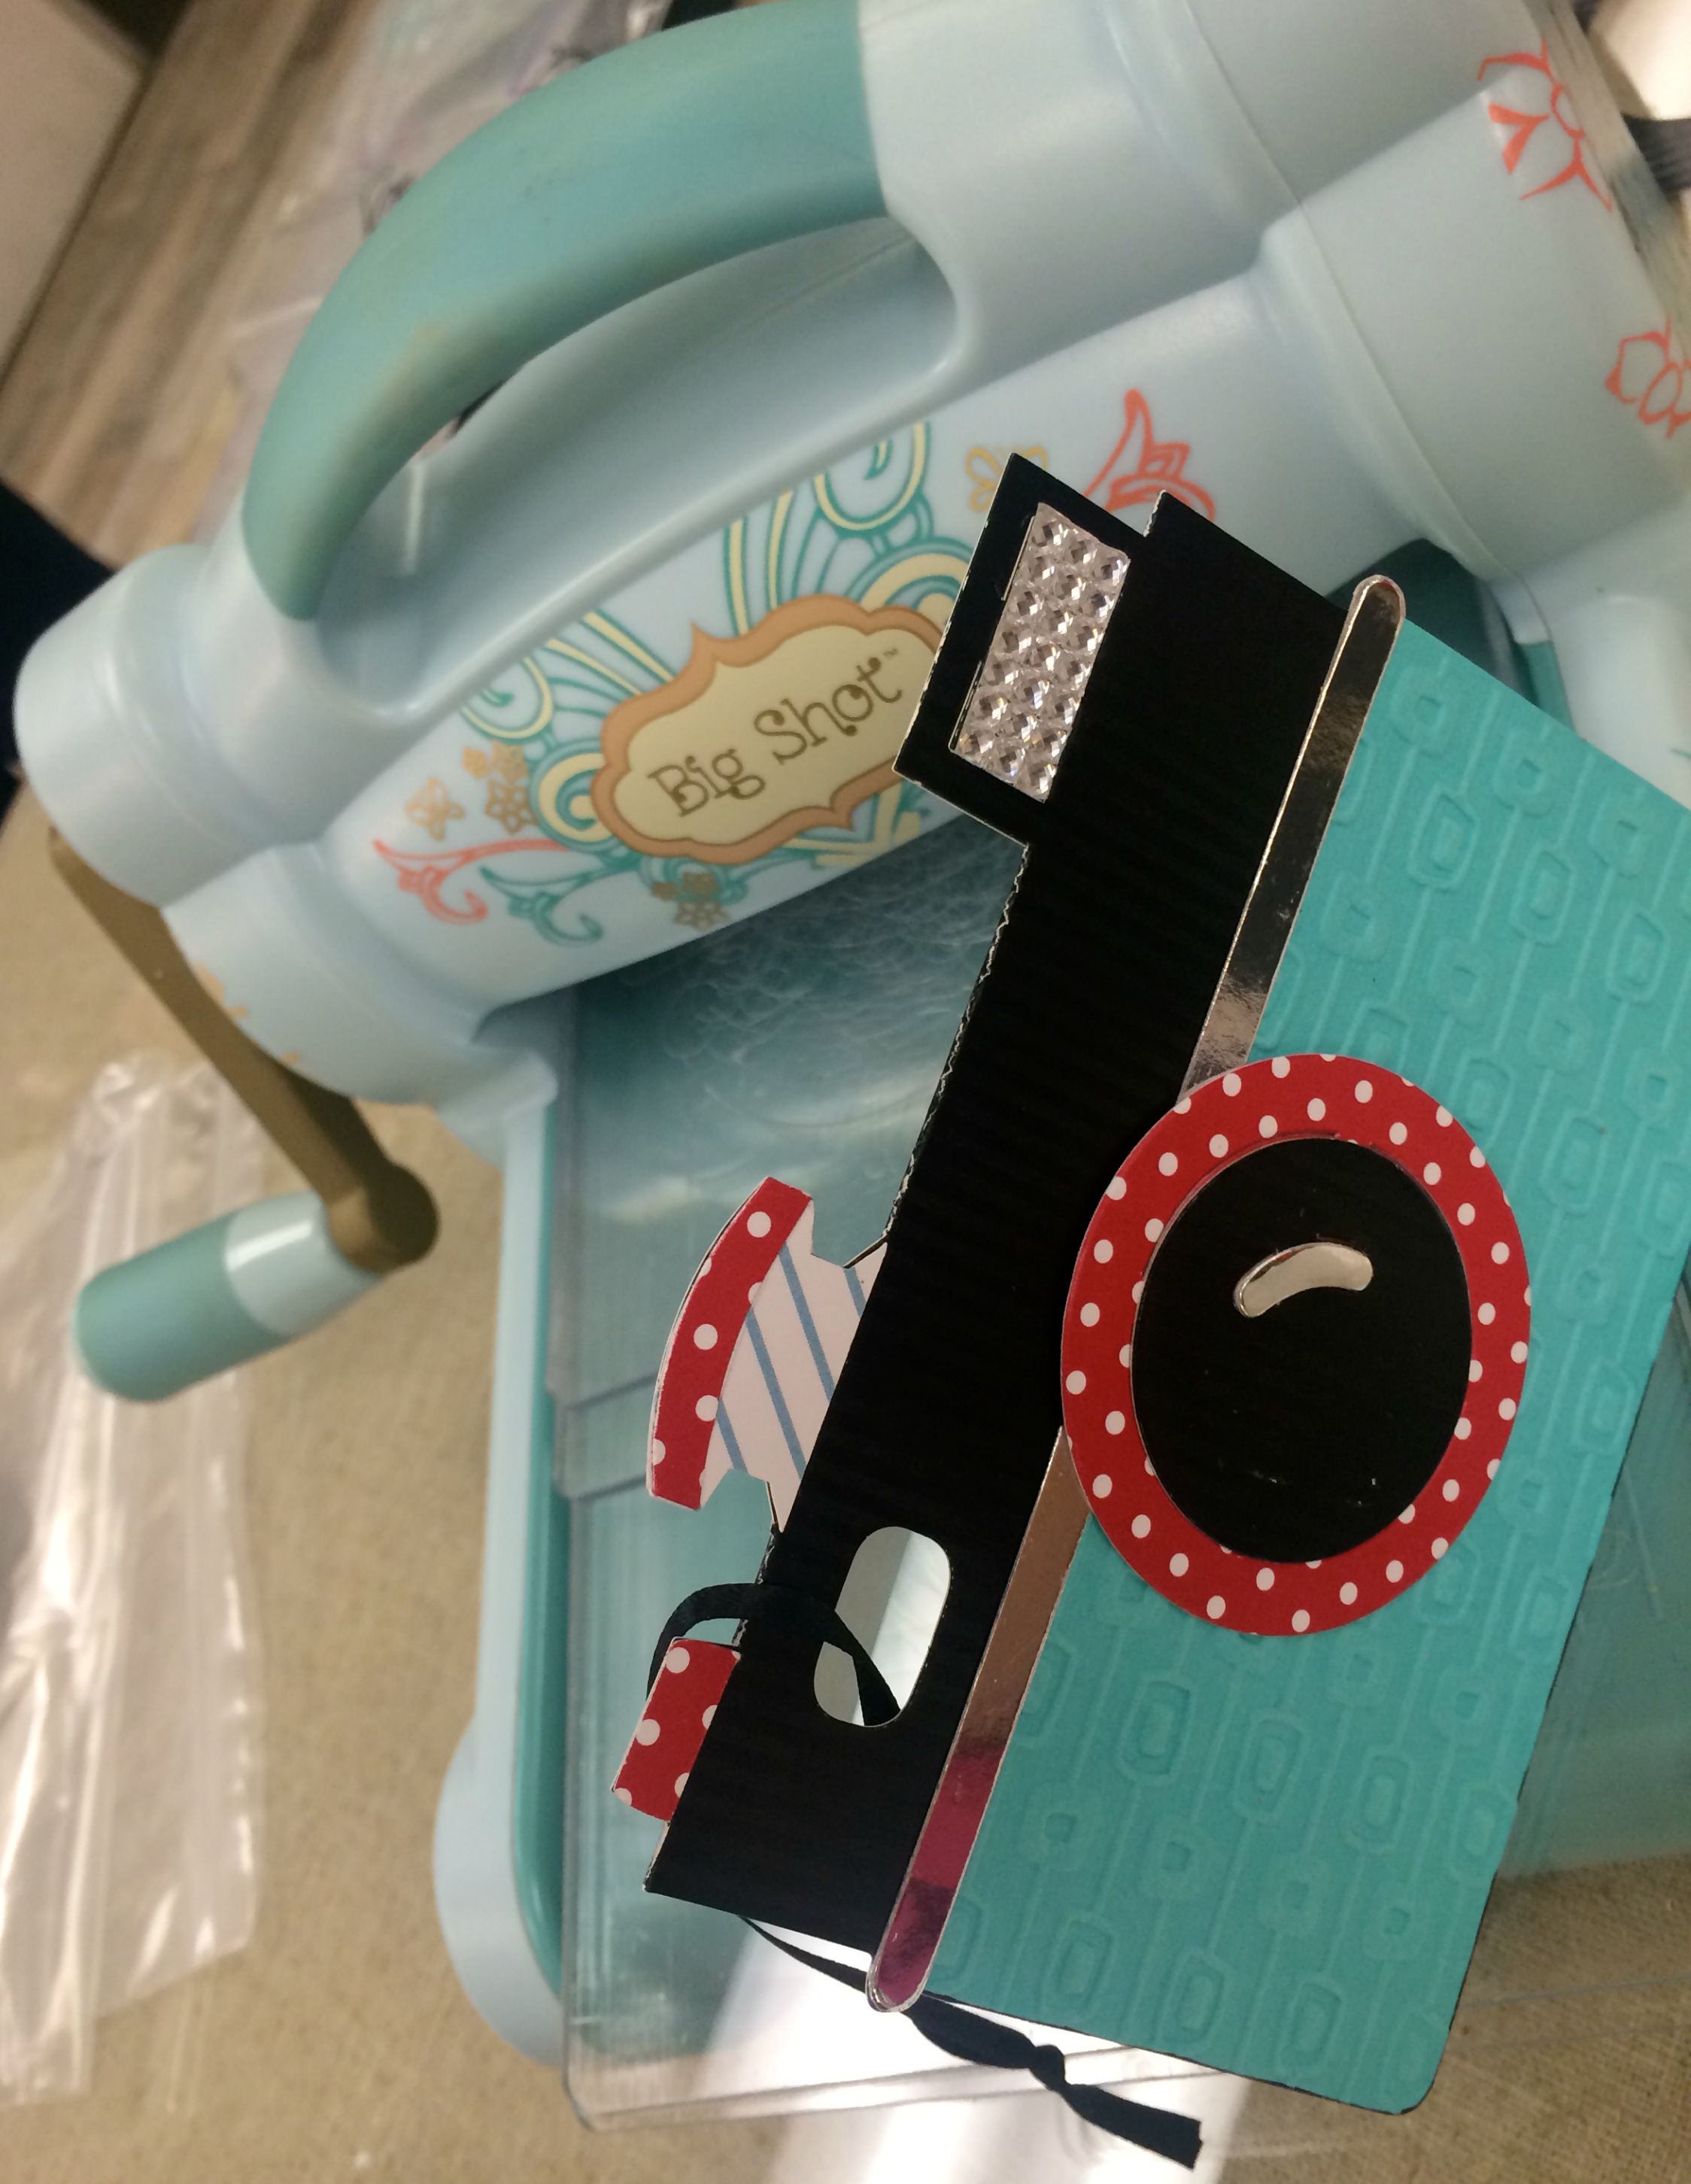
I loved all of the papers they chose for the project and it was fun to get to emboss a couple of the pieces, using the Big Shot! If you’ve never made a Sizzix Sandwich, you need to. That’s what they call it when you’re prepping paper to go into the Big Shot machine. Watch this video of ME making one!

me and my girls at Sizzix
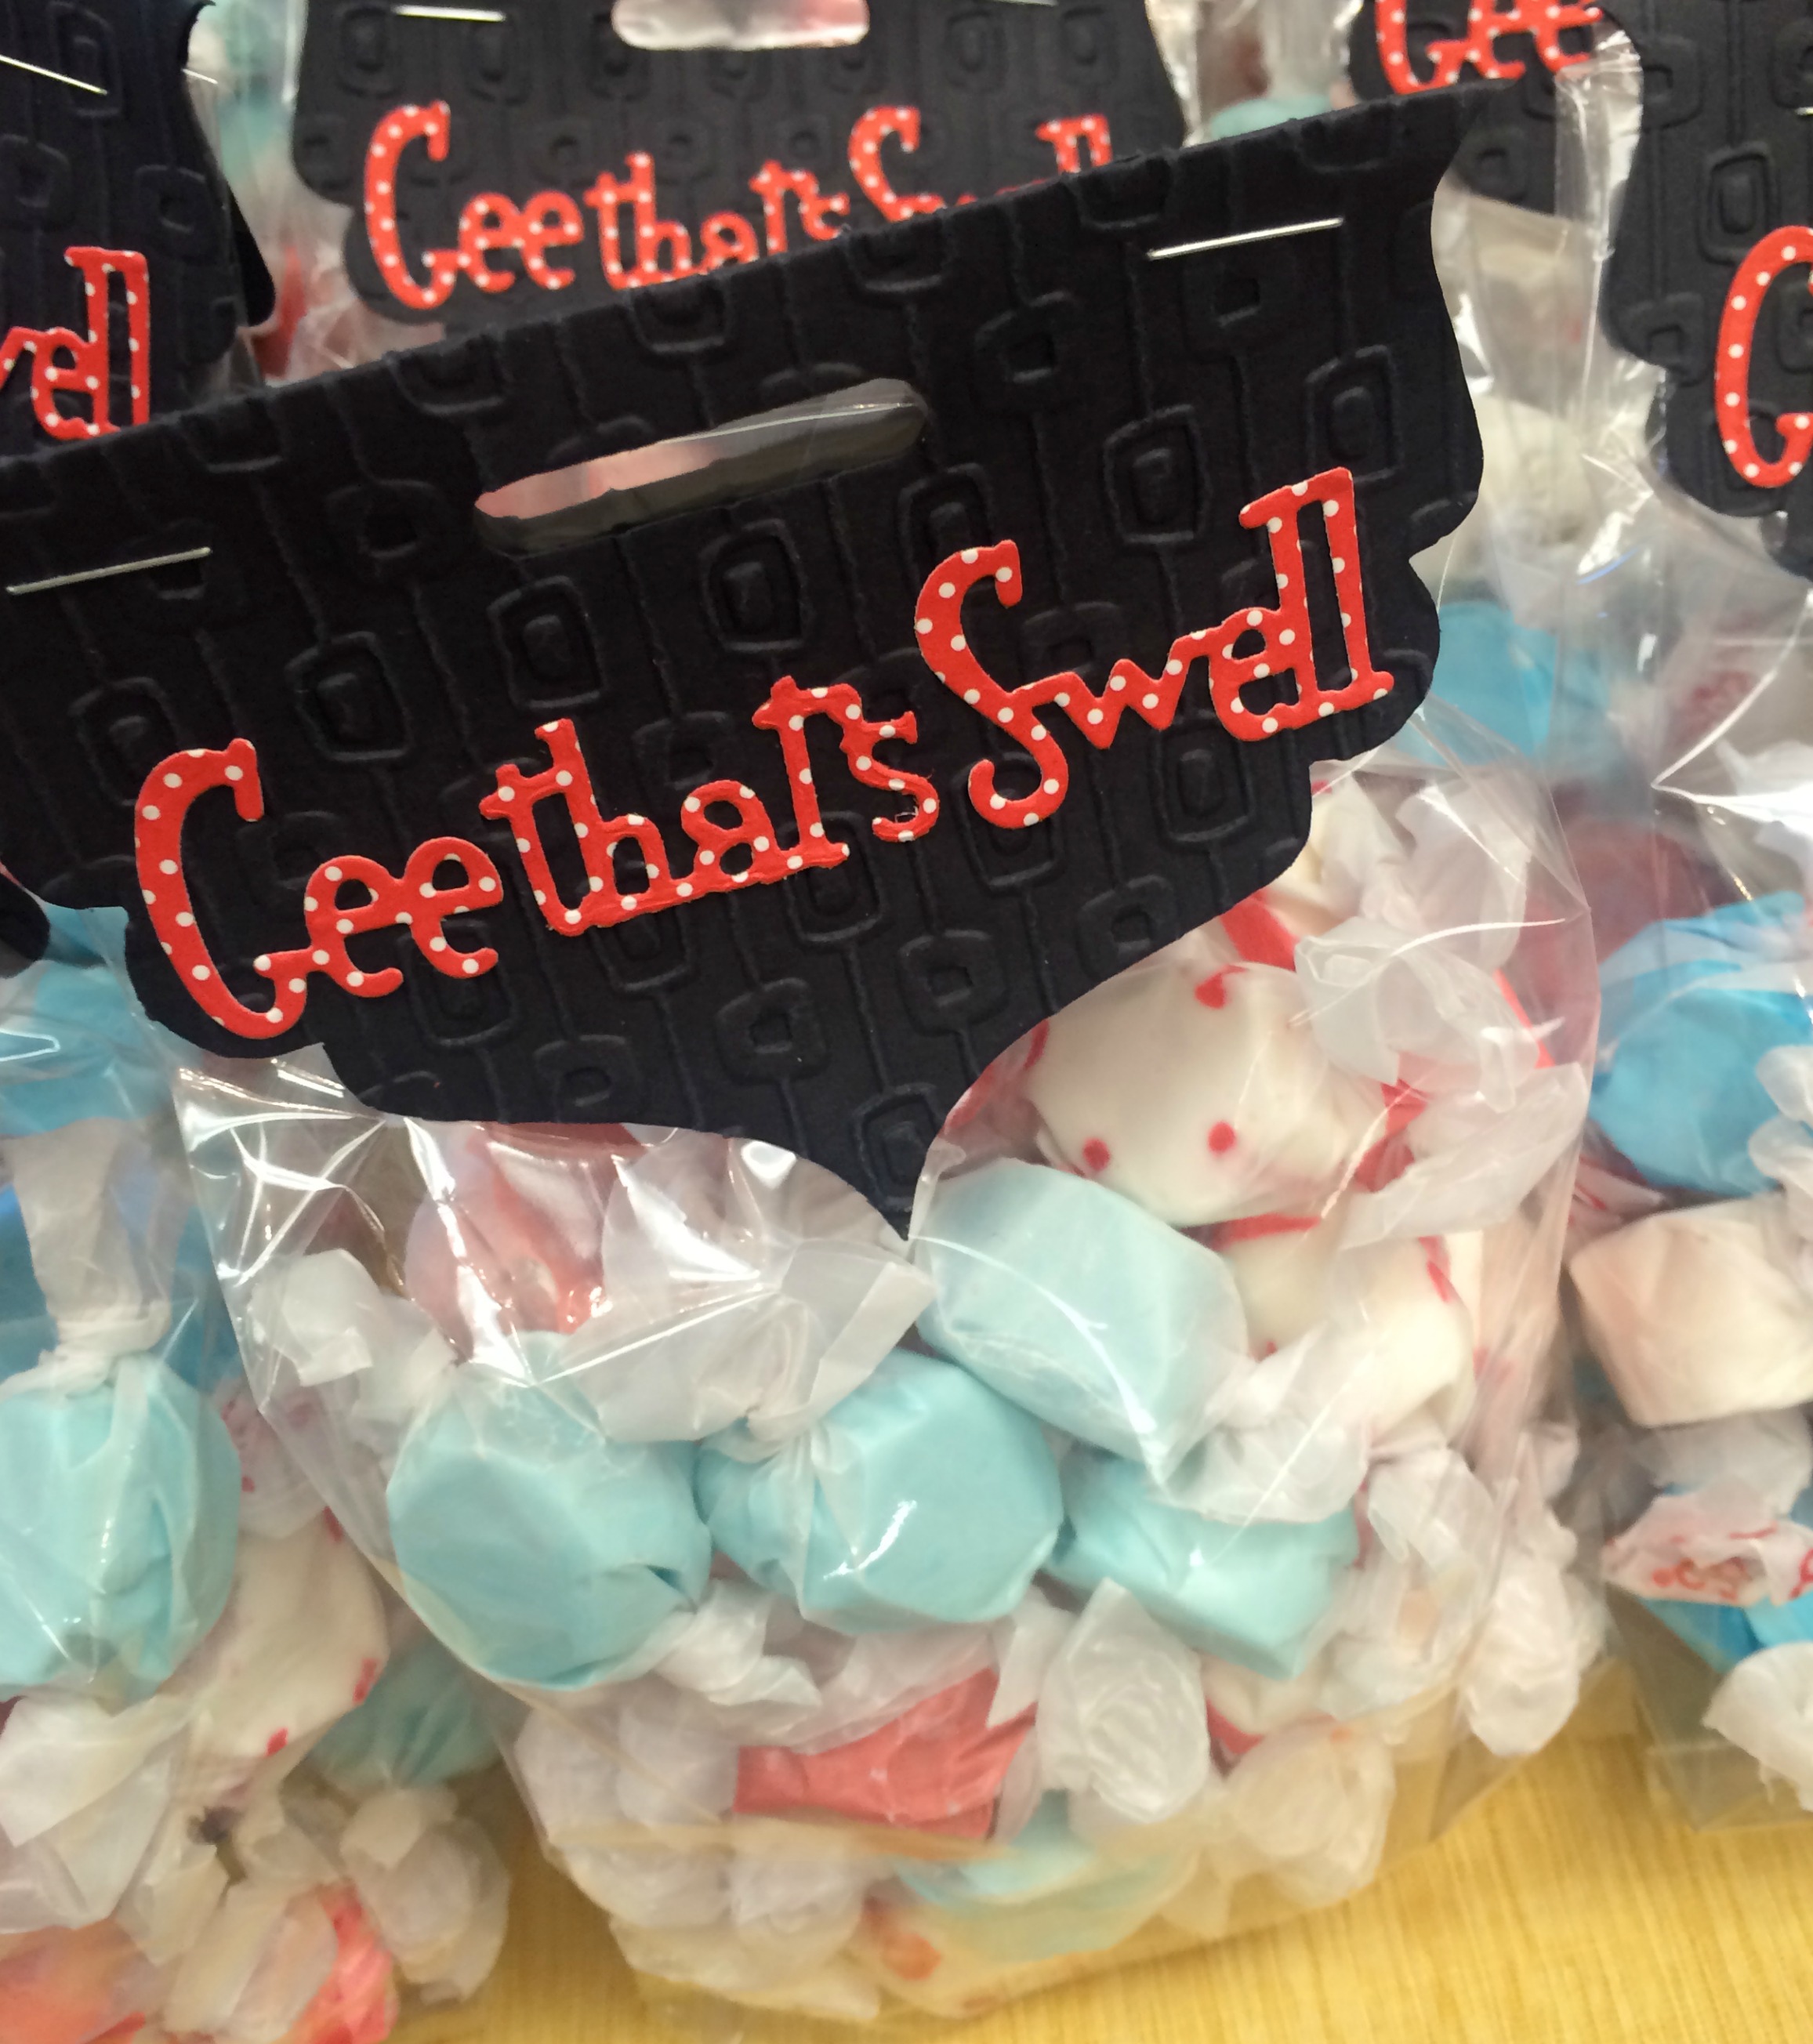
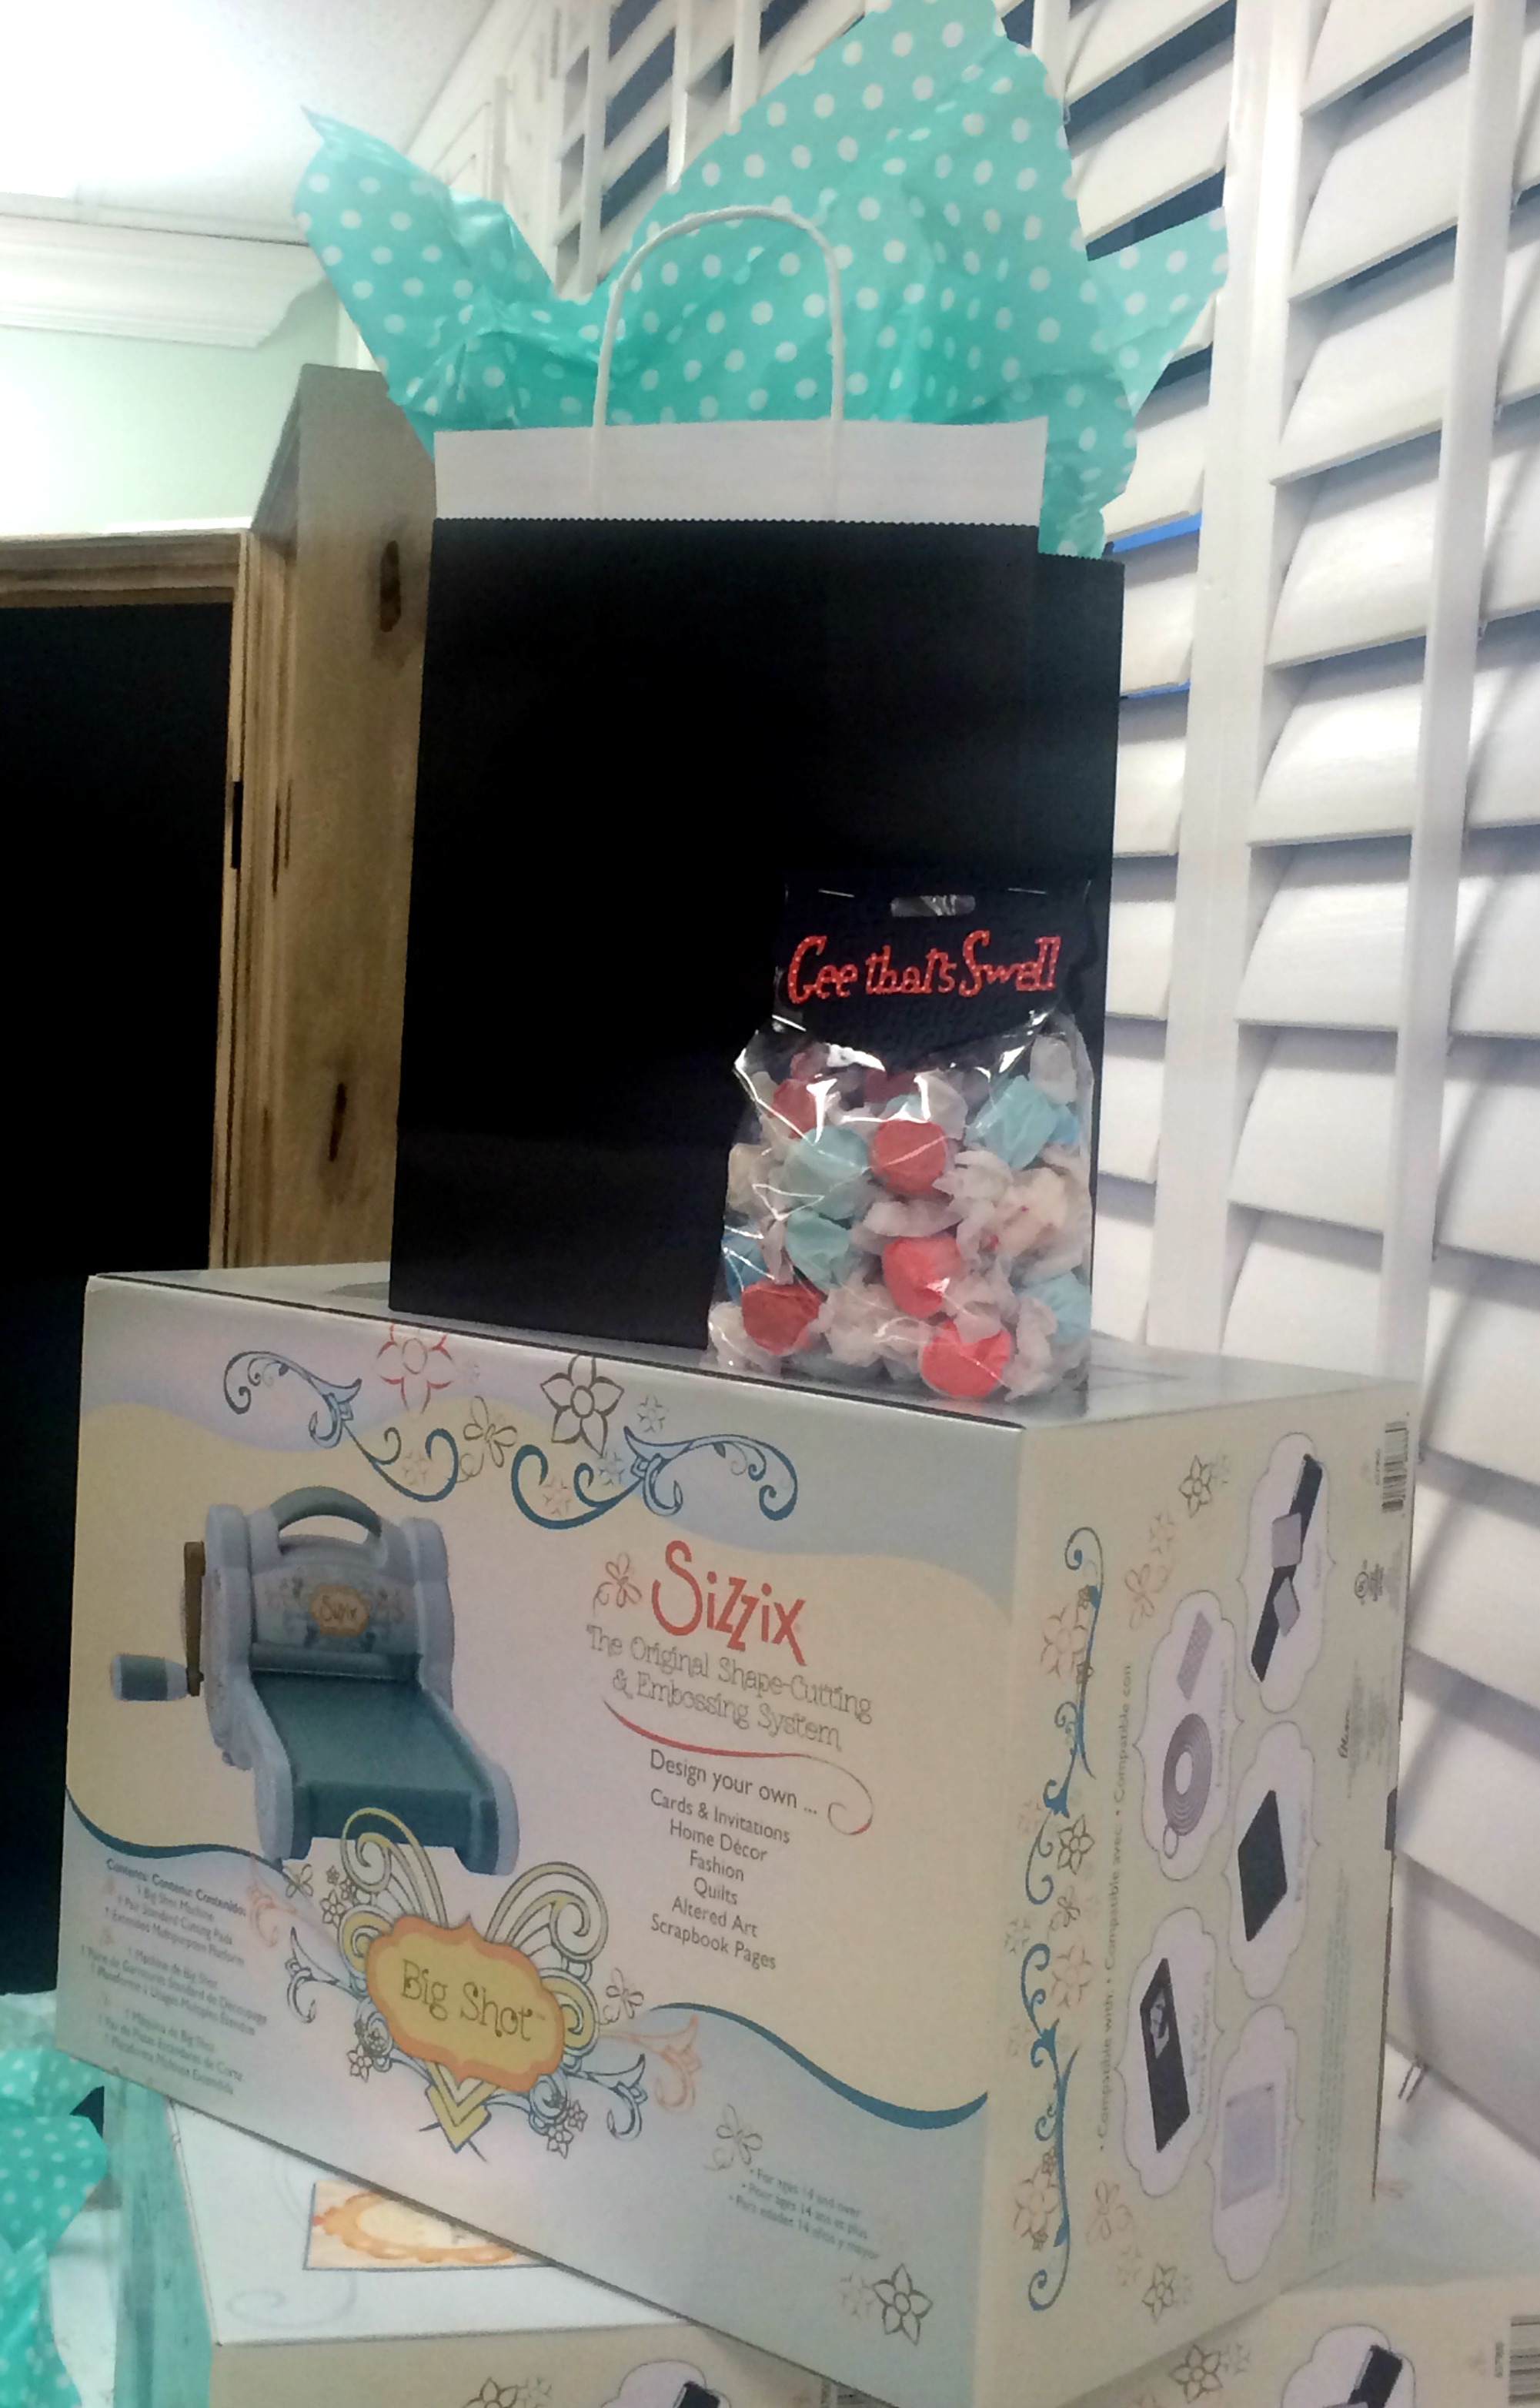
At the end of the night, the Sizzix team sent each one of us home with a TON of swag which included some retro candy! I couldn’t believe it when they said we’d each get our own Big Shot to take home! They also gave us some of the die cuts and embossing folders from the collection to use with it! It felt like Christmas for a crafter like me!

saltwater taffy

sizzix swag

Sizzix friends
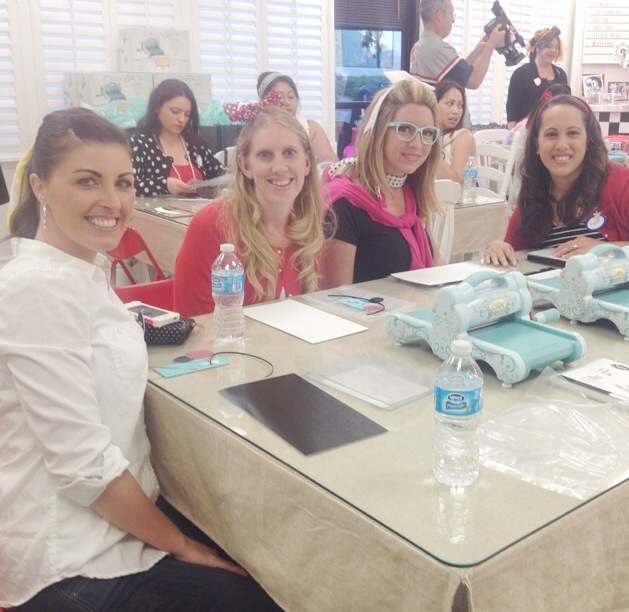
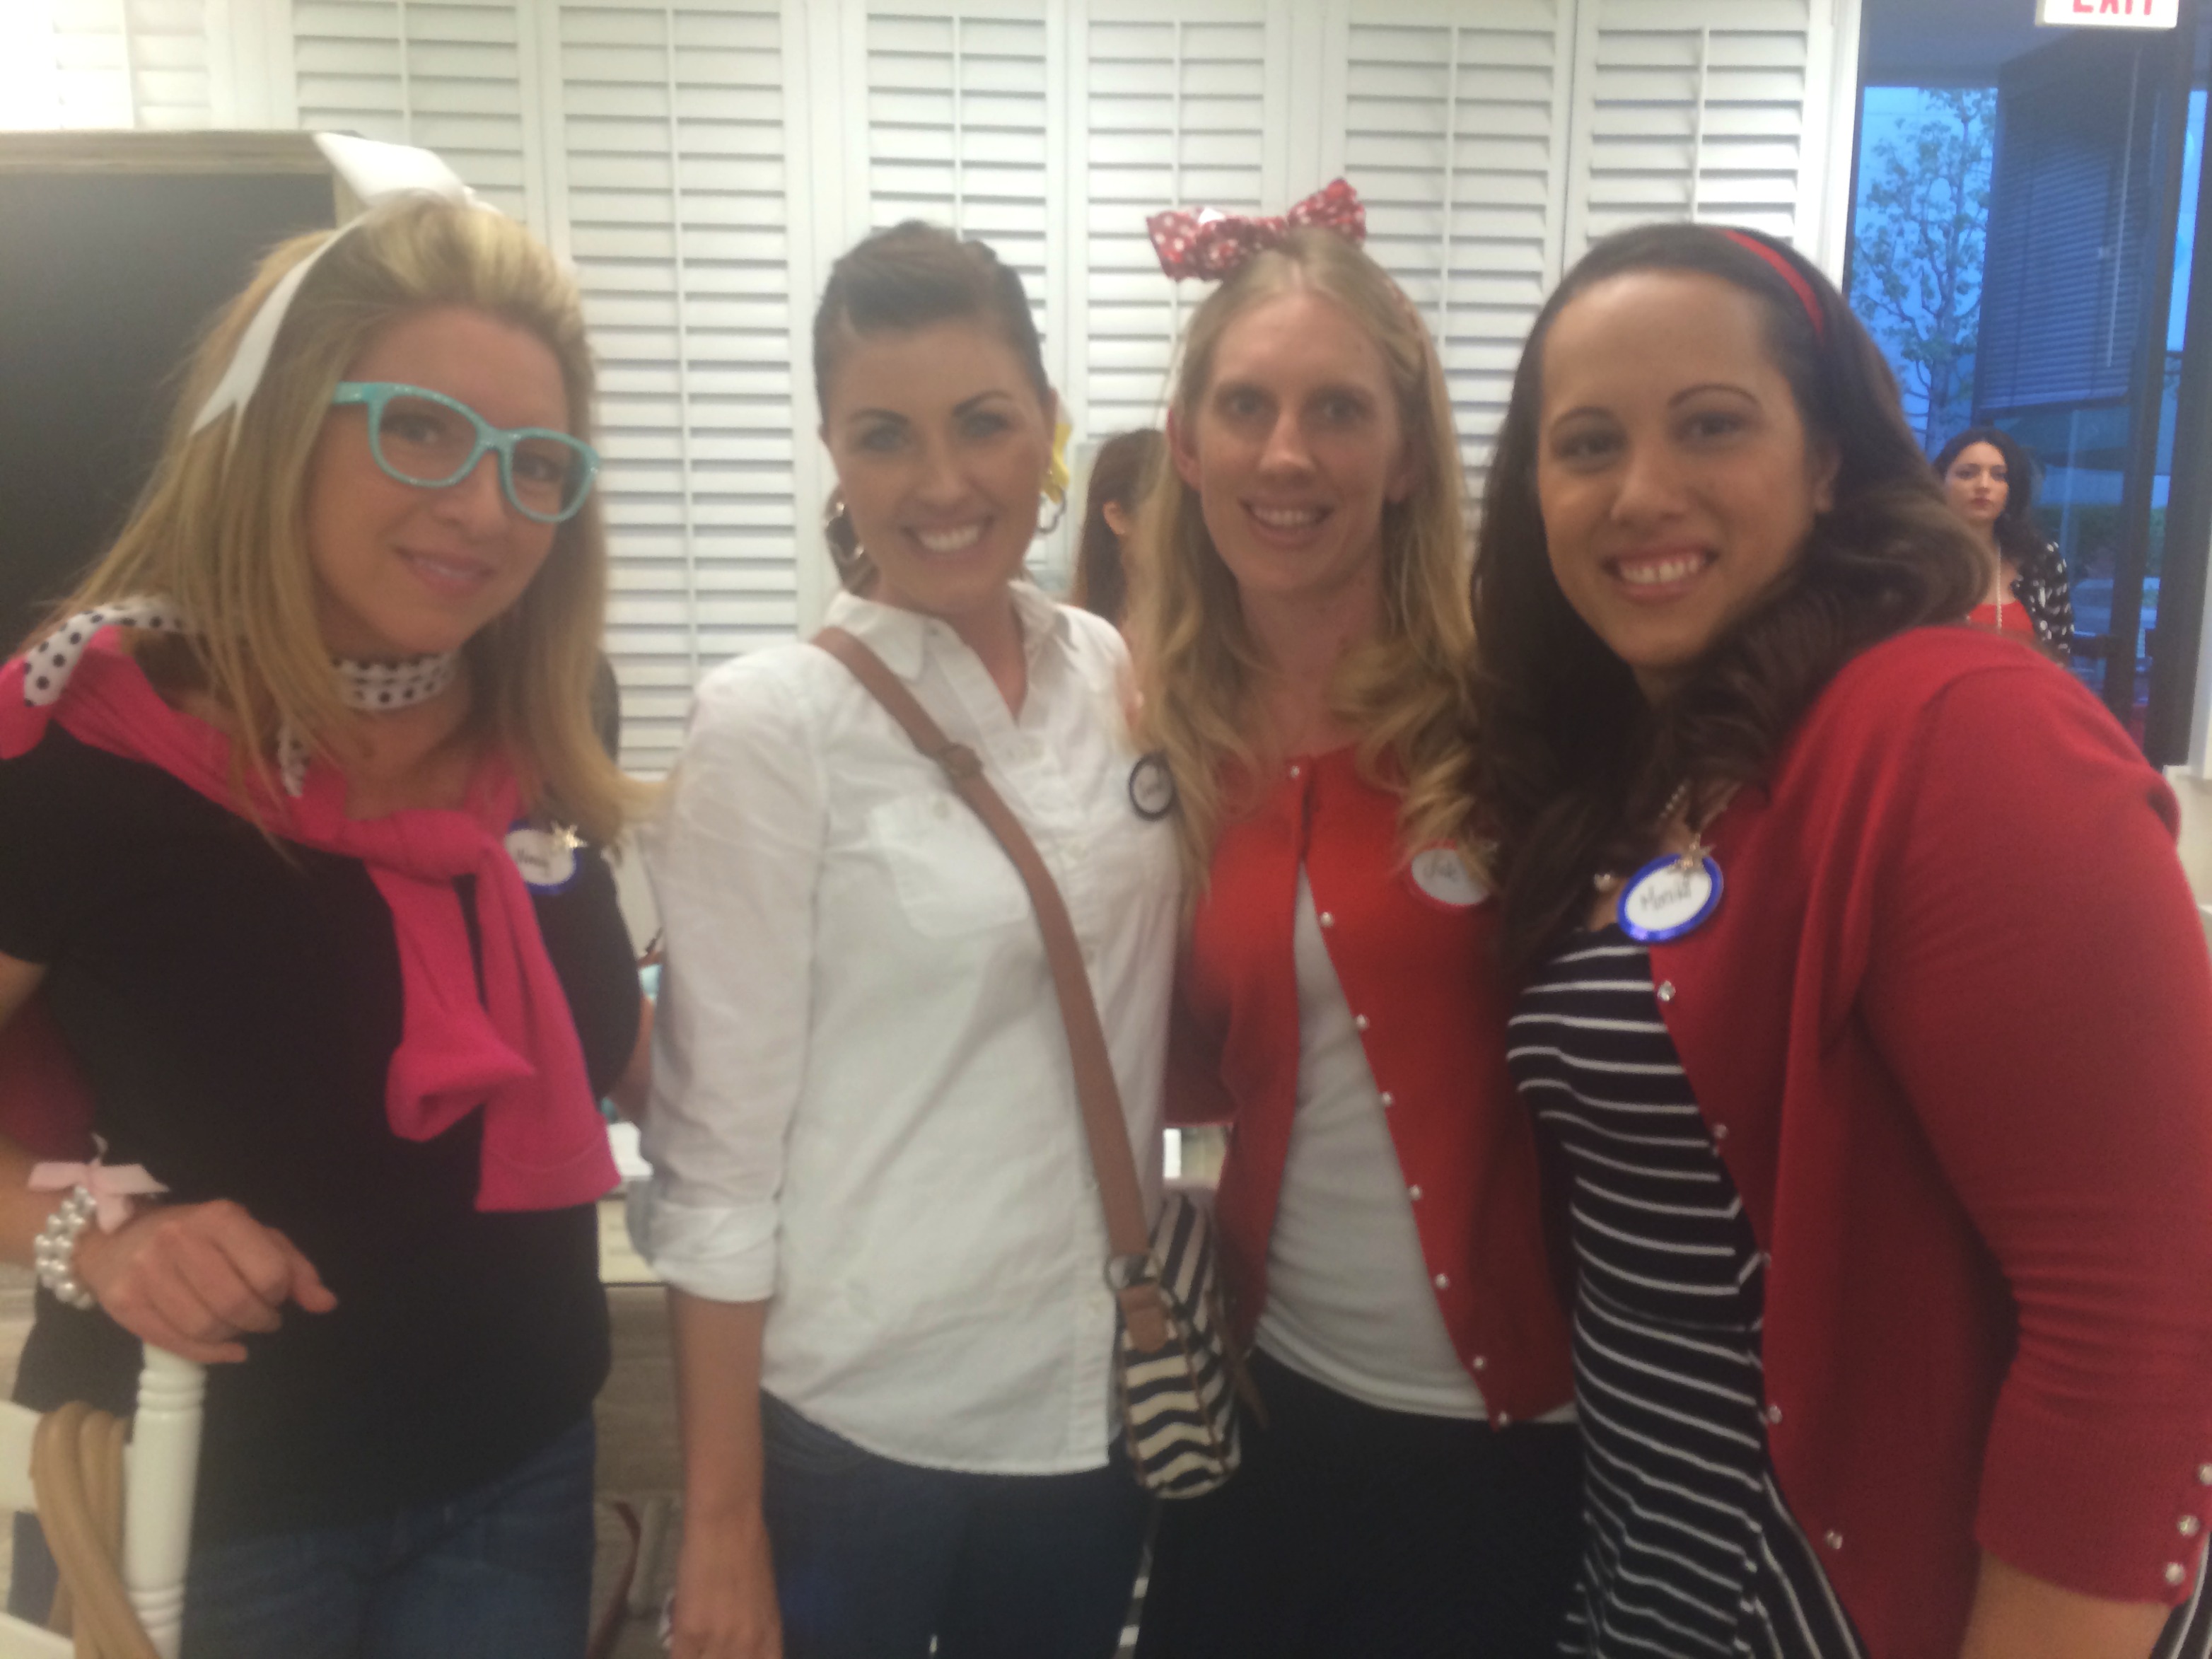
Hanging with @Munchies_Mama, @jmdenouden & @LifeWithLovebug

What a fun night getting to hang out with  some of my crafty blogger friends and meeting the rockstars behind Sizzix. I couldn’t wait to get home to play with my new crafty toys! I knew Emi would be excited to try out the Big Shot too!

To learn more about Sizzix and see all of their awesome products, click here!


Make Your Own Photo Booth With the Help of Oriental Trading Company

Disclosure: I was provided with products by Oriental Trading Company, in order to conduct this review.  No other type of compensation was received. All opinions are 100% my own. 

In our family, we love to throw parties for every occasion. Parties for holidays, birthday parties, parties for award shows, even season premiere nights of our favorite TV shows! We’ll throw a party for any occasion! We also love to have fun with photo booth, which is a highlight at our parties. It’s really pretty simple to create your own photo booth corner to capture some unique photo memories. We had fun creating a photo booth for a “Surf’s Up” party we recently threw, using items we found on the Oriental Trading Company site. I’m going to show you how easy it is to make your own photo booth.

Choose a great spot to set up your photo booth

When you look for a spot to set up your photo booth area, remember to always pick somewhere with plenty of room for guests to be silly when they’re posing for pictures. Also, choose a location with good lighting. We usually set up our photo booth area outside because, for me, the natural lighting is much easier to work with than inside the house and you don’t usually need to worry about a flash.

Choose a photo booth background. Designate an area. 

It’s really important that you choose a background for your photo booth area and designate an area at your party for your fun. We have used our wooden fence as a background for ours before. If you want a patterned background it’s easy to create by purchasing 1-2 yards of fabric and stapling it around a giant piece of cardboard or wood for guests to pose in front of. For this particular occasion, we ordered a stand-up surfboard from Oriental Trading Company that matched our theme. For some of the photos we stood it in front of a textured wall outside in our driveway. For other photos, I used a hot pink shower curtain that was hanging on a garment rack. Whatever background you choose, just make sure it’s a little taller than your tallest guest.

surfboard stand up prop 1

chloe and emi

chloe and emi 1Designate a photographer

It’s much easier to designate someone as the official photo booth photographer for your party. It’s also better if YOU, the hostess, are not that person. I love that my BFFs step up to help me with this every time we have a party. They know how important photos are to me and they also know that I’m always so busy running around.  Taking over this duty for me is something HUGE and I’m always appreciative of them. By the way, you’ll also have guests taking selfies in your photo booth with their own phones.

Have Photo Booth Props for guests 

Having fun photo booth props is a NECESSITY for your photo booth! It’s actually THE most important part. You can sometimes find things around your house to use like hats, parts of old Halloween costumes, feather boas, glasses, etc., but there are also other important props that you should always have available. I found awesome photo props on sticks on the Oriental Trading Company site. I chose some lips, glasses and mustaches. Mustaches look great on everyone and they seem to be a popular choice with everyone! I like to stick all of the props into a mason jar so guests can just grab one or two that they like. In addition to photo props on sticks, I also found these oversized luau picture frame cutouts on their site. So cute!

Oriental Trading Company mustache photo props

chloe glassesgirls with glasses

emi in framephoto frameNow that our party is over, we like to keep the jar of photo booth props on the counter so we can grab them whenever we need them to strike a pose and snap a pic! It’s just what we do around here!

And seriously, how cute are my models in these pics?


Ready for Some Fun at Disney’s #RockYourDisneySide 24-Hour Event!

Emi and I are so excited about the Rock Your Disney Side 24-hour event at The Disneyland Resort on May 23, that we’ve been counting how many more sleeps? It’s going to be our first attempt at one of the 24 hour parties. We’ve been doing a lot of pre-planning for the day, referencing the Disney Parks Blog site and a few other favorite blogs who have posted fun and useful tips. I think having a little bit of knowledge ahead of time is going to make a world of difference and being prepared to endure a long day can’t hurt either!
Here are some of the park necessities we’ll be bringing with us:
*Our APs-These are obviously the most important part of our trip that day! Not only to get in the gates, but also for parking. (By the way, to read about the carpooling perks that Disney is offering for this event, click here.)  

My business cards just go along with my APs in the wallet every trip! You never know who you’ll network with!  

*A backpack-I almost ALWAYS bring a backpack with me, to the parks, so I can carry things like a water bottle, headache medicine, bandaids, sunblock, extra snacks, an autograph book, a pen, my camera, extra clothes for layering, and gum. I’m sure I’m leaving something out, but basically a backpack allows me to have my hands free, which is so much better than carrying a purse! 

This is my lucky UK Mickey Pen that I got from a Disney friend!

*Disney accessories-Emi and I like to wear our matching Minnie ears headbands when we’re in the parks. Sometimes she prefers to wear her traditional ears too, so I’ll be bringing both for this trip. (Do you see why I NEED the backpack?) 

*Coordinating attire-Although we’re not going to the extent of wearing actual costumes, (we’ll save those for Mickey’s Trick or Treat Party) or even DisneyBounding like other park goers, we do love to dress for an occasion and had special shirts made for each of us! Why NOT sport our Twitter handles on a shirt, right? Sending a BIG thank you to The Shirt Cannery in Mission Viejo! They are amazing!
*Pooh-When you are going to be in the parks for an extended amount of time, especially when it’s going to be crowded (or at maximum capacity like they’re predicting), having something like a stuffed friend to play with really helps keep your kid(s) occupied during wait times. They also make for great photo opportunities. Some stuffed friends even have their own Instagram accounts. (Ours doesn’t) Pooh is usually the one Emi likes to bring with us! 

*Our “Eat Our Way Through the Parks” Checklist-Yep, you read that one correctly! Have you read the post on the Disney Parks Blog about all of the special items that they’re going to offer in both parks, exclusively for this event? If you haven’t, then click here. After carefully analyzing all of the items, Emi and I are especially looking forward to trying the ones you see on our checklist of what we’ll attempt to eat and drink at Disney 24! 

I guess it looks like we’ll be rockin’ our Disney Foodie Side! 
Wish us luck!
Will YOU be attending the event this time? 
For live tweets from the parks, follow along with us on Twitter @overthetopmommy and @overthetopkid and @UptownDisneyGal.
For pictures of our day, follow @overthetopmommy on Instagram.


Lauren McKinsey Celebrates Blue Goose Boutique Launch with a Giveaway!

It’s official! Blue Goose Boutique, Lauren McKinsey’s newest shop, is open for business! Blue Goose Boutique is a dream come true for them as they begin to sell what they fondly refer to as physical products. This is such exciting news because it means that you’ll now start to see the cute designs that they offer in their printable shop now appear on things such as notepads! Currently, you’ll find 7 notepad designs in their online boutique. They are so excited to be CELEBRATING the grand opening of their shop with a wonderful giveaway and will be choosing 3 winners! 
(see Rafflecopter below)
The GRAND PRIZE winner will receive: {total value of $194} 
     *$50 gift certificate to Blue Goose Boutique 
     *One year CUTE CLUB membership to Lauren McKinsey 
      {value $89} 
     *Hand painted {signed and numbered} blue goose magnet 
      {value $15} 
     *Monogrammed tumbler from She’s Kinda Crafty {value $15} 
     *$25 gift certificate to Paper + Pop 
      {a printing & cutting service for printables} 
     *8 Sparkle Sacks + shipping from The Purple Pug {value $50}

The SECOND place winner will receive: {total value of $65} 
     *$25 gift certificate to Blue Goose Boutique 
     *One month CUTE CLUB membership to Lauren McKinsey     
      {value $12.99}
     *Hand painted {signed and numbered} blue goose magnet      
      {value $15} 
     *One set of 3 monogram decals from She’s Kinda Crafty 
      {value $12} 

The THIRD place winner will receive: {total value of $43} 
     *Choice of 1 notepad set from Blue Goose Boutique 
      {value $18} 
     *Hand painted {signed and numbered} blue goose magnet 
      {value $15} 
     *Sheet of 20 monogram return address stickers from 
      She’s Kinda Crafty {value $10}

Blue Goose Boutique notepads make the perfect gifts for: 
     *moms AND dads 
     *teachers
     *coaches
     *birthday gifts 
     *graduations 
     *holidays 
     *and just FOR YOU 
Each notepad was lovingly designed by Theresa of LM and then made in their home. For now they are making their own notepads. Every notepad you order is designed by them, made by them, packaged by them and sent to you with lots of love! There are a fun variety of sizes and quantities of notepads available. Four of the seven notepads come in packs of two with an adorable pencil, coordinated to match your pad. They are are beautifully packaged in a clear cello bag, wrapped with pretty twine and have a matching gift tag attached. They make the perfect gifts and all the pretty packaging is already done for you. Three of the notepads are single pads. You will find the full description of each notepad on the website, but each tear-off notepad is filled with high quality paper and backed in thick recycled chipboard, making the notepads extra sturdy. Several of them also come with a magnetic strip so that you can hang them on magnetic surfaces like the refrigerator. 

Look how adorable the A to Z notepad is! Each page in the pad has a different letter of the alphabet and the notepad has 52 pages in all.  This notepad is inspired by the ABC collection Lauren McKinsey created a few months ago that is just adorable! To see an image of what EACH page looks like click here.This 5 x 71/2 inch notepad comes as a set of two pads with a matching pencil and gift tag. 
 

The Always be Sunshine notepad. This 5 x 71/2 inch notepad comes as a set of two 50 sheet pads with a matching pencil and gift tag. 

The dream BIG notepad. this 5 x 71/2 inch notepad comes as a set of two 50 sheet pads with a matching pencil and gift tag. 

The Little Bookworm notepad. This 5 x 71/2 inch notepad comes as a set of two 50 sheet pads with a matching pencil and gift tag. 

The To Do list is another personal favorite. I LOVE the 15 lines for writing and the HAPPY graphic at the top of the page. This 5 1/4 x 8 inch notepad is filled with 60 sheets of cuteness. 

This 3 1/2 x 8 inch notepad is filled with 60 sheets perfect for making your grocery and shopping list. It comes with a magnet for the back as well if you want to hang it on your refrigerator or another magnetic surface.

And just in time for father’s day, this adorable Superhero Dad SUPER list is perfect for that special dad! this 3 1/2 x 8 inch notepad is filled with 60 sheets that will make dad smile as he tracks his lists of things to do! 

This is just one more photo I needed to show you…the sticker that “sits” on the back of each notepad. Isn’t it fun? I love details like this! 
For the next 30 days, you can use the coupon code GiveAway-10 for 10% off your Blue Goose Boutique purchase.

Lauren Mckinsey is also excited to be giving away two CUTE CLUB memberships as part of their grand opening celebration. The CUTE CLUB is an EXCLUSIVE membership program that allows you to download EVERYTHING {yes, I said EVERYTHING} in the Lauren McKinsey store. They have over 1200 printables and add a new collection every week. Sometimes they even add two new collections. They offer an annual or a monthly membership. You can learn more here! You can even use the coupon code GiveAway-10 for 10% off your CUTE CLUB membership. Thank you for celebrating with us! 

Now, last but not least…
        go enter the giveaway below on the Rafflecopter! 
Good luck everyone!
a Rafflecopter giveaway

DIY Festive Masks for Mardi Gras

We decided to celebrate “Fat Tuesday”, this last day of Carnival (Mardi Gras), by decorating some festive masks to wear! Emi and I love anything and everything with a little bling, so when we made a stop at Hobby Lobby, we threw a big container of multi-colored rhinestones and some brightly colored feathers into our shopping cart, along with a couple of plain white masks.

 As soon as we got home, our “Battle of the Glue Guns” began!
(note: Emi is almost 9 and now uses the glue gun on her own, but only when I’m supervising her)

I think we each had a different idea in our head of how we wanted to decorate our masks. I tend to gravitate towards the pinks. Emi, on the other hand, was determined to make more of a rainbow arrangement of gems on her mask and started by gluing the larger-sized stones down to the smaller ones. She also included eyelash details on her mask.

Little did I know that when Emi finished her mask, she wouldn’t just stop there, she needed to grab one of her Barbies and get HER ready for Mardi Gras! After Barbie was done receiving a festive makeover, Emi looked at me and said, “Look Mommy, she’s ready for Barbie Gras now!

Doing something like this is so easy and quite therapeutic. It was nice for me to put aside my cell phone and my long to-do list and for Emi to procrastinate doing her homework (hehe!) so that we could just sit and talk while, we sorted and glued gems and decorated our masks. I think this kind of activity also ties in with what I blogged about in my last post, getting back to what’s really important..these moments. It makes me realize that I should UNPLUG at times like this and enjoy that moment WITH Emi! It isn’t just about letting her be a kid or having time for imaginary play or having time for being creative, but it’s also about me getting down there with her and interacting with her.  I think so often as parents, we just get our kids situated with something, like a toy, a show, or an activity, and then go do what we need to do, whether it be to wash dishes, make dinner, fold laundry or get online. We’re all so busy all of the time, that we’re missing the moments. Of course we also have to be realistic because all of things also DO need to get done, but there has to be a way to find balance and/or let some of it go, so we can focus on our kids more. End of rant.

Our Own Oscar Party at Home

I literally spent the weekend cleaning the house. I actually felt like I’d accomplished something in the way of achieving “clean house status” yesterday, and the way I know I’ve reached that point is because I finally vacuum everything and make vacuum lines to finish off a room. Let me just tell you that cleaning my house always includes a sorting of Legos, Calico Critters, Strawberry Shortcake toys, American Girl accessories and a grip of art supplies. Although I do enlist Emi’s help with this, I also need things to be put back in an orderly fashion, so obviously I’m heavily involved in the organizing.
After I mentioned something to Emi yesterday afternoon about watching “The Red Carpet”, a lightbulb must’ve turned on in her head! It seemed that she immediately started planning her own version of an at-home Oscar celebration. She started pulling out every towel in our linen closet that had red in it, and was taping them down, on the floor together along our kitchen floor, with regular scotch tape. Then I watched her make a minimum of 4 trips up and down the stairs to get bring every trophy she’s ever earned, down from her room, which she let me know were going to be our “Oscars”.  At first I was hesitant and found myself saying “not right now” about what she was trying to do, because I didn’t want the living room to get messed up after I’d JUST cleaned it all up. That’s when I stopped to think about whether that was really so important? She’s 8 and has the most incredible imagination ever and why would I want to put a stop to that? So I could have my clean living room? THAT’S what I had to ask myself and it was at that point I decided to just sit back and let her do whatever it was she intended to do. Emi envisioned our Red Carpet to look a certain way and was planning our entire Oscars event, and that’s just what I allowed her to do.

After she was done laying down our beach towel version of the red carpet, she proceeded to make each of us a “VIP Ticket”, which we had to wear around our necks. Every time we entered or exited the kitchen, she had to check it to make sure it was us.

She also had a clipboard with the names of those who were allowed to enter the our Oscar ceremony.  If your name wasn’t on that list, you weren’t getting into OUR Oscars ceremony last night!

Did I mention that the area was roped off, with curling ribbon, and we had to wait until she cut the ribbon to get in?

In the seating area for our Oscars, aka the living room, she had chairs set up with drinks at a little table and a sign on the table that said “Reservation”. (I think she meant “Reserved”)

She tried her hardest to get me to change into a fancy dress, but I was already a lost cause in my pjs, as was her daddy. As we sat on the couch, watching the real Oscars on TV, Emi kept presenting us with “Oscars” for different things, as she stood underneath the TV. I think I won for “Best Female Chef” and another one for something else that’s hilarious but I won’t mention here on my blog! (hehe!) Daddy won the Oscar for “Best Male Chef” and something else too. We were both lucky because each time we won, Emi was the one who stood up and made a speech for us!

Emi never ceases to amaze us with her imagination and creativity and I couldn’t stop giggling when she came over and presented us with our “swag bags”! Each one said “Swag” on it, and contained a snack-sized bag of either Christmas or Valentine’s M&M’s, a JIF peanut butter to-go, and a hot pink paper straw! Seriously, does she know how to hook us up or what?

Did I mention that Emi got our cat to walk our red carpet to accept her Oscar for “Best Kitty”?

It was so much fun watching the Oscars while we had our own celebration at home with Emi. Don’t get me wrong, by the end of the night, my living room looked like someone threw a high school party in it, but I have to ask myself if worrying about having a clean house is worth her NOT getting to have that time to engage in imaginary play? I know many parents would probably not allow this. I’ve even heard people making comments about how when they were little, they could ONLY play like that in their own room, but I think the tradeoff is worth it. My house isn’t on the market and up for sale. I didn’t have guests coming over later. My mother-in-law wasn”t coming over anytime soon to do the white glove test. If there’s no real reason to say no, then why do so? I’m fine with knowing that sometimes I’ve gotta go with the flow and live in the moment! How many more moments like this are going to come along? This is what life is all about for me…living in these moments with Emi!

DIY Glitter Shoes Using Mod Podge

I cannot tell you how many pairs of my daughter’s perfectly good shoes have had the toe area ruined by what seemed like just a few wears to school! I don’t know what exactly kids are playing at recess these days, but it can sure be frustrating for me to either 1) send Emi to school wearing shoes that look worn out or 2) keep having to buy her new school shoes every month. Let me show you what just a couple of supplies can do to transform scuffed up shoes into beautiful glittery ones!
Here’s the supplies you’ll need:
*a bottle of Mod Podge (I buy mine at Michael’s)
*a container of glitter (Since Emi’s favorite color is blue, I chose a pretty aqua blue glitter.)
*a roll of painter’s tape. (I like 3M brand. The skinny width is easiest to use for this project.)

The first thing you need to do is tape up the shoes around the area you’ll be adding glitter to. Don’t forget to do part underneath the glittered area too, which is part of the sole.
Next, apply a coat of Mod Podge to the exposed area with a paintbrush.
 After this, sprinkle glitter over it while it’s wet, shake off  the excess glitter, and allow it to completely dry for about 12 hours.
At this point you’ll need to apply another coat of Mod Podge, this time over the glittered area and again, allow it to completely dry for another 12 hours. **VERY IMPORTANT I forgot to take a picture of this part, but don’t forget to do this 2nd coat!
Afterwards, remove the painter’s tape and the shoes will be ready to wear!

How cute did these turn out? I feel like one of Cinderella’s step sisters, trying to cram my own feet into them so I can wear them!
 The entire project was so simple and I think these are Emi’s new favorite pair of shoes!

Now I’m wanting to make a pair for ME! What color glitter do you think I’ll choose? If you know me well enough, you’ll easily answer that question! 

You’re Never Too Old For Rainbow Loom!

I think I’m reliving my childhood…again! Emi has been asking for some friendship bracelet maker, you know, to go with the other 3 that she already has? We just happened to be at Michael’s looking for Halloween stuff (yes in August) and there it was…RAINBOW LOOM! Of course Emi was the one who pointed it out to me and ran right over to grab one. It’s one of those as seen on TV items. Click
here to see it on the Michael’s page. (The suggested age for this kit is 8 & up) So I caved in and bought it, along with 2 extra packs of pink & aqua blue bands/fasteners because 1) we were going home to do crafts together already and 2) it was on sale! It was actually on sale, for about $1 off the regular price, so that counts, right?  The lady working at Michael’s actually gave us a short demo, showing us how it works. Then she suggested that we start with the basic bracelet pattern, which is pictured in the enclosed instructions and then pursue more advanced patterns on You Tube. As soon as we got home, the fun began. I attempted the first one and I swear I was hooked! Emi was waiting patiently for me to finish so she could start one, but I honestly just wanted to hog the darned thing all to myself! If it weren’t 4:00 p.m., I would’ve sent her to bed so I could be alone with it! SO MUCH FUN! I think Emi spent all night until about 9, making bracelets for all of her school friends, her new teacher, and of course both Daddy and I got one as well.

This is what the kit looks like.
From the teacher point of view, I see it would be great for developing fine motor skills.
This is the tool that comes with the kit, that is used to weave the bands.
I think she made about 18 of these in one night.
So how old is TOO old for being “The Queen of the Rainbow Loom”?

Getting Ready for Back to School

I feel like summer has just flown by and little by little I’ve been getting ready to go back to school.
For me, there are 2 kinds of “going back to school”. First, I have to go back to my own first grade classroom. A couple of weeks after that, I have to get ready for Emi’s first day of school!

The first day of school for Emi is kind of a big deal around here. (I’m sure no one is surprised, right?)
I start “hoarding” things for her 1st day of school breakfast, as early as June! I stick them in cupboards, closets, and in the back of my car! I don’t think I even sleep the night before her first day because I’m so busy setting everything up just perfectly, like I’m throwing some big party or something! I’m pretty sure Emi is just excited to see donuts sitting at the table each year.

Earlier today, I was looking back through my pictures from what I did last year and I just can’t believe it’s been almost a year since Emi started 2nd grade!

Whenever there’s a special occasion or a holiday, I love to decorate with printables by Lauren McKinsey! She always has the most adorable collections, some of which you can even personalize before you print! Last year, I was able to use this particular collection for both this table AND in my own classroom!
Check out her collections here: http://www.LaurenMcKinsey.com
This was some of the back to school swag from last year.
I was in LOVE with this lunchbox by Timree, which actually has a chalkboard inside to write a note in.
The personalized folder is also part of Timree’s school supply collection.
You can check out more of her stuff at: http://www.timree.com
These were little pretzel bags filled with Hershey’s Nuggets that were each wrapped with a printable, also from that collection. The best part about assembling these the night before, was that there was no one else around to count how many I’d eaten!
 
Always remember to send something for your child’s teacher on the first day.
Emi likes to bring something for her new teacher and something for all of the former ones.
(Teachers appreciate that kind of gesture, even if it’s just something small.)
I feel like I’m going to have a hard time outdoing myself this year
after looking over what I did last year!
 Guess we’ll find out in a couple of weeks!