This post is sponsored written by me in collaboration with Pentel, All opinions are my own
As a mom and an elementary school teacher, I know the importance of fostering creativity in children. I truly believe every child has artistic ability, and regardless of what artistic level they’re at, it’s important for parents and teachers to help foster that creativity. 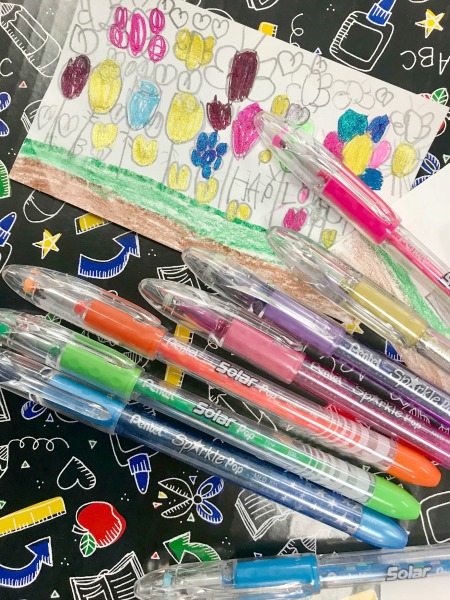 Having time to be creative is just as important as having ample time to play, as both of these things help a child to develop as a whole.
  The best ways to foster creativity in children are by modeling your own creativity in front of them, encouraging a child to express him or herself through art and play and by providing the tools they’ll need, such as art supplies.
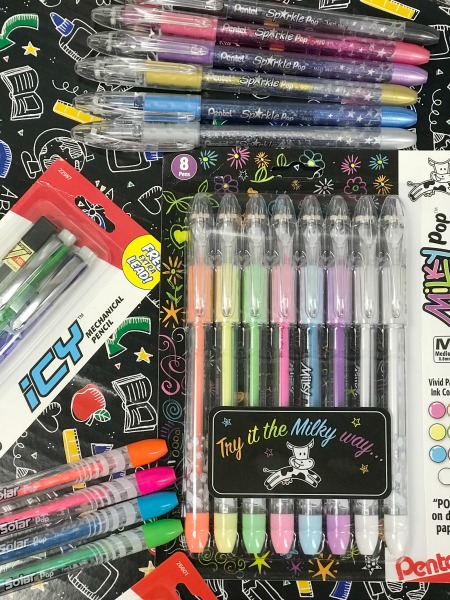 We received a very special package in the mail from Pentel which contained different Pentel POP Pens and Pentel Mechanical Pencils . I took a double take when I saw the pens because I grew up loving some of these very same pens! It was like a flashback to the 90’s! Do you remember these pens from your own childhood? For over 70 years, Pentel has supplied the world with the highest quality products so my own parents probably also grew up with Pentel.
 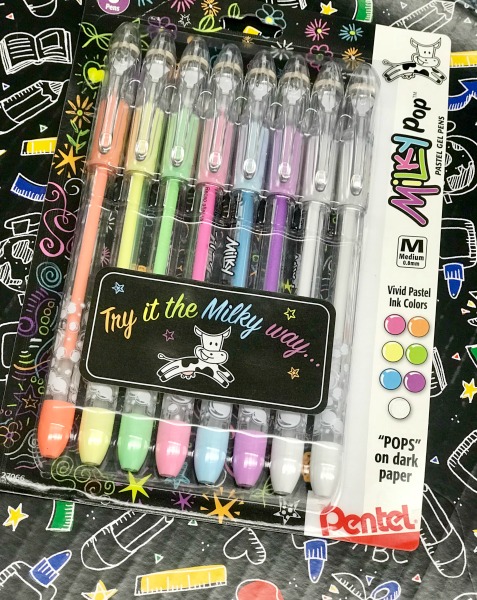 It’s fun to see Pentel Pop Pens are back and they’re better than ever! You can choose from Sparkle, Solar and Milky ink or you can just grab them all! I am a big collector of art supplies, as is my daughter.
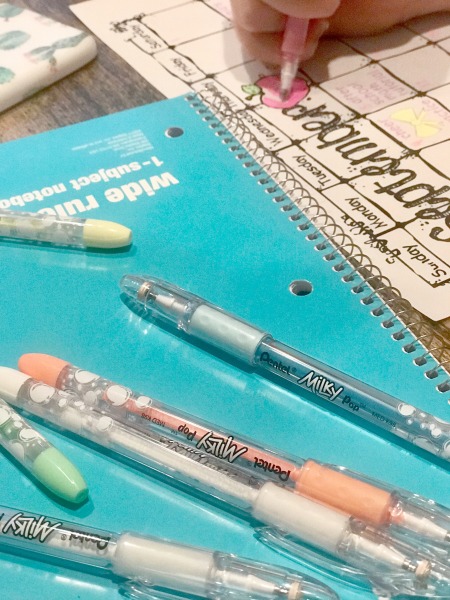 She immediately put the Pentel POP Pens to use at home, colorizing and doodling on things like her monthly calendar, with the help of our cat, of course. The pens definitely make things POP and look extra colorful
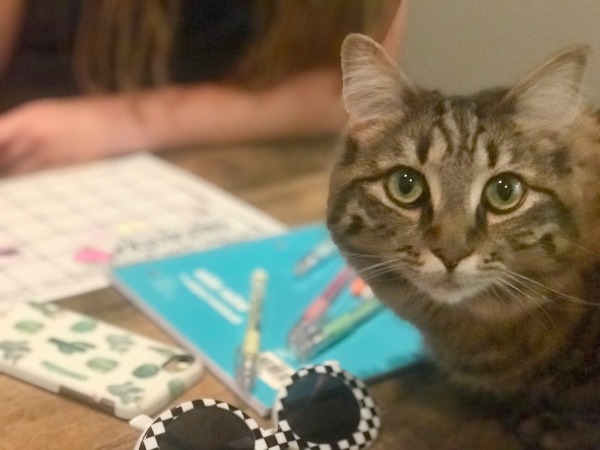 Pentel Mechanical Pencils also come in handy for things like homework. Now if only they could help with the actual Math equations! As a mom with a child who has a Latex allergy, I really appreciate the fact that all 3 of the types of Pentel Mechanical Pencils they sent us (Icy, Champ, and Sharp), feature a latex-free Comfort Zone™ grip for nonstop writing comfort and control. All of Pentel’s Mechanical Pencils are ideal for home, office and school.
Here are some of the cool features of these Pentel POP Pens:
- Sparkle – The vibrant ink of these pens is ideal for cards, drawing and doodles, and also for writing on photo paper. You’ll be amazed by their sparkling, iridescent ink, which is almost magical because it appears to color change when you write on white or black paper. These “Sparkle” pens will help you dazzle your doodles every time!
- Solar – These fun neon ink pens have a latex-free grip for comfortable writing and drawing. Their smooth gel ink makes it easy to doodle and decorate things with a bright POP of color!
- Milky – I think these are my favorite of the 3 kinds because these are the actual blast to the past pens that make it easy and fun to write, draw and doodle with the smooth gel ink in milky pastel colors. It looks fabulous on white or black paper, with black paper being my most favorite place to use them. I think that was my students’ favorite time to use them as well.
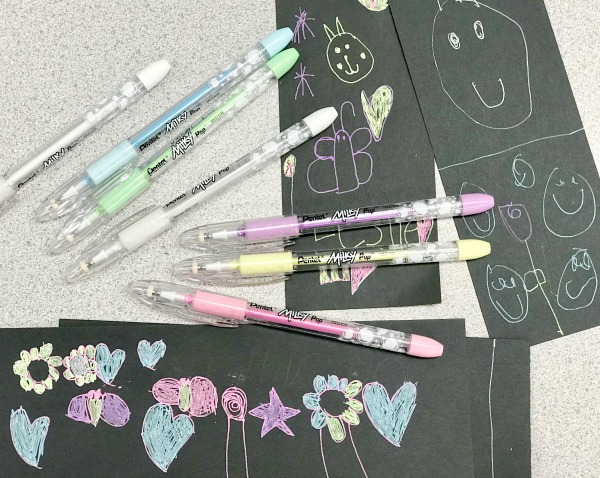
I brought these beautiful pens to use in my classroom to use and allowed my students to use them to make bookmarks during “learning center time”. It’s extra motivating for them when they get to use these kinds of creativity tools for simple in-class projects like bookmarks or even for everyday schoolwork like spelling word practice.  As an elementary school teacher, I sometimes feel hesitant about allowing my first graders to use pens in the classroom because it can end up being pretty messy. However, the gel ink from Pentel POP Pens dries so fast that even left-handers don’t have an issue with them. There are no smears, no smudges and no globs to worry about with these. My students had so much fun making personalized bookmarks with the Pentel POP Pens and black paper. Didn’t they come out cute?
  Did you know….Pentel guarantees your satisfaction? Every product of theirs is backed with a lifetime warranty against defects in materials and workmanship. I appreciate brands that stand behind their products. Do you like to draw and doodle? It’s extra fun for me to do so now with my new collection of Pentel POP Pens!
 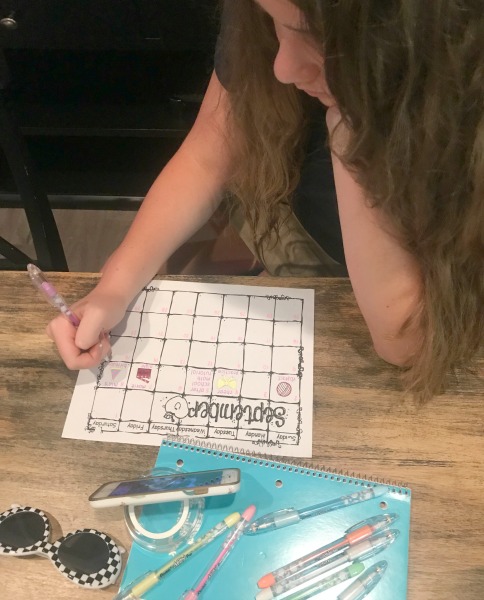 Connect with Pentel on Facebook, Twitter, and Instagram, too.
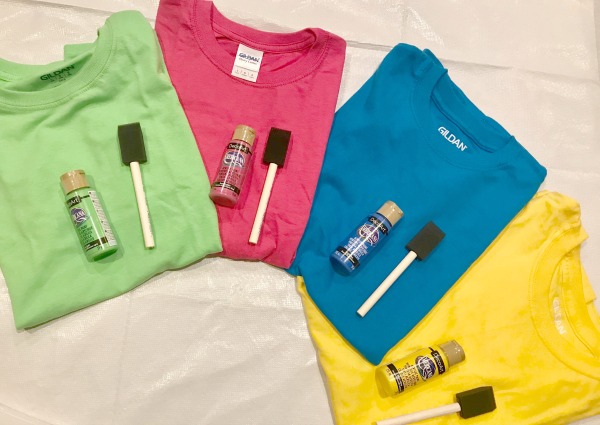
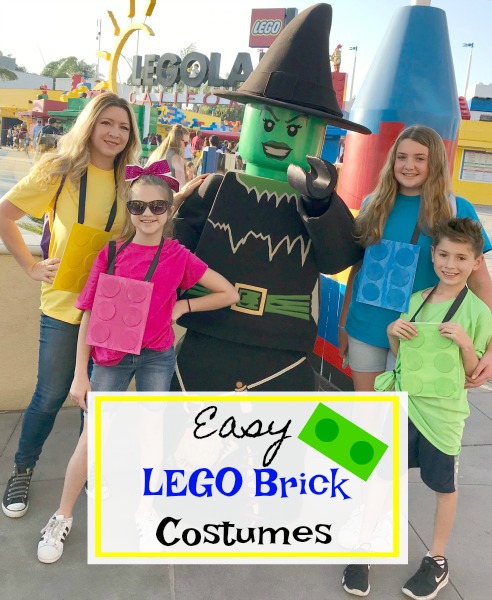 Since it’s an event in the park and the kids still want to go on rides and wear a costume, I found these very easy to wear and also to take off and put on quickly for rides, but still look cute. We got a ton of compliments and it was fun for our whole family to have matching costumes.
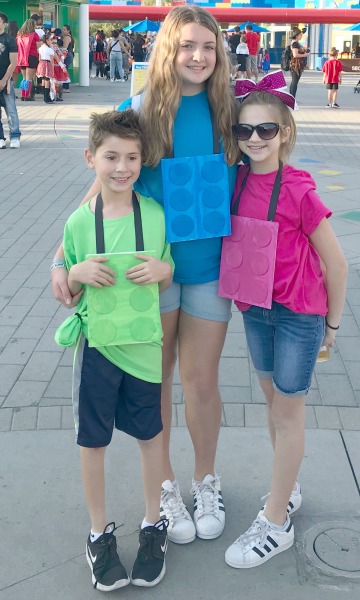 To make these LEGO Brick costumes you’ll need:
 Directions for the costume:
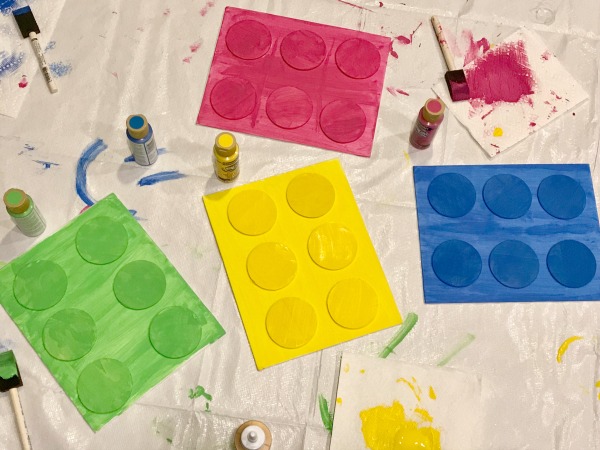
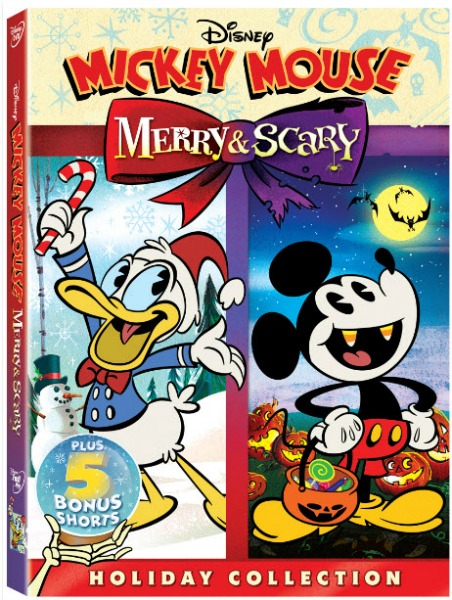 This DVD includes Includes two 22-minute holiday themed episodes, The Scariest Story Ever: A Mickey Mouse Halloween Spooktacular and Duck The Halls: A Mickey Mouse Christmas Special. There are five 3-minute bonus shorts included on the DVD also:
 To get into the spirit of the Halloween season, my daughter and I decided to make a couple of Mickey-inspired trick-or-treat buckets. I love simple DIYs, especially when they involve Mickey Mouse! I wanted to share ours with you because they were so simple to make and can be easily recreated.
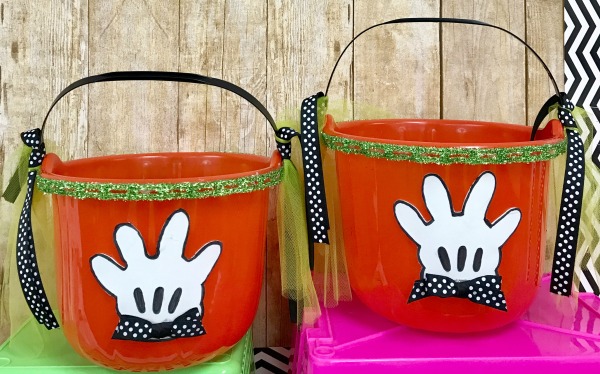 Here’s what you’ll need to make your own Mickey-inspired Trick-or-Treat Buckets:

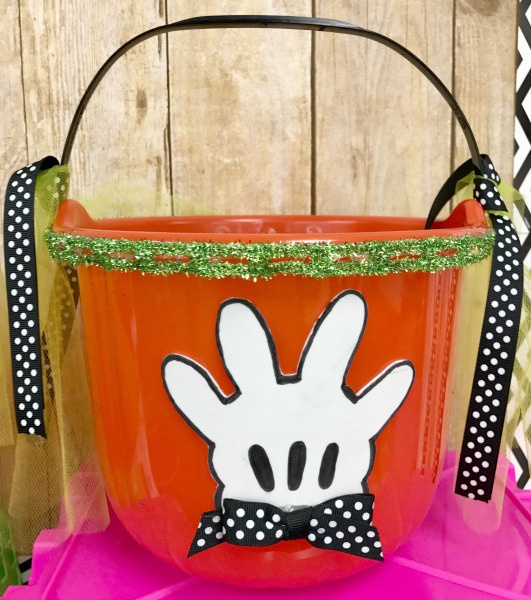 How cute did our buckets turn out? My daughter did the majority of the work. She’s my resident artist and I’m really excited to use them when we attend Mickey’s Halloween Party at Disneyland Resort. Meanwhile, I’m using them in my classroom to hold rewards for my students. Boy, do they pay attention when I pick one of the buckets up!
 I’m also having a giveaway for one (1) of my lucky readers to win their very own copy of Mickey Mouse: Merry & Scary! To enter, leave a comment below and tell me if you about one of your special Halloween traditions. I will accept comments for this giveaway until 11:59 p.m. on October 2. I will choose a winner on October 3 via Random Number Generator and notify the winner. Giveaway is open to U.S. Residents of the Continental U.S., ages 18 and older. Prize has no cash value.
 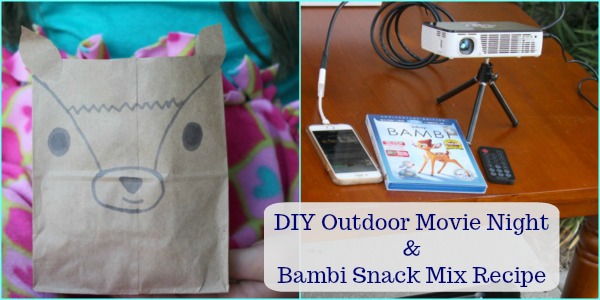 I loved this movie as a child and was so excited to introduce my daughter and my nieces and nephews to it also.
 The Signature Collection release, now available at retailers, contains a variety of new bonus material including:
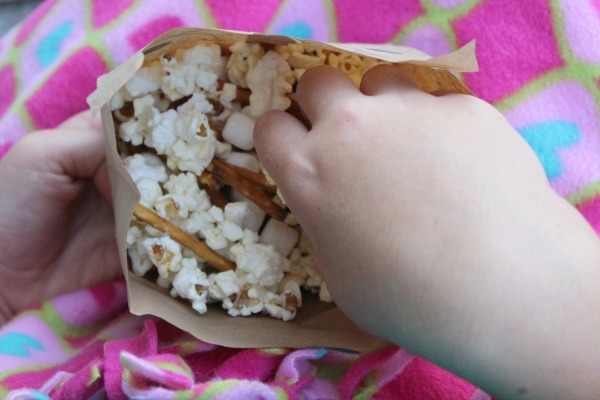 I was delighted to received an amazing bundle of goodies in the mail from Disney to host my outdoor movie night. My bundle contained an AAXA P300 Pico/Micro LED Projector, an Ion Audio Tailgater Portable Bluetooth PA Speaker System with Microphone, an Apple Lightning Digital AV Adapter for iPhone, and a copy of Disney’s “Bambi” on Blu-Ray. I couldn’t wait to get started.
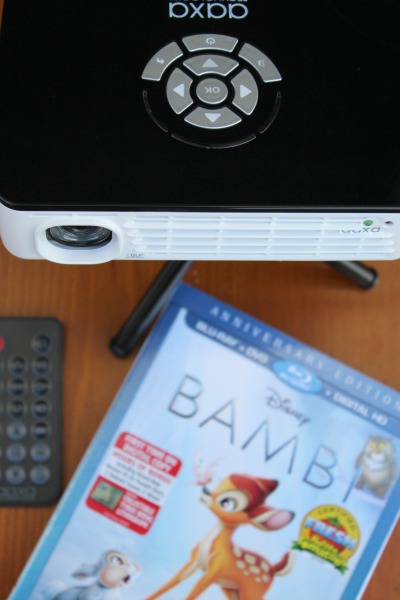 Although the mini projector already has sound coming out of it, pairing it with the Ion Tailgater speaker system really amplified the sound, to make it even louder for the outdoors. This portable sounds system includes speakers, an amplifier, audio inputs, and wireless Bluetooth technology, all in one durable cabinet that has handles for easy transport and allows you to enjoy your music whenever and wherever you want. . (It also works with iPad, iPhone, iPod, Android devices and more.)
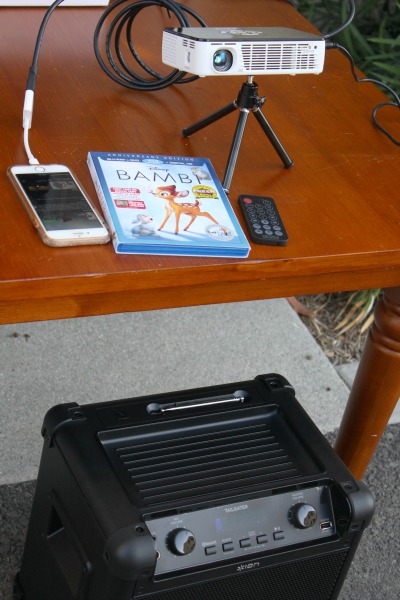 For our outdoor movie, I streamed the digital copy of “Bambi” on my phone by using the digital code inside the DVD on the Disney Movies Anytime app. (Do you have this app yet?) Since my laptop doesn’t have the capability to run an internal DVD, I just streamed the movie on my phone with Apple Lightning Digital AV Adapter and my phone hooked directly up to the projector. It was much easier than setting up a laptop anyway.
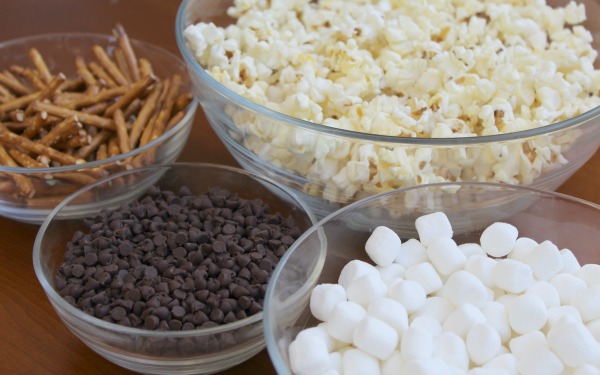
 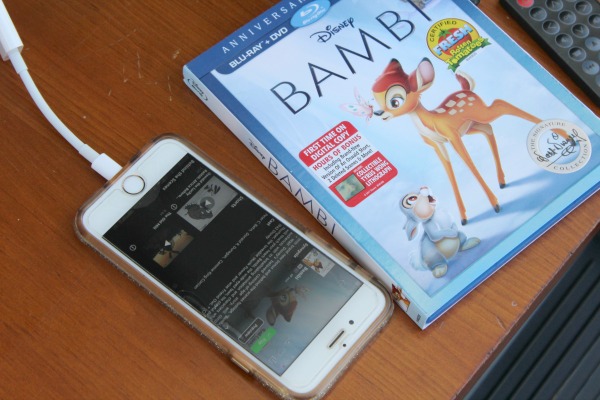 Whenever we have a party or a get-together, we like to do something thematic. Hosting an outdoor movie doesn’t have to be complicated and you can get away with just serving simple snacks like popcorn and drinks. We decided to whip up a batch of “Bambi’s Favorite Snack Mix” which is just a few goodies mixed in with popcorn and served in these adorable Bambi bags that my daughter created out of simple brown lunch bags we had in our cupboard.

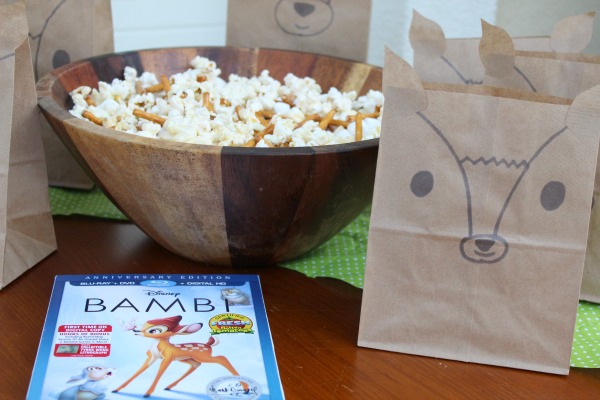 To recreate these Bambi snack bags, you’ll just need brown paper lunch bags, a black marker, scissors, a glue stick, and a cotton ball for each one.
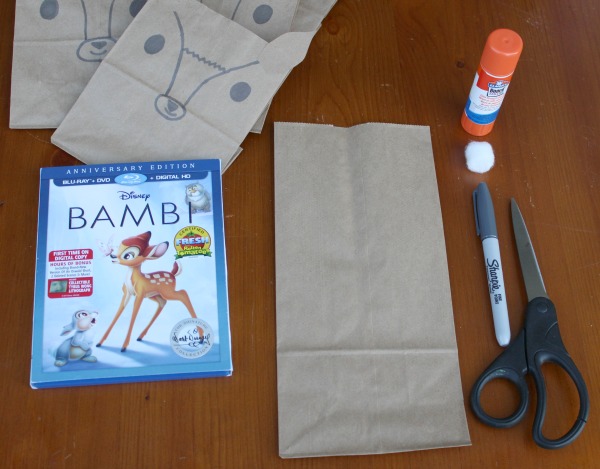 Here’s a short time-lapse video showing how my daughter made a Bambi snack bag.
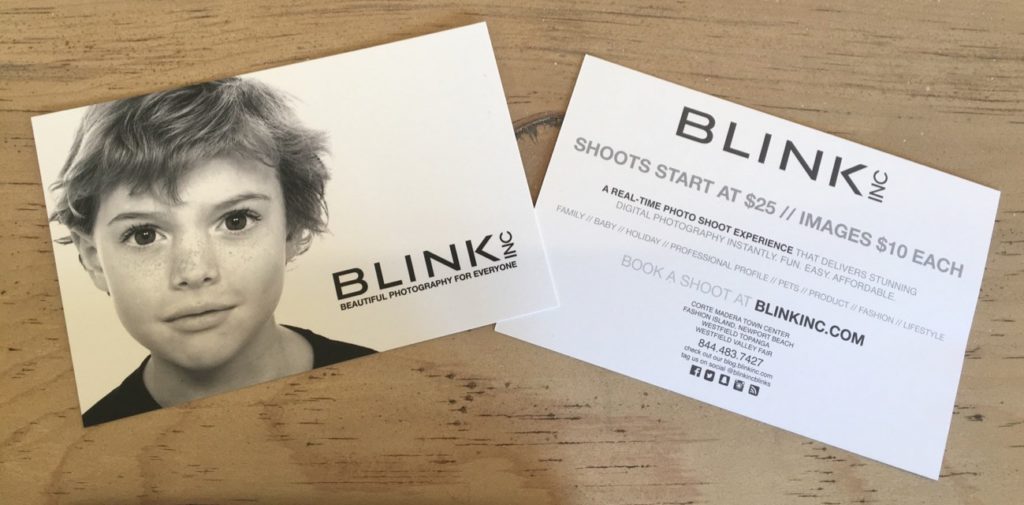
 This year my daughter just wanted a “Girls Day Out” at the mall with her friends. I think they’re at the age where they want to be out and be seen. She requested lunch and shopping and “just hanging out”. I thought of something super fun to add to her day….I booked a BFF birthday photo session for the girls at Blink, Inc,! (She absolutely loved it when we visited last year.) She was ecstatic when I told her about the addition to our plans for the day!
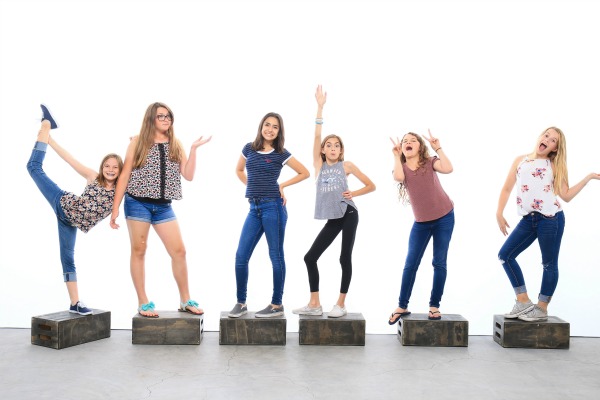 Blink, Inc. is a photo studio staffed with professional photographers that are ready to photograph you the moment you walk in. It was so easy to make this fit in with our party schedule, you just go online to their site and choose a time and date at the location that works best for you, and book an appointment to go into their studio.
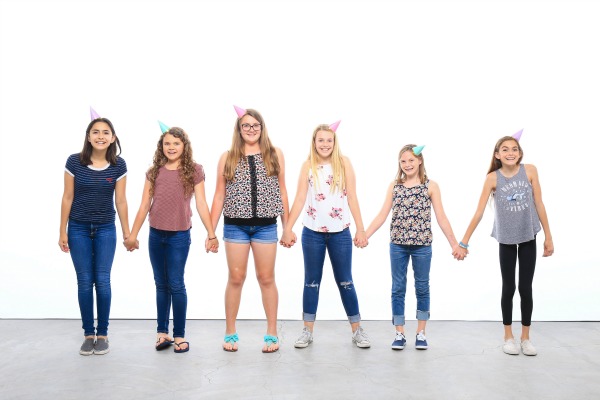 Blink, Inc.studio is already set up with an all-white, blank backdrop, giving you images that look and feel like a professional, editorial fashion shoot. The lighting is set up to make everyone look their best! (They even flashed out MY wrinkles!)
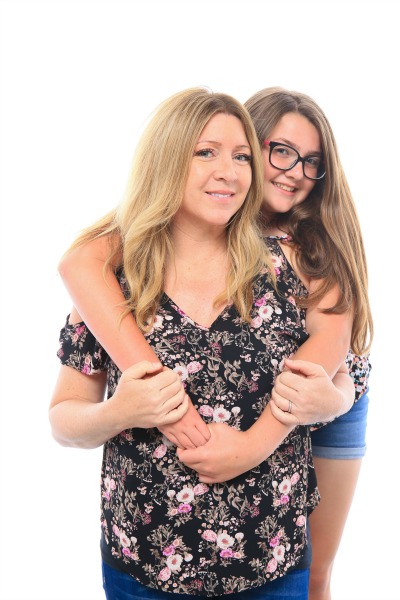 The photographers at the studio are experienced and will work with you ,not only to make it a fun experience but also to assure you get the images you envisioned in your head. Our photographer talked with us a little bit before we started and we showed her some of the props we brought for the shoot and gave her ideas of what I was looking for.
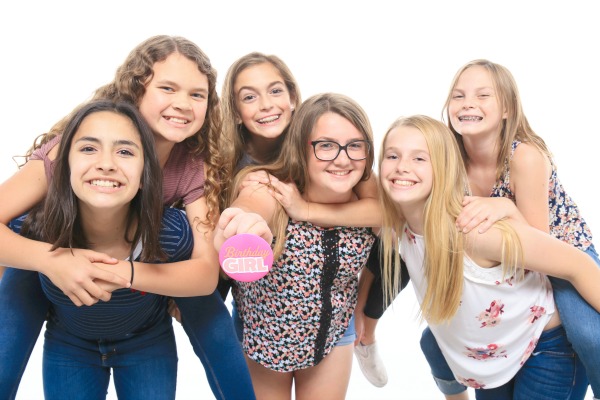
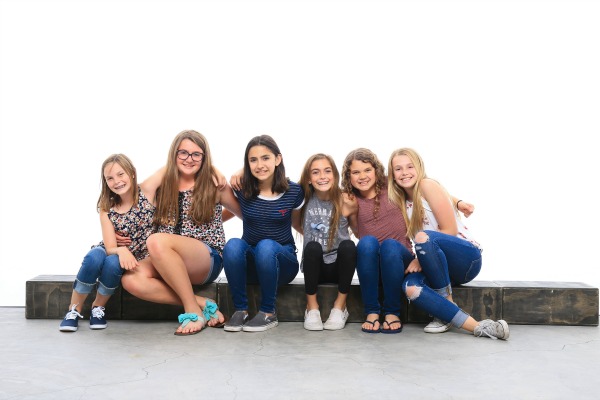
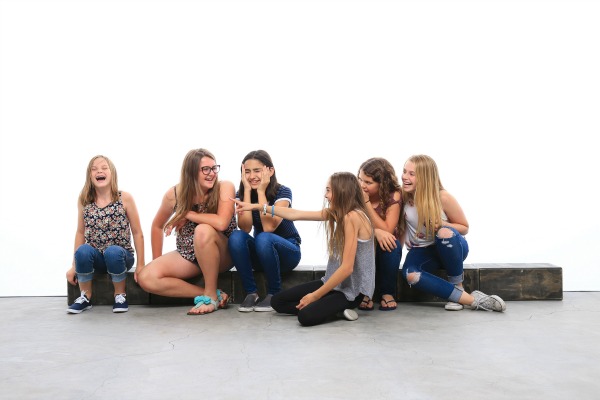
 You’ll want to come into the studio with an idea of what you’re going to do because shoots go by very quickly. We brought tiny party hats with us, a “Birthday Girl” button, and some confetti, to use as props in some of the pictures. Our photographer, got a lot of cute shots though, most without props. I love that the girls were just dressed as their regular, everyday tween selves because their littler personalities really showed in the photos.
 Sessions at Blink, Inc can be scheduled for 10, 20, 30 minutes, or even longer, and start at just $25 for a 10 minute session. You’re able to see your photos as they’re shot, because Blink, Inc. offers a real-time delivery system. Pricing for images begins at $10/image with the option to purchase the entire shoot at a great “Buy All” price. Your images are delivered almost immediately to your computer or mobile device so you can view, download to share online and even print at home.
 Walk-ins are welcome but reservations are always encouraged at Blink, Inc.. To learn more about the different types of sessions you can shoot at Blink, Inc. or to reserve your own in-studio appointment, please visit
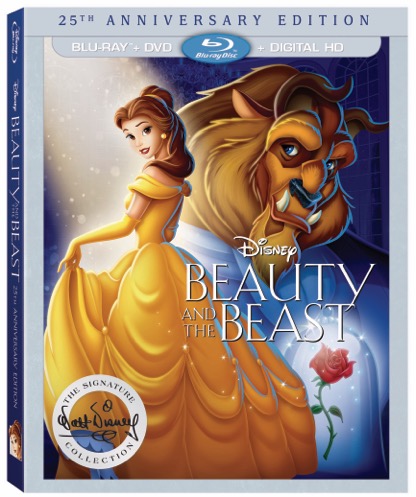 This “tale as old as time” has always been one of our favorite Disney films to watch as we absolutely adore Belle! She is so beautiful and kind and as a teacher, I love that Belle has such a love for reading! She is absolutely breathtaking in her gown and every time we wave to her in the Disney parade, we can’t help but grin from ear to ear.
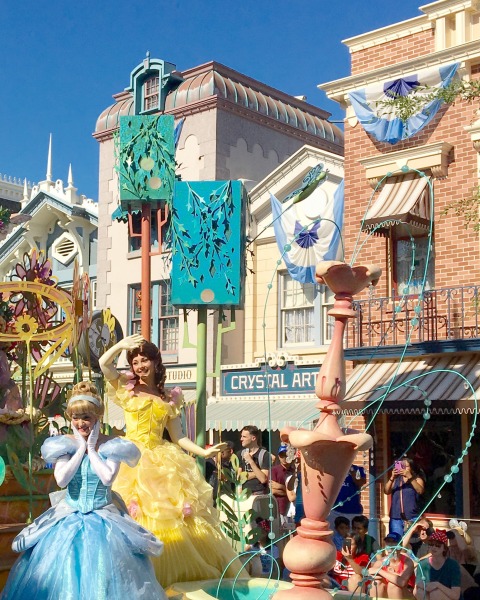 In honor of the release of this Disney classic’s 25th anniversary, we made a super cute no-sew Belle hair bow. It was very easy to put make.
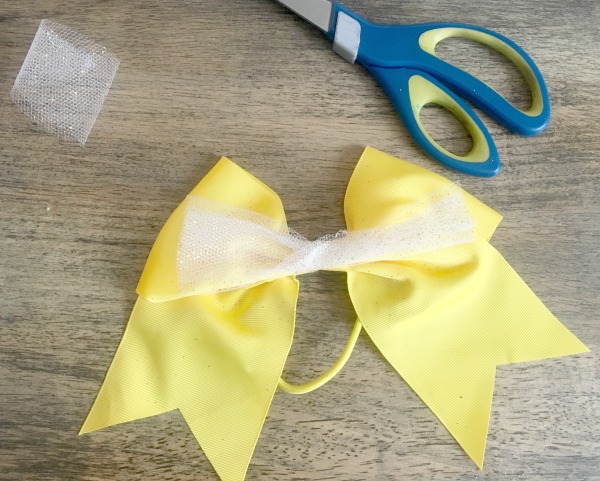
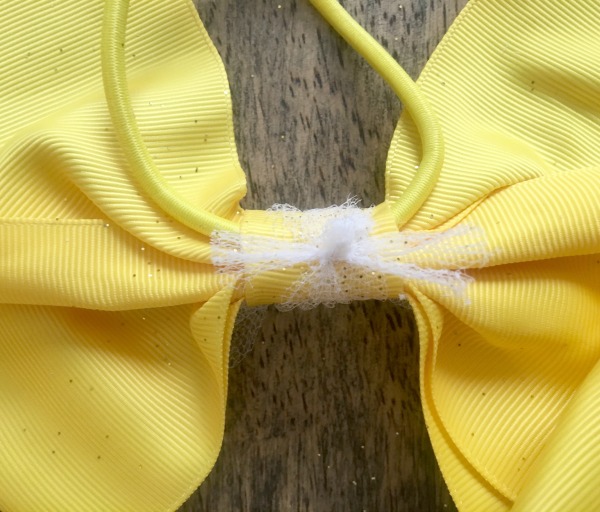
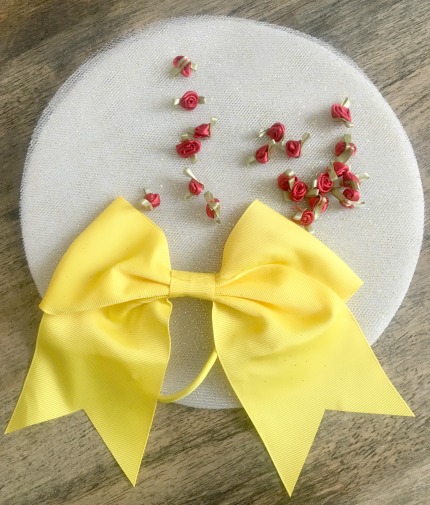 Here’s what you’ll need to make your own “Belle Hair Bow”:
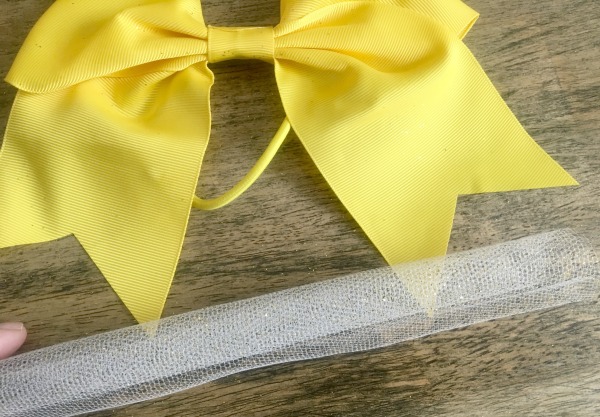
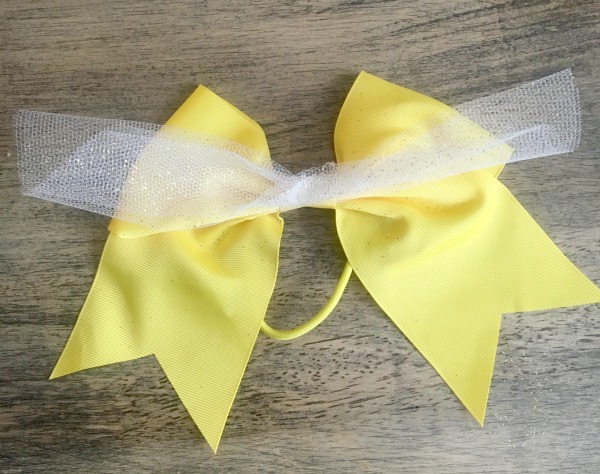
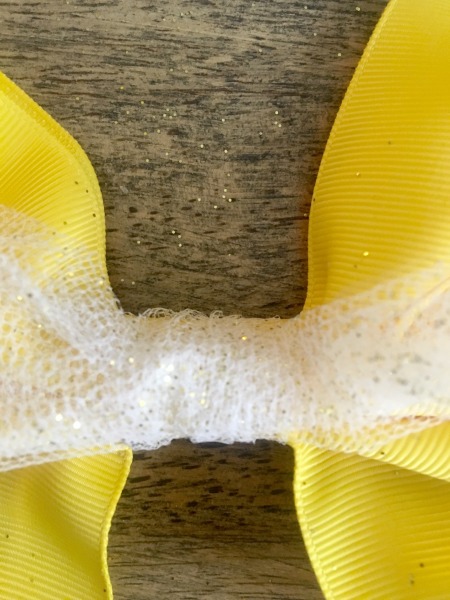
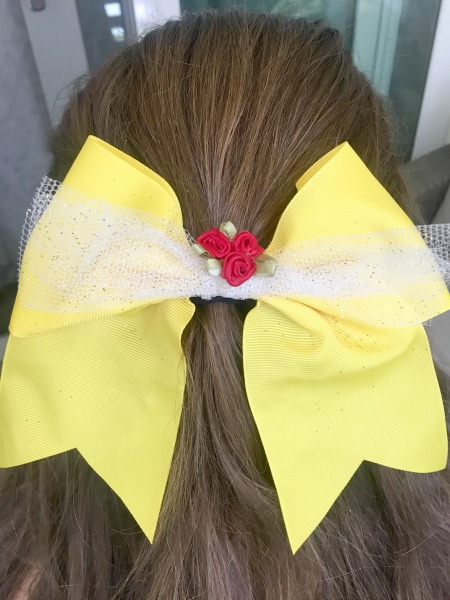 How cute did our “Belle” bow turn out?
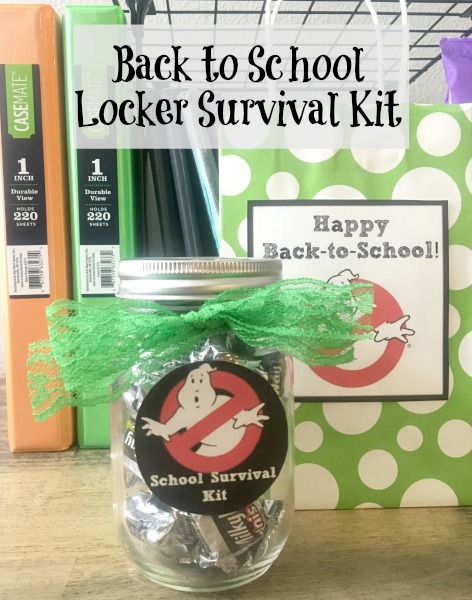 Summer’s come to an end and it’s already time for Back to School. It’s sometimes hard to transition back into the busy hustle n’ bustle of the school year. I always try to do something special for the beginning of the school year. It’s sometimes hard to impress teens but I’m hoping I still have it in me.
  When I was out shopping at
 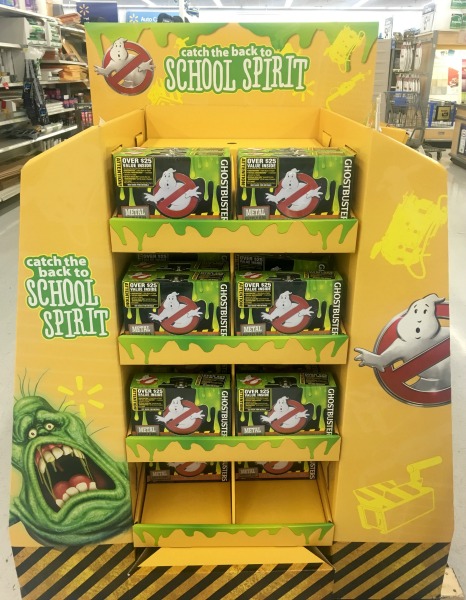 Such cute little Ghostbusters erasers, notebooks, and most importantly, hand sanitizer. Have you seen the film yet? It’s still playing in theaters and was a big hit with our family this summer. If you’ve already seen it, you probably understand my obsession with the movie. If you haven’t, you need to get to the movies! What a fun film!
 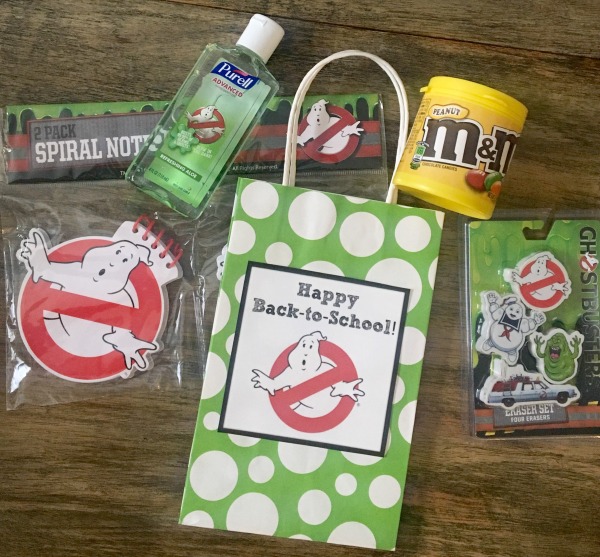 After my shopping trip, I was going to go home and put together a fun little first day of school Ghostbusters themed gift bag and make a cute printable to go with it. (see below to print your own out.)
 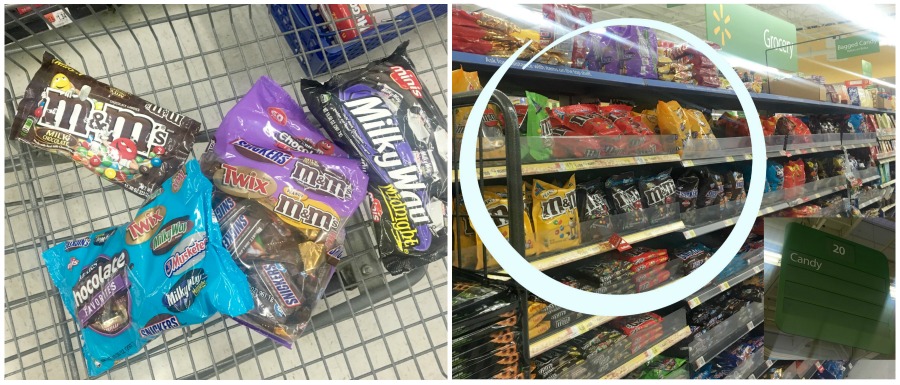 In addition to the fun school supplies, I found at Walmart, I also loaded my cart up with a bunch of my favorite chocolate candies that I found on the candy aisle. You can never be too stocked up! Here’s what I purchased:
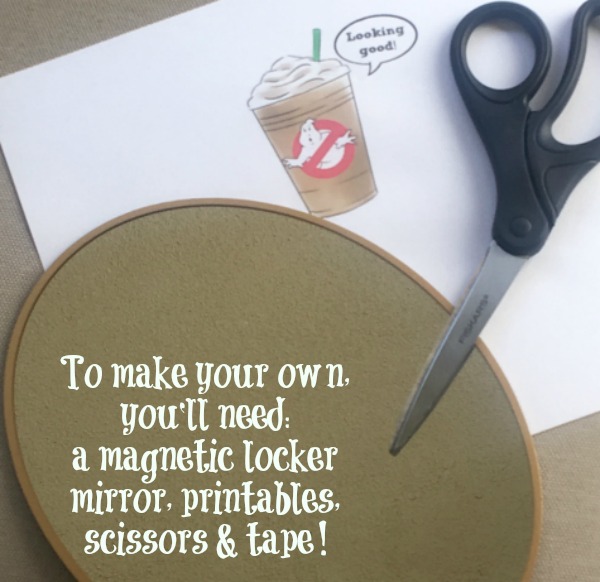
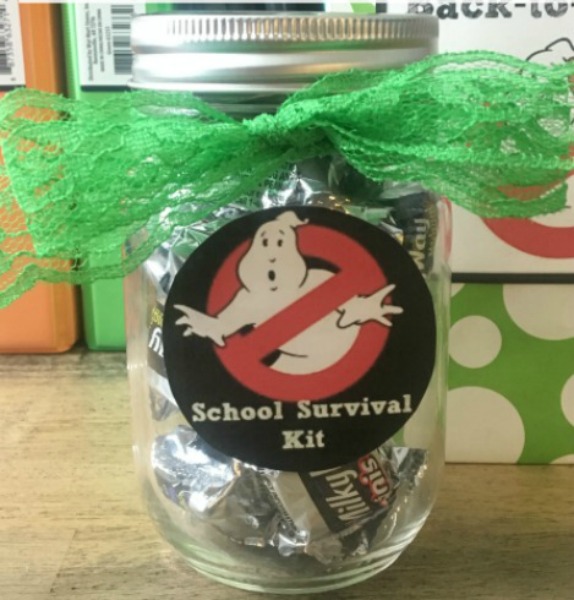
 I also stuffed a small Mason jar with some of the candies, tied it with a piece of bright green lace, and stuck a “School Survival Kit” printable on the front. This will be perfect in between classes when she needs a pick-me-up!
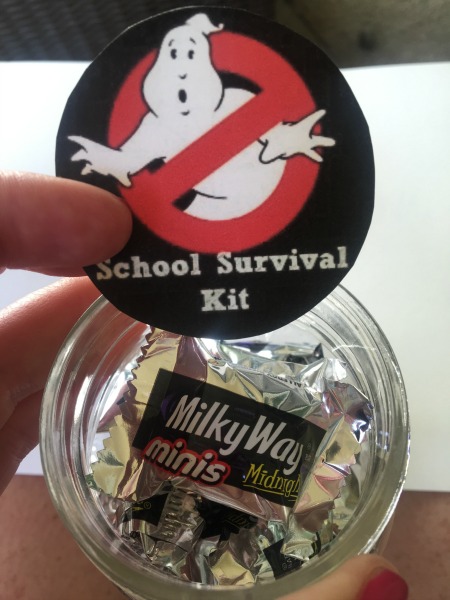
 To download any of the free printables I used in this post, go
 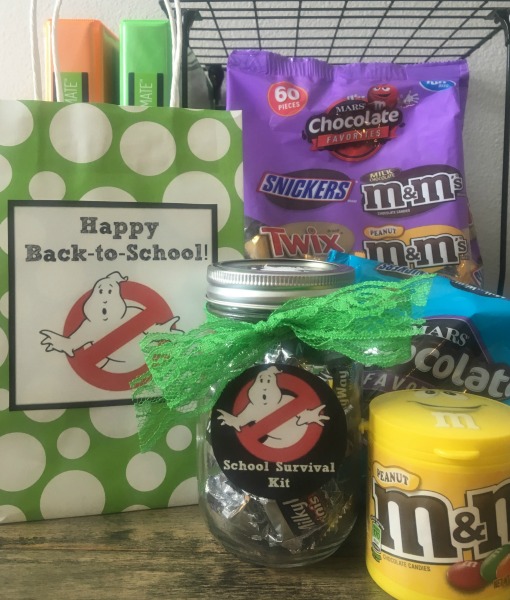 Do you do anything special for Back to School? Share with me what you do in the comments.
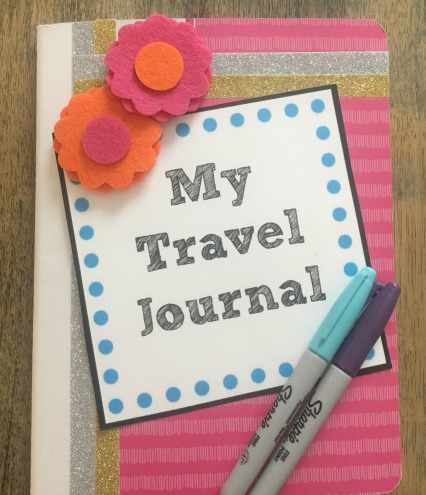
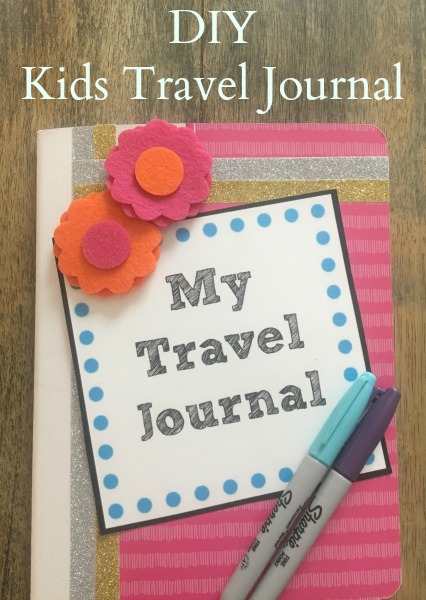 I thought it would be fun to make a journal for my own daughter to keep, but more of a travel journal, rather than a diary. I think it would be something she could utilize it on a specific trip, as a way to document a family vacation, or even keep it as an ongoing travel journal throughout childhood.
 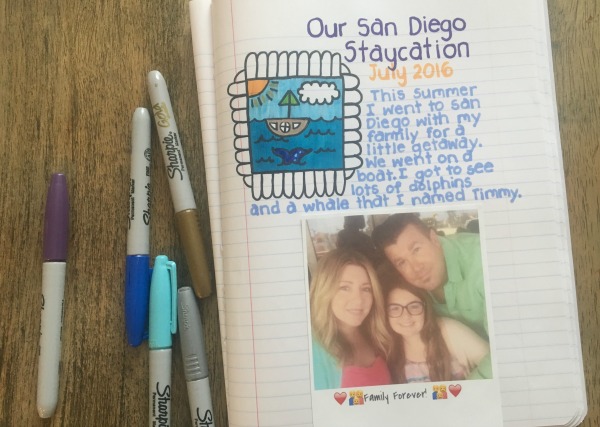 Either way, a travel journal is a great tool to get your child thinking, writing, and even sketching about adventures they’ve had on vacations. It’s also a great keepsake for them to look back on in later years.
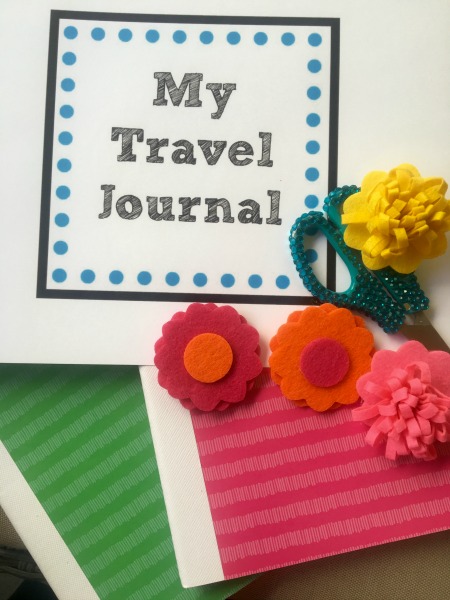
 After I glued the printable onto the cover, I added some decorative washi tape accents. I love washi tape! Sometimes it’s hard to choose just one or two to use. Finally, I fastened some bright flowers in the corner. It really made the cover “pop”!
 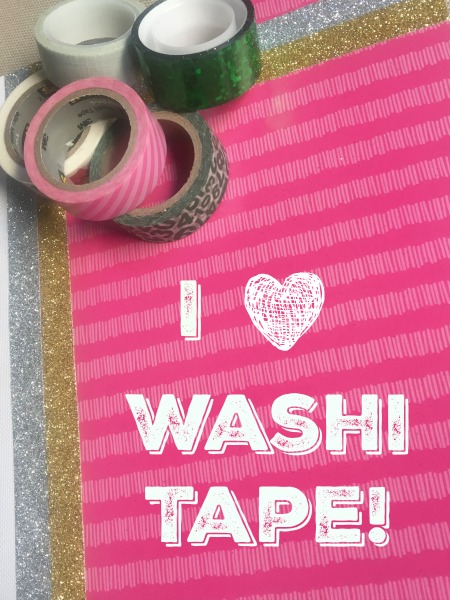 A travel journal is perfect to take on a trip and allow your child a little bit of time each day, perhaps at day’s end, to sum up their favorite parts of that day and even include an illustration or photograph. You could also fasten a photograph to the page. My daughter loves taking her instant camera on trips.
 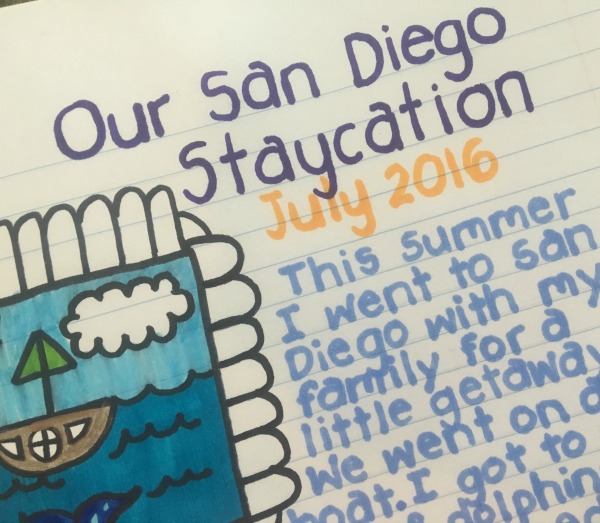 How do you document family vacation memories? Do you have your child keep any type of journal. If so share with me in the comments.