
Last week, I had a unique opportunity to attend a Ling Ling Asian Foods cooking class in L.A. at Hipcooks. The class was led by Chef Katie Chin and attended by a fun group of local influencers. The place was beautifully adorned with festive red and gold decor and some traditional New Year’s decorations.  Since Chinese New Year is just around the corner, falling on Friday, February 16 this year, I was excited for the opportunity to try out several simple-to-prepare-at-home Ling Ling items that you can put together to make an easy meal for your family. I’m addicted to Ling Ling Potstickers and now they offer Fried Rice and Noodles, too! All of the Ling Ling items are perfect for preparing your own an authentic Asian Chinese New Year meal at home.
 It was night of laughter and learning led by Chef Katie Chin, who is an extremely talented and just an adorable person. She shared so much with us. Not only did she give us some helpful tips to plan our Chinese New Year menus, she was also very open and personable and sharing quite a bit about her personal story and how she came to be involved in the culinary industry.
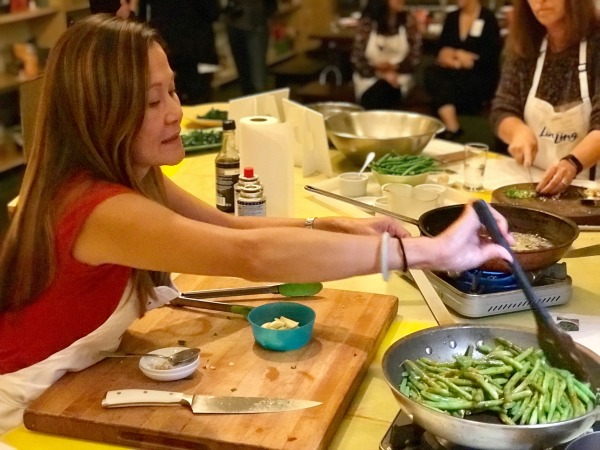 Chef Katie started off by teaching us how to blanch kale and green beans to use in 2 simple recipes: a Kale with Ginger Salad and Sweet & Spicy Green Beans. I had no idea how easy it is to blanch veggies but I know I’ll do it more often now. Both of these recipes make great side dishes to feature on your Chinese New Year menu. (Please see down below for recipes.)
 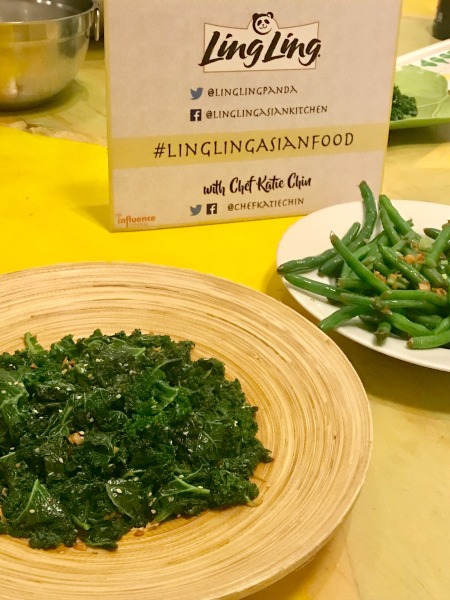 After we were finished preparing these two dishes, we all sat down to enjoy an early Chinese New Year dinner together. The table was filled with delicious Ling Ling entrees and New Year’s decor.
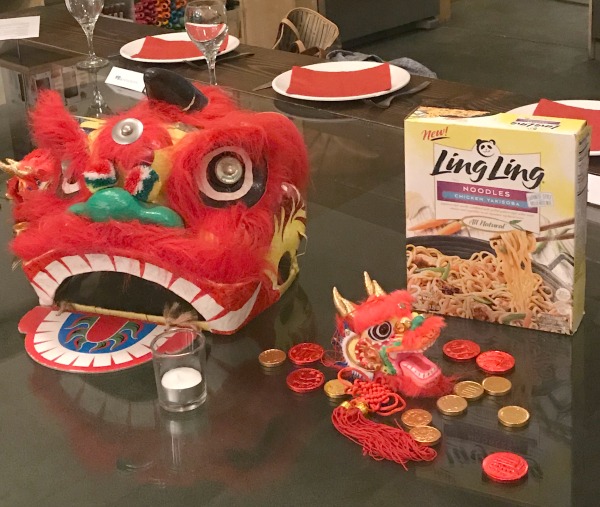 Ling Ling’s most well known product are their potstickers. Have you tried them before?
  They’re made with delectable chicken or pork, and tender vegetables and are expertly combined in a mouthwatering dumpling wrapper. Each comes with Ling Ling signature dipping sauce and they are so delicious!
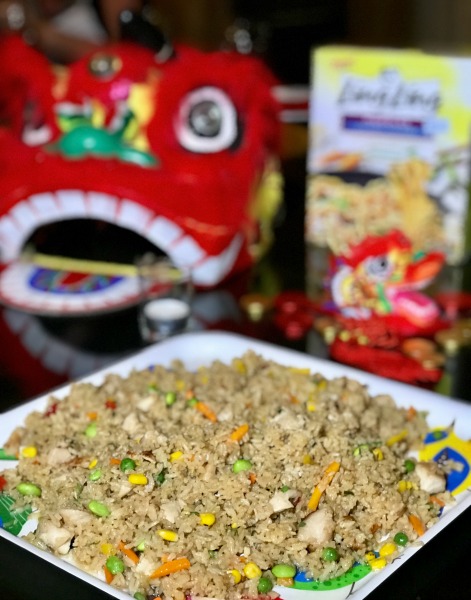 Ling Ling also has Fried Rice dishes from Japan and China. Their authentic recipes are expertly crafted and made with tender vegetables, delicious proteins and flavor infused rice that tastes great down to the last grain. You’re going to love these once you try them and they are so simple to prepare at home. Ling Ling Fried Rice is available in Yakitori Chicken, Yakiniku Beef, Thai-Style Chicken, Chinese-Style Vegetable, and Bibimbap Beef flavors.
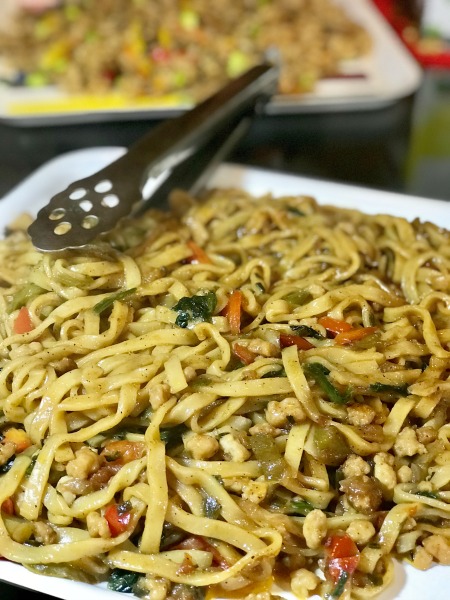 Another great Ling Ling product available in stores are the Authentic Asian-style noodles infused with delicious sauces, succulent proteins, and vegetables. There are two traditional Asian varieties to choose from: Drunken Noodles and Yakisoba Noodles.
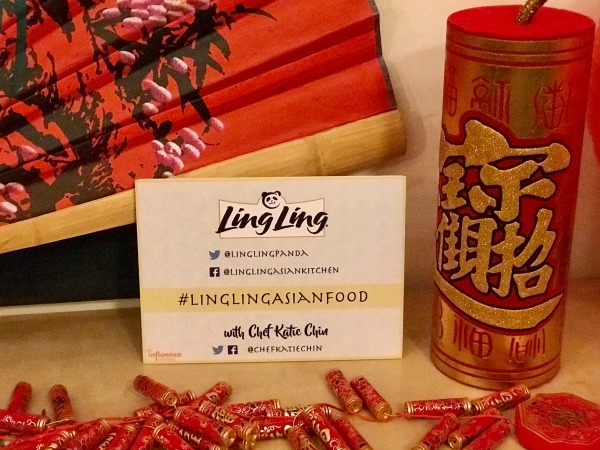 Aside from all of the food, I also enjoyed getting to learn about some Chinese New Year customs and traditions from Chef Katie. Here are some of the DOs and DONTs to follow for starting out the New Year:
- Don’t use foul language or bad words on New Year’s Day or they will follow you throughout the year.
- Don’t wash your hair on the actual Chinese New Year because you will “wash away” your good luck for the year.
- Greeting friends with oranges or tangerines (with the leaves still attached if possible) during the New Year will ensure that your friendships remain intact
- Don’t sweep on New Year’s Day as you’ll “sweep” all your good luck out the door
- Be sure to step into new shoes on New Year’s morning to start your year off on the right foot. This was a personal favorite of Chef Katie and I can see why.
One of the cool customs we also learned about was the distribution of red envelopes to children, filled with money to start the year with prosperity. These signify Joy and Luck! I was so inspired by Chef Katie, that I went and purchased her latest cookbook, a tribute to her mom; Everyday Chinese Cookbook – 101 Delicious Recipes from My Mother’s Kitchen. A very special thank you to Chef Katie Chen and Ling Ling Asian Foods for hosting me for a fun night out!
 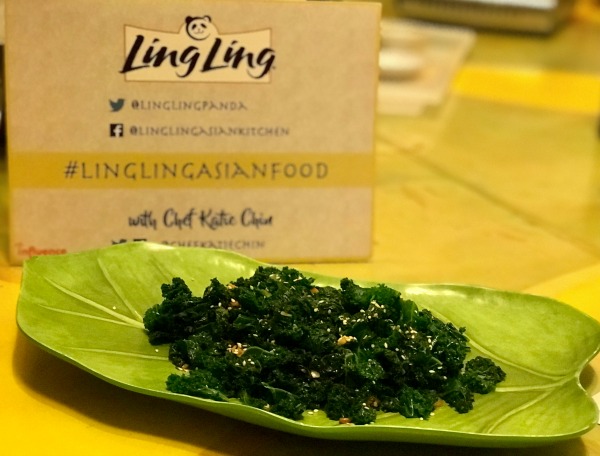 Kale with Ginger (serves 4)
Ingredients:
- 1 large bunch kale, rinsed with hard stems and center ribs removed and coarsely chopped
- 1 Tablespoon fresh minced ginger
- 2 teaspoons neutral oil, such as canola
- 1 teaspoon soy sauce
- 1 teaspoon sesame oil
- 1/4 cup water
- 1 teaspoon toasted sesame seeds
Instructions: Blanch kale in boiling water until bright green. Using a slotted spoon, transfer to an ice bath to cool. Drain and set aside. Heat the oil in a wok or skillet over medium-high heat. Add the garlic and stir-fry until fragrant, about 30 seconds. Add the kale and stir-fry for a few minutes until wilted but still slightly crunchy. Add the soy sauce and sesame oil and stir-fry for 30 seconds. Sprinkle with sesame seeds and serve.
h the beans in boiling water until tender-crisp (about 3 minutes). Using a slotted spoon, transfer to an ice bath to cool. Drain and set aside.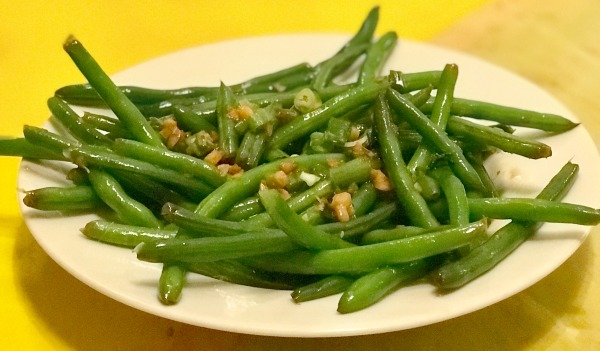 Sweet & Spicy Green Beans (serves 4)
Ingredients:
- 1 pound green beans, washed and trimmed, cut into 1-inch pieces
- 1 Tablespoon neutral oil, such as canola
- 2 garlic cloves, minced
- 1 teaspoon fresh minced ginger
- 1/2 teaspoon Srircha sauce
- 2 teaspoons soy sauce
- 2 teaspoons oyster sauce
- 1 teaspoon sugar
- 1 green onion, green and white parts, finely chopped
Instructions: Blanch the beans in boiling water until tender-crisp (about 3 minutes). Using a slotted spoon, transfer to an ice bath to cool. Drain and set aside. Heat the oil in a wok or skillet over medium-high heat. Add the garlic and ginger and stir-fry until fragrant, about 30 seconds. Add the drained green beans, Srircha, soy sauce, oyster sauce and sugar and stir-fry for 1 more minute, then add the green onions and stir-fry for 30 more seconds. I am excited for Chinese New Year this year because I feel like I can prepare a meal for my family with these Ling Ling products plus the 2 additional recipes from Chef Katie, and I feel confident that will look like I’ve spent hours cooking and that they’ll actually eat. As a busy mom, I don’t always have hours to spend in the kitchen, but preparing something quick and simple, with quality products is something I can be proud of. Ling LIng authentic asian foods are so simple to work with and I appreciate that.
To find a store near you where Ling Ling products are available, please go here. How will you be celebrating Chinese New Year? Will you be preparing any special dishes for your Chinese New Year menu? Share with me in the comments.


 In honor of the latest film release, Bounty has introduced limited-edition Bounty with new Despicable Me 3 prints paper towels and quilted napkins. They are so cute, you’ll want to stock up your cupboard with a plethora of them. Bounty paper towels and napkins make clean-up quick and fun!, especially now with the new Despicable Me 3 prints. My daughter and I tend to get a little messy in the kitchen together whenever we cook, bake, or make anything, so these durable paper towels really help us clean as we go. Making messes together is half the fun though, right?
 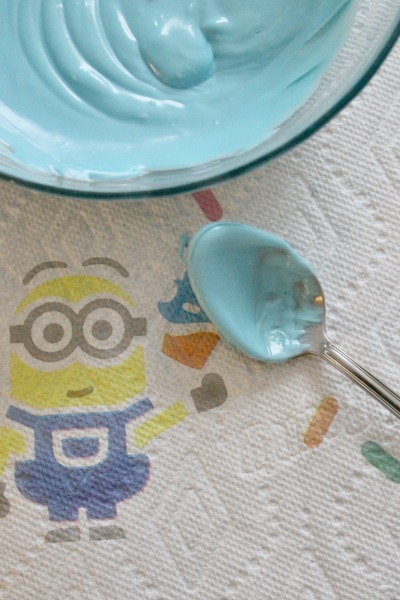 One of my (many) favorite parts about Despicable Me 3 is Agnes’ infatuation with unicorns. At the mere mention of the word “unicorn” she practically implodes! She’s beyond adorable when she talks about how they’re “just so fluffy”. We feel the exact same way about unicorns. I think people are drawn to unicorns because everything associated with them seems so happy and colorful.
  After seeing Despicable Me 3 in theaters, we were inspired to to spend an afternoon together, whipping up a batch of delicious “Unicorn Bait”.
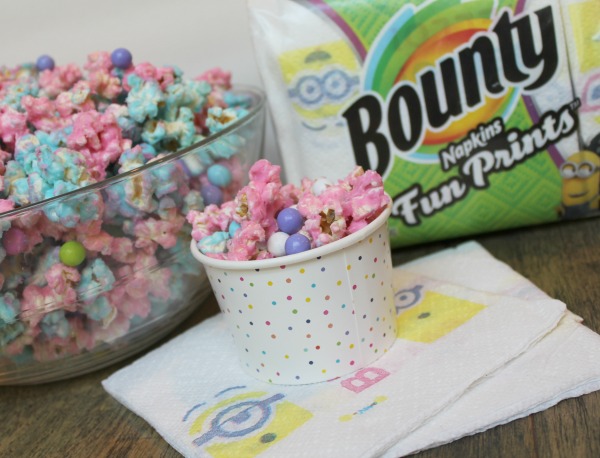
 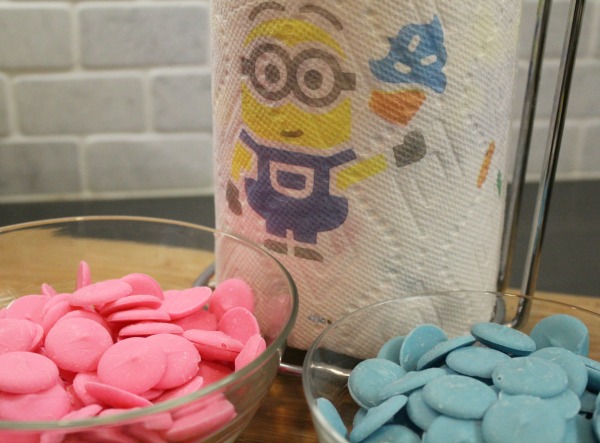 Bounty with new Despicable Me 3 prints are in stores just in time for Summer break with the kids and all the messy activities that come along with it! It was fairly simple to make this recipe and we only used 3 ingredients. (please see below for the exact recipe.)
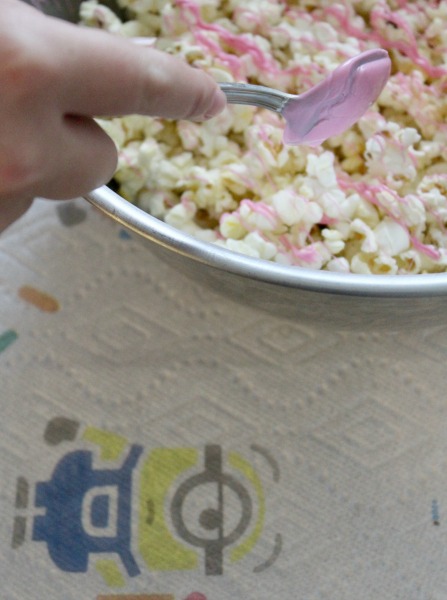 Since I love the color pink and my daughter loves the color blue, we used both colors in the popcorn coating, mixing together to even get bits that looked marbled. I was happy to have Bounty paper towels nearby to help with our sticky fingers after all of the mixing of colored candy melts and popcorn.
 To make this recipe, you only need these few ingredients:

 Not only is unicorn bait scrumptious, but legend has it that you can also leave some out in a small pile, to capture your very own unicorn! You just have to believe!
 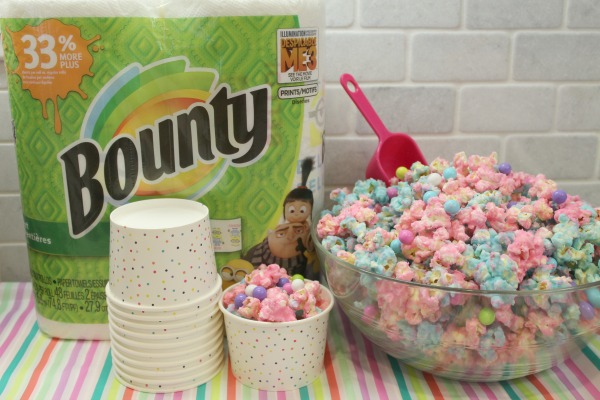 After you make this sweet treat, keep the celebration going and be sure to check out Despicable Me 3 in theaters now! It’s rated PG and fun for the whole family.
 I loved this movie as a child and was so excited to introduce my daughter and my nieces and nephews to it also.
 The Signature Collection release, now available at retailers, contains a variety of new bonus material including:
 I was delighted to received an amazing bundle of goodies in the mail from Disney to host my outdoor movie night. My bundle contained an AAXA P300 Pico/Micro LED Projector, an Ion Audio Tailgater Portable Bluetooth PA Speaker System with Microphone, an Apple Lightning Digital AV Adapter for iPhone, and a copy of Disney’s “Bambi” on Blu-Ray. I couldn’t wait to get started.
 Although the mini projector already has sound coming out of it, pairing it with the Ion Tailgater speaker system really amplified the sound, to make it even louder for the outdoors. This portable sounds system includes speakers, an amplifier, audio inputs, and wireless Bluetooth technology, all in one durable cabinet that has handles for easy transport and allows you to enjoy your music whenever and wherever you want. . (It also works with iPad, iPhone, iPod, Android devices and more.)
 For our outdoor movie, I streamed the digital copy of “Bambi” on my phone by using the digital code inside the DVD on the Disney Movies Anytime app. (Do you have this app yet?) Since my laptop doesn’t have the capability to run an internal DVD, I just streamed the movie on my phone with Apple Lightning Digital AV Adapter and my phone hooked directly up to the projector. It was much easier than setting up a laptop anyway.
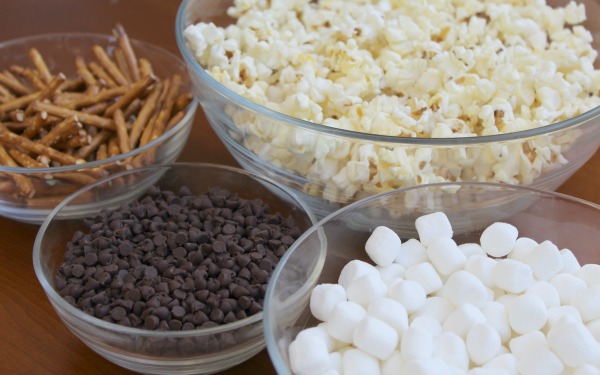
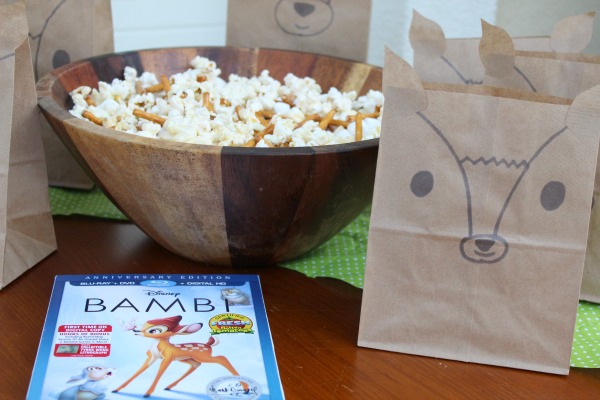
  Whenever we have a party or a get-together, we like to do something thematic. Hosting an outdoor movie doesn’t have to be complicated and you can get away with just serving simple snacks like popcorn and drinks. We decided to whip up a batch of “Bambi’s Favorite Snack Mix” which is just a few goodies mixed in with popcorn and served in these adorable Bambi bags that my daughter created out of simple brown lunch bags we had in our cupboard.

 To recreate these Bambi snack bags, you’ll just need brown paper lunch bags, a black marker, scissors, a glue stick, and a cotton ball for each one.
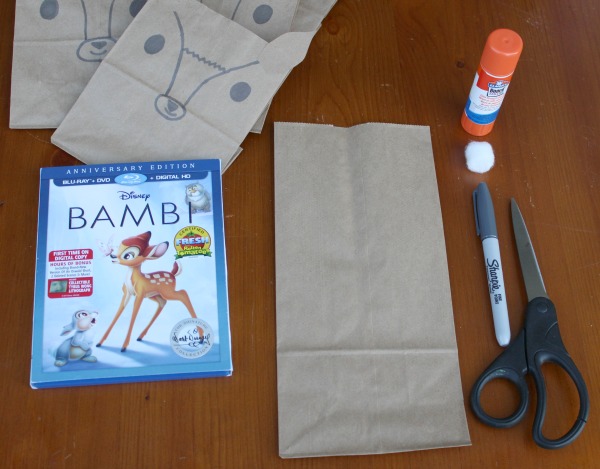 Here’s a short time-lapse video showing how my daughter made a Bambi snack bag.
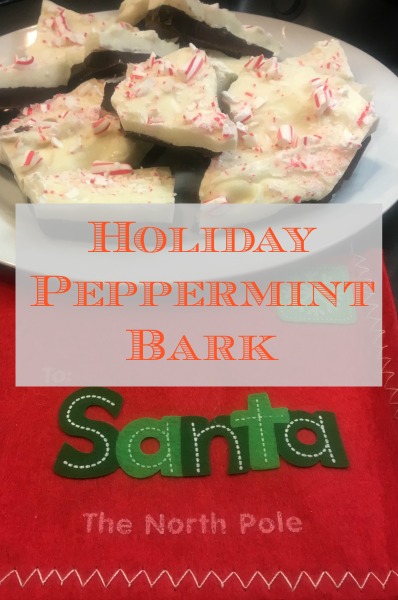 Spending time in the kitchen with my daughter and getting to cook and bake with her this time of year is so special and one of the activities we love doing together most. What I don’t love about this time of year is my “holiday heartburn”! It literally tries to ruin my time! Heartburn is the worst!
 I didn’t always suffer from heartburn but now whenever it flares up, I’m extra sensitive to many of my favorite foods and have to miss out. Well, I am NOT going to let heartburn ruin my holidays this year!Thank goodness I discovered
  It’s such a great way to treat frequent heartburn and gives me the confidence and comfort to enjoy all of the festive holiday foods, especially my most favorite: peppermint. I could eat peppermint everything! I think peppermint should be its own food group! I even stock up on peppermint goodies this time of year so I have enough to last me once winter is long gone.
 One of the recipes I always make during the holidays is Holiday Peppermint Bark. It’s so simple to make and I get asked for the recipe quite frequently by other family members. The recipe only has a few ingredients and doesn’t take very much time to prepare.
  Holiday Peppermint Bark is also perfect for gift giving. Who doesn’t love to receive homemade goods at the holidays? It’s also something special you can leave out for Santa when he visits your home on Christmas Eve. This year I’m going to leave out some Holiday Peppermint Bark for Santa, along with some Nexium® 24HR. I know he’ll appreciate this too!
 Ingredients:
 I’m always excited for the arrival of Fall because it means the holidays are on their way. Once Halloween is over, we can fast forward to Thanksgiving. It’s one of my favorite times of the year to gather with family and friends, enjoy great food, and enjoy each other’s company.
 When I think back about the Thanksgivings of my childhood, I remember my grandmother preparing the entire meal and our families all coming together to spend a day together. I don’t know how she pulled it all off all at once and served it hot! (My grandmother had this thing about her food being hot.) I’ve attempted to cook an entire Thanksgiving meal a couple of times and found it rather challenging.
 My most favorite way to gather together and celebrate is by asking each family member or friend in attendance, to bring something table to share. Traditionally, our mothers taught us never to show up empty handed to someone else’s home, but that meant you should bring a plant, some flowers, or even a bottle of wine. I request each guest to prepare a dish to share that’s special to them. I like to use an Evite to keep track of who is coming and what they’re bringing. Have you seen
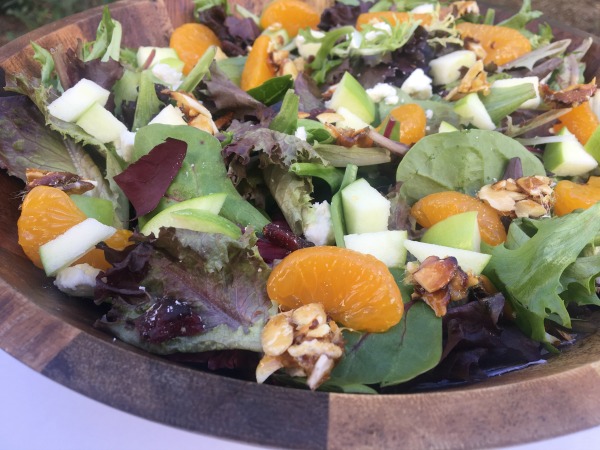
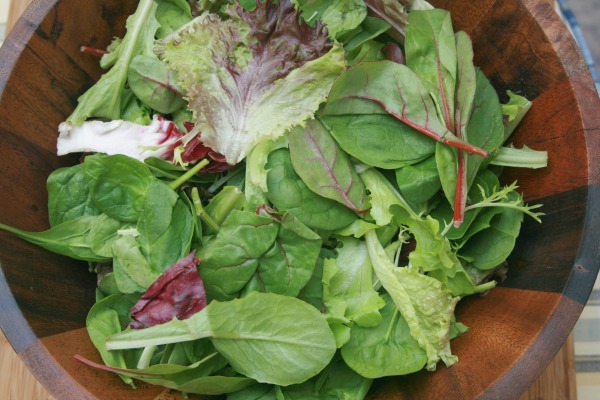
 I do love to include a salad in our own Thanksgiving meal but my “go-to” salad is the “Cornucopia Salad“. It’s kind of a like a new twist on an old tradition. My salad combines baby lettuce, green apples, dried cranberries, mandarin oranges, feta cheese crumbles, and candied almonds and the combination of the flavors is so delicious. I toss it in a light olive oil-based dressing.
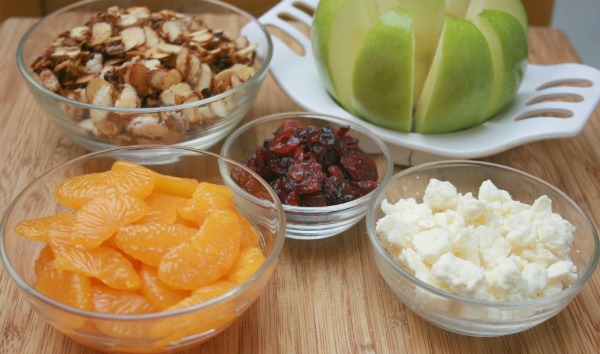 Cornucopia Salad is something I prepare several times a year because it just pairs really well with pretty much everything. It’s nice to have something that’s so simple to throw together. yet always seems to be a favorite among all of your guests. I’ve even prepared it for the days after Thanksgiving and thrown leftover turkey into it.
 Ingredients for salad
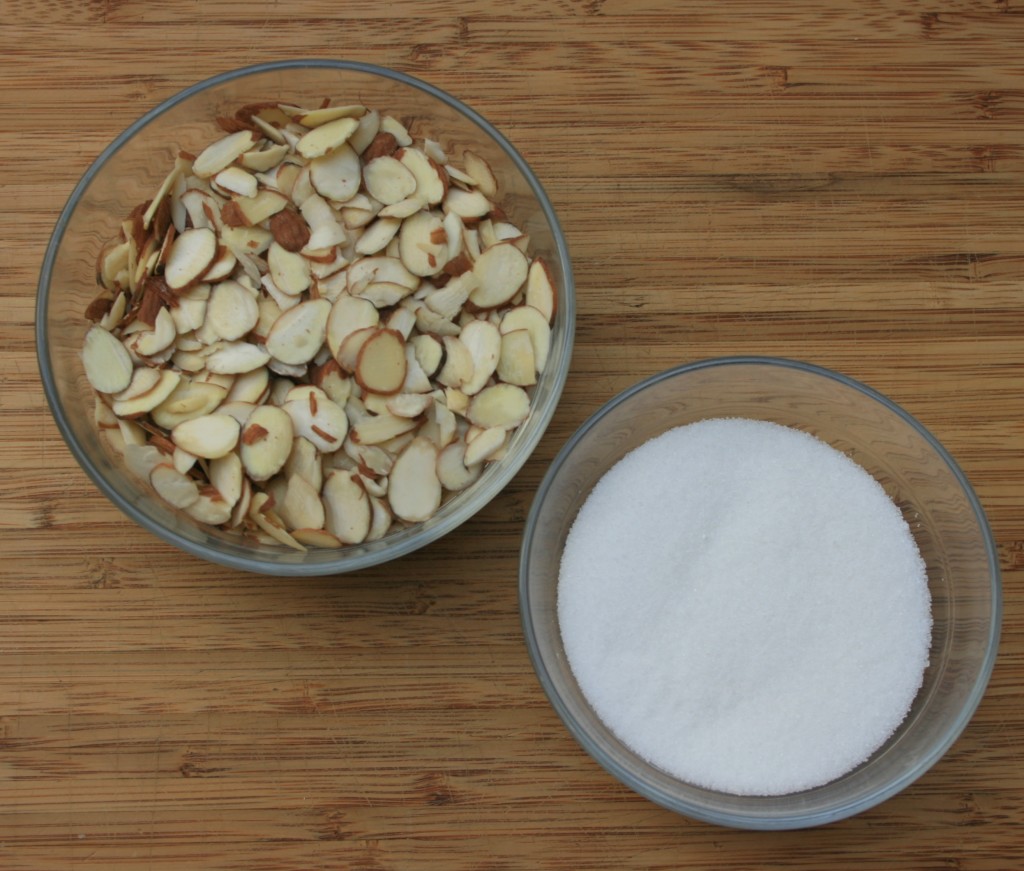
 Candied Almond Preparation
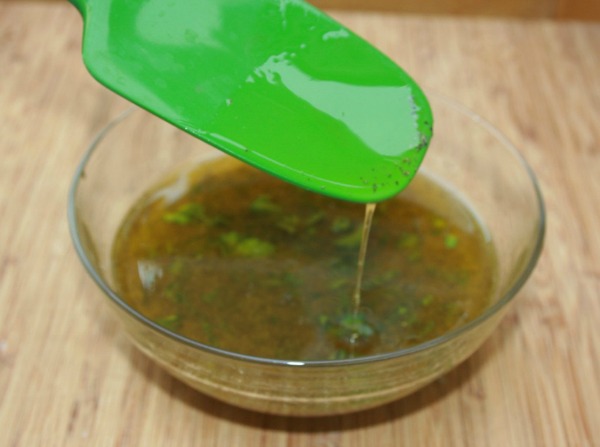
 Do you have any special dishes that you like to prepare each year for Thanksgiving? This salad is one of the recipes I prepare that my friends and family are constantly asking for more of. Wishing you a wonderful Thanksgiving!
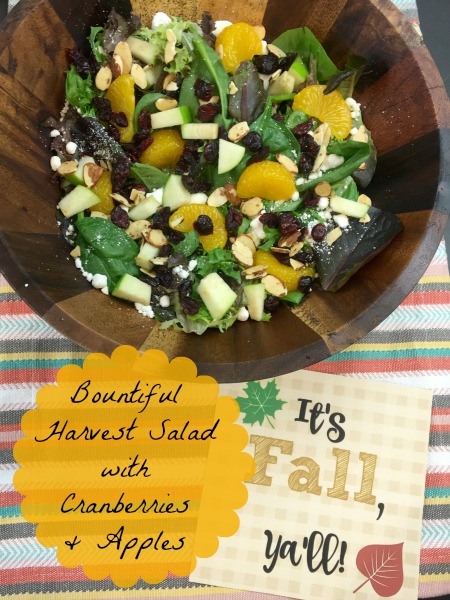
 What I do get most excited about are the beautiful, seasonal colors all around, pumpkins appear in the stores, and the feeling that we’re on fast-forward towards the holiday season! My most favorite part about this time of year though, are the foods, I could spend all day cooking and eating my favorite fall recipes! It’s Fall, Ya’ll! (Grab this free Fall printable,
  One of my most popular recipes to make is my “Bountiful Harvest Salad” made with cranberries and apples. It’s a really light and delicious salad that combines baby lettuce,
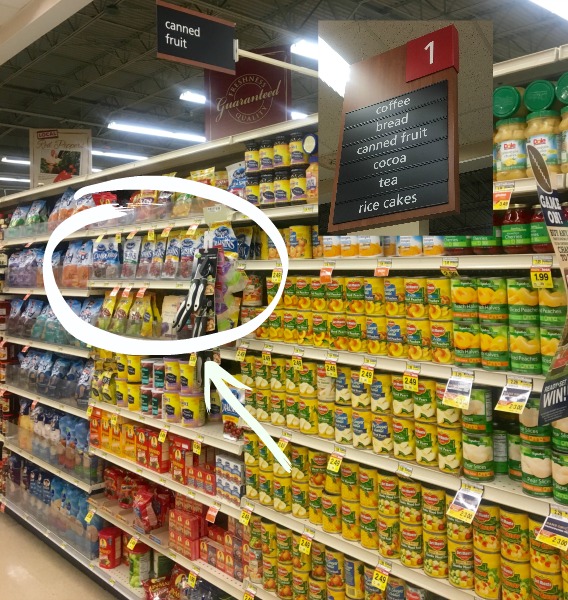
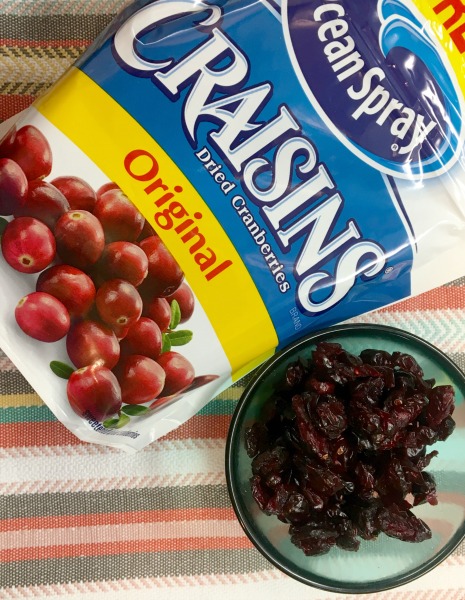 I think it’s the “zing” that make them unique. 1/4 cup of Craisins® Dried Cranberries provides 1/2 cup of fruit.
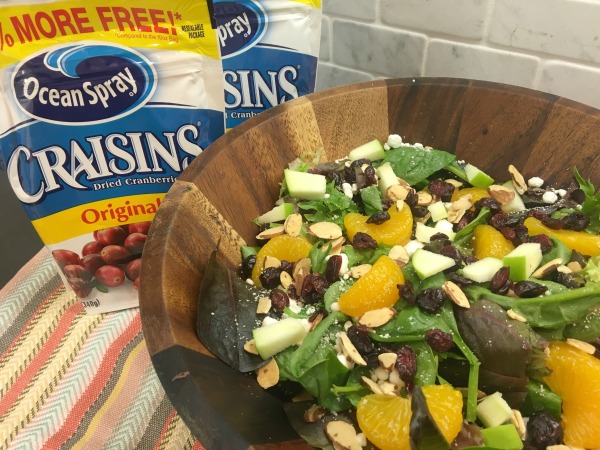
 Ingredients for salad
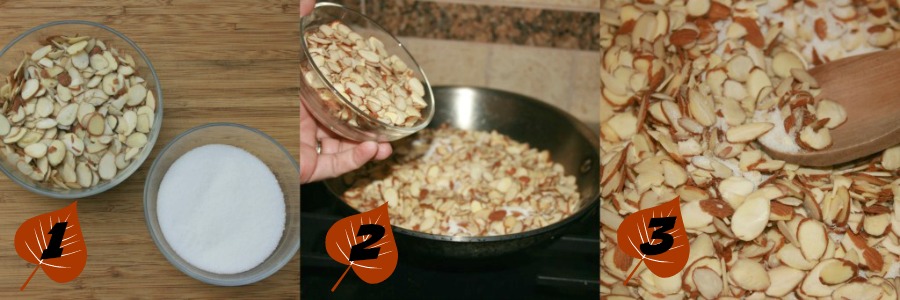 The dressing preparation is another step that can be done ahead of time and set aside. I usually double the recipe for the dressing in case I need to whip up another batch of the salad. (I told you it’s very popular at parties!) Whisk together salt, pepper, sugar, and olive oil in a small bowl. Finely chop up parsley and add to the mixture. Shake well before tossing onto the salad.
  During the month of August, Northgate Markets are hosting in-store Hatch Chile Roasting events on the weekends. For a list of the locations hosting the events, along with dates and times, visit
 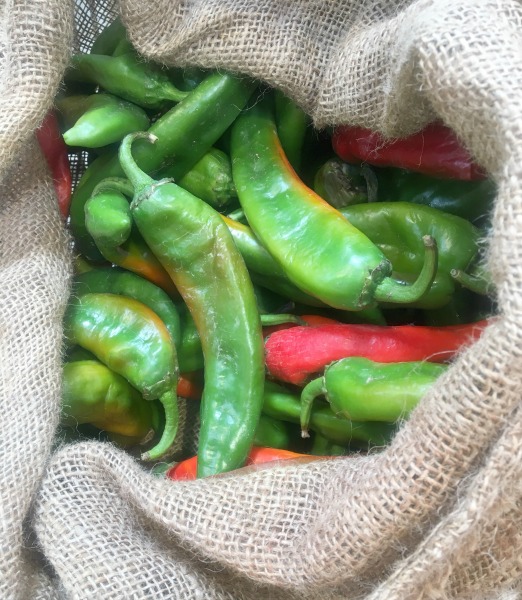 We stopped by the
 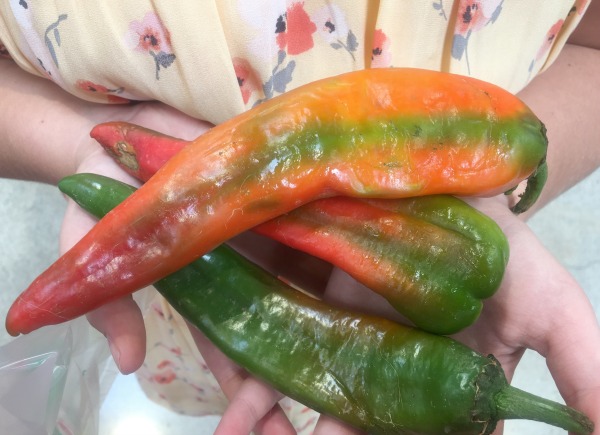 Lately, my daughter has been asking me if she could do more cooking in the kitchen. I’m happy that she has an interest in learning to cook, so of course, I want her to. She suggested we incorporate the Hatch Chiles into one of her favorite foods,
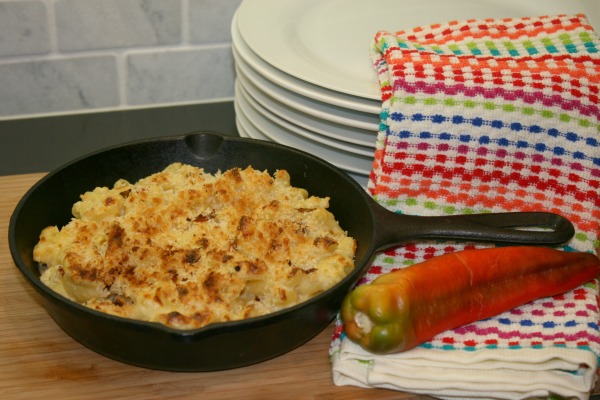
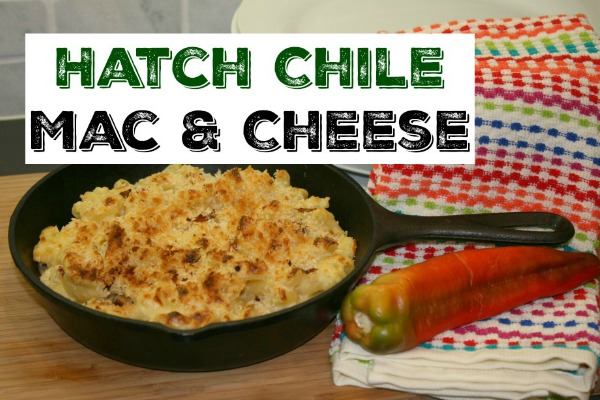 I think most adults love “Mac & Cheese”, too. I know I never turn down a simple comfort food! I love the flavor of Hatch Chiles, so I knew it would be a great combination.
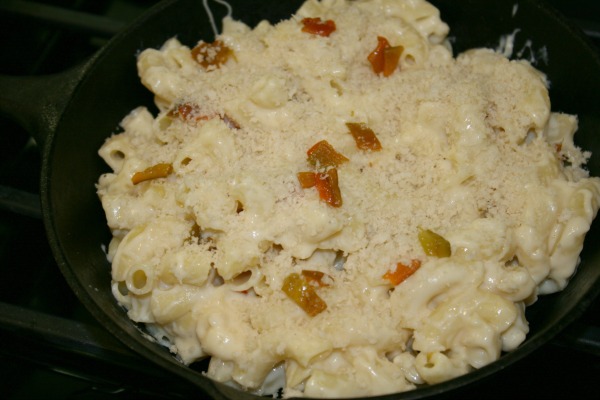
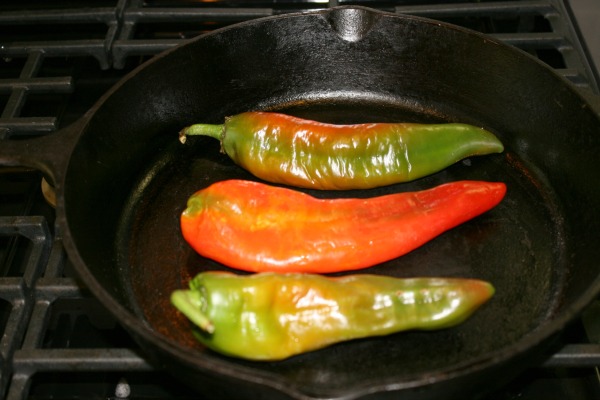 I love using our cast-iron skillet so we used it to roast the chiles. I like the way they seem to “dance” while they sizzle. You need to allow both sides to roast really well. It’s Ok for the chiles to appear blackened on the outside. Depending on what you’re making, you either remove that part anyway, or incorporate the blackened part into your recipe, to give it a smoky taste. Mmm!
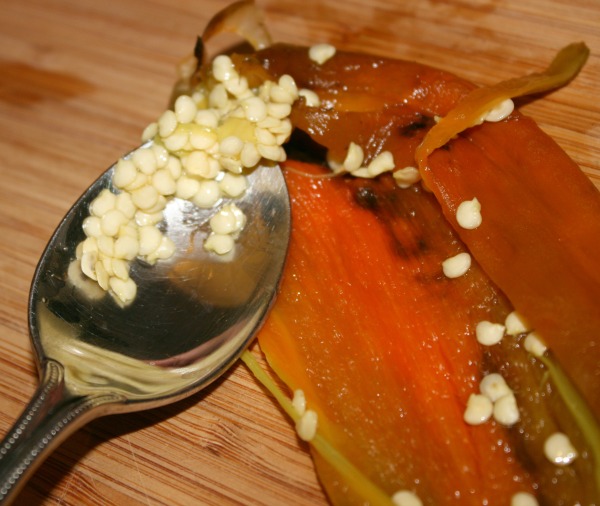
 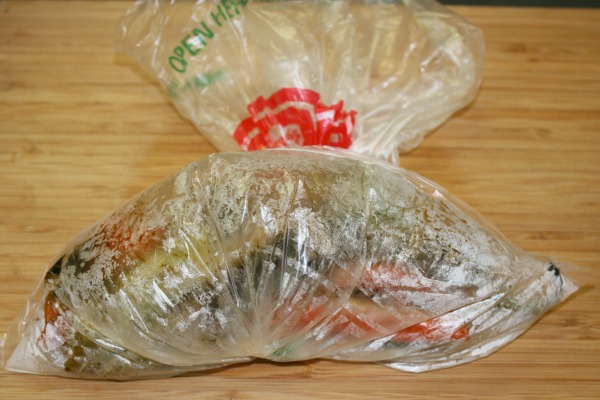 After the chiles are roasted to your liking, you immediately stick them back into the produce bag (if they came in one) or else into a plastic bag and seal it, allowing them to “sweat”. After about 10 minutes, you’ll be able to easily remove the outer skin of your Hatch Chiles. It will literally just peel off . You’ll slice open down the center and remove the seeds with a spoon. (or by hand)
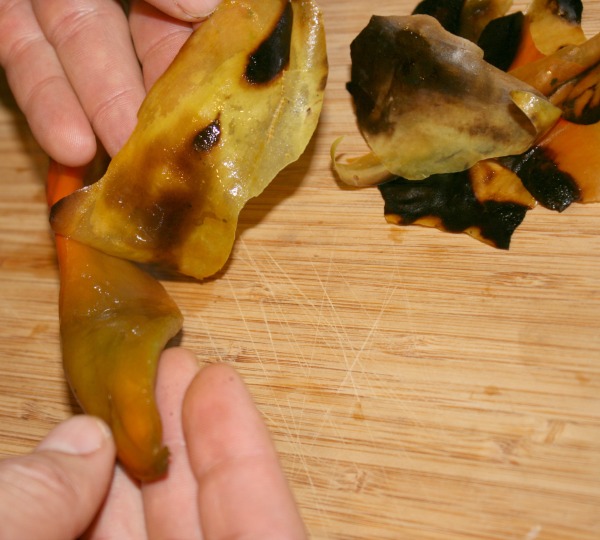
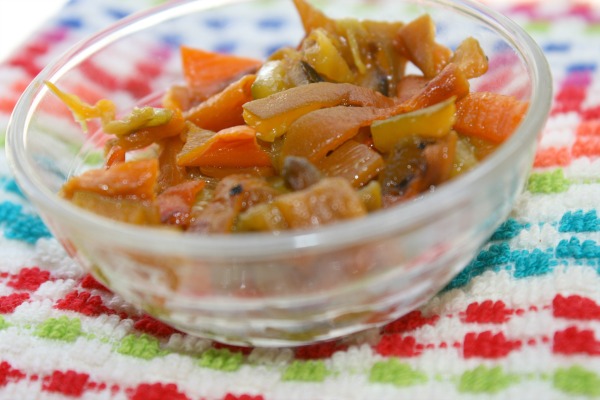
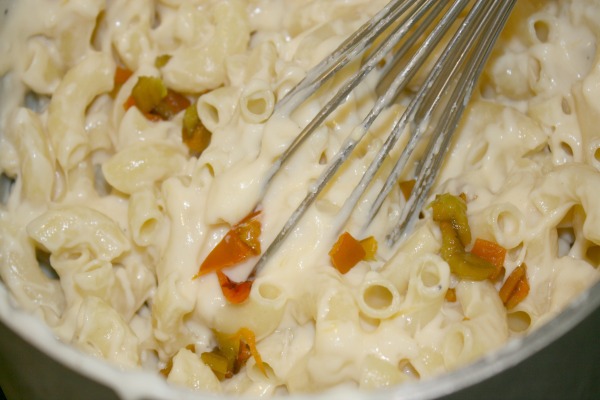
 For this recipe, my daughter diced up the Hatch Chiles and set them aside while we prepared the rest of the iingredients.
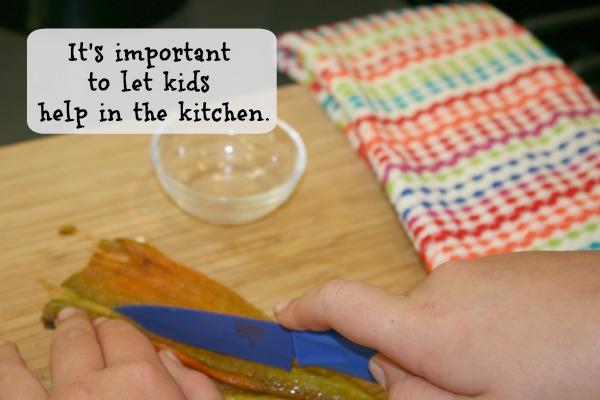

 Ingredients:
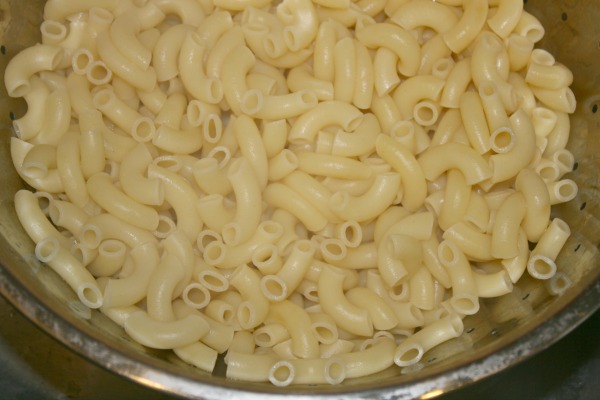
 Feeding my family a well-balanced meal is a priority for me, but it can also be a challenge. I often feel like I run out of creative meal ideas, especially ones that are quick and simple to prepare. As a mom, I think it’s just natural for me to be on the lookout for meals that will wow my family. I want to be able to answer with something exciting when I get the infamous question, “Mom, what’s for dinner?”.
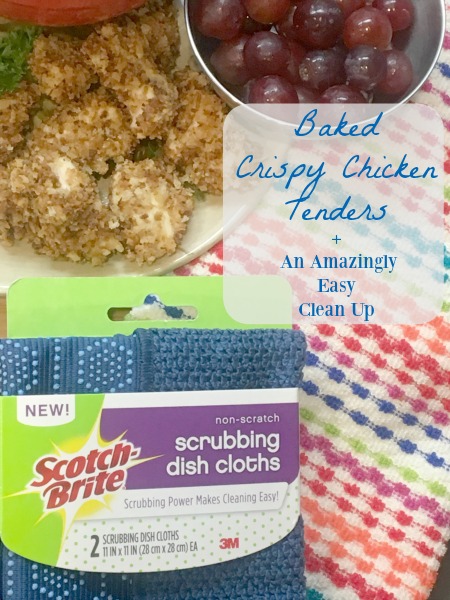
  I make a lot of chicken dishes for dinners but wanted to prepare something a little different and new so I whipped up a batch of “Baked Crispy Chicken Tenders“, using panko crispy bread crumbs.(Please see full recipe below.) These help give chicken tenders a crispier texture than just regular baked chicken. I don’t like to fry a lot of foods, I prefer to oven-bake so using these bread crumb crumbs on chicken gives them a little extra “crunch” without having to fry them.
 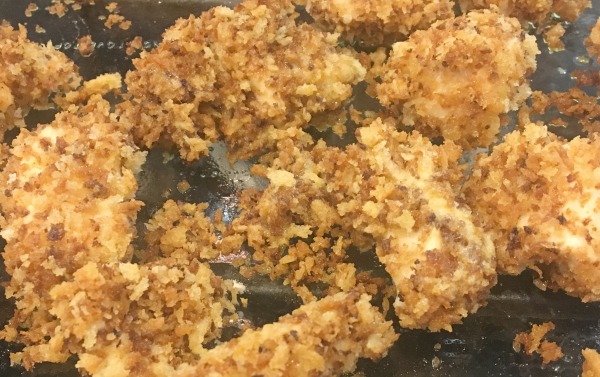 My trick is to brown up the panko bread crumbs with a little butter in the skillet before using them on the chicken. Let me just share that doing this, instead of using them straight out of the box on the chicken, makes the chicken extra yummy and is a definite kid pleaser!
 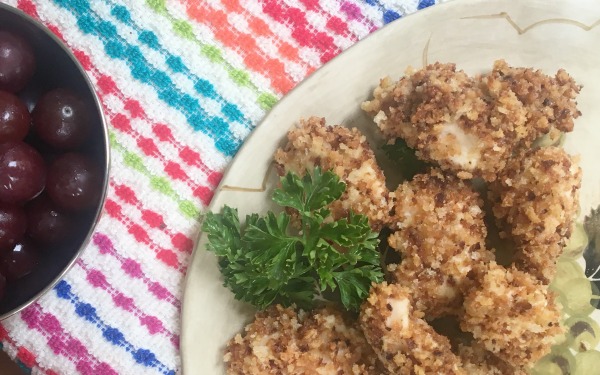 Let’s Talk About Cleanup
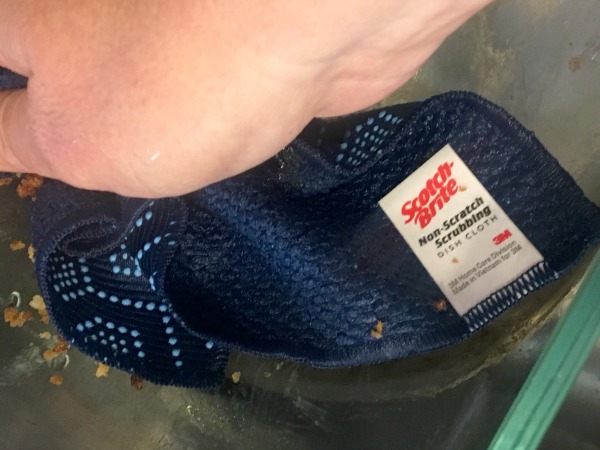 Scotch-Brite® Scrubbing Dish Cloths are a new product and they seriously take all of the headache out of cleanup! I found them at Walmart, on the “Paper and Cleaning” aisle and can’t rant enough about them to you.
  First of all, they’re cute and don’t look like standard dish cloths. (I like to keep my kitchen stylish.) They’re available in 3 colors: tan, coral, and navy and are priced just under $5.00 at Walmart for a 2-pack. (I bought mine for $4.98.) By still giving you the versatility of a dish cloth, Scotch-Brite® Scrubbing Dish Cloths make cleaning things, like stuck on messes from my chicken tenders dinner, far easier! They basically combine the best of a high quality dish cloth with the power of Scotch-Brite® scrubbing dots for a quicker and easier clean.
 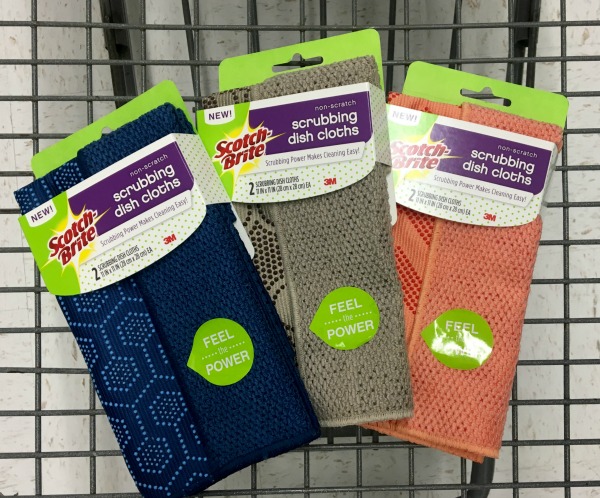 One of the things I like best about them is the fact that they will not scratch any surface! With non-scratch scrubbing power I can clean other areas in my kitchen, in addition to using it on the dishes, without worrying about damaging anything. Another one of my favorite things about them is how sturdy they are and the fact that you can wash and re-use them, which helps you stay “green” in the kitchen. Also, right now at Walmart, there’s a $1 off instant redeemable coupon available on the product that you can redeem at the register when you check out!
  Shared Responsibility in the Kitchen
 So, I printed up this cute little printable, framed it, and stuck it in a frame. (To print out your own copy, click
 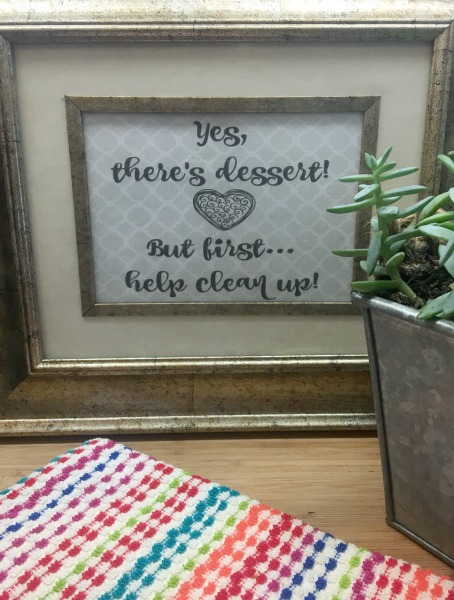 By stocking our kitchen with Scotch-Brite® Scrubbing Dish Cloths, I just made everyone’s life easier! For more recipes and cleaning ideas, visit
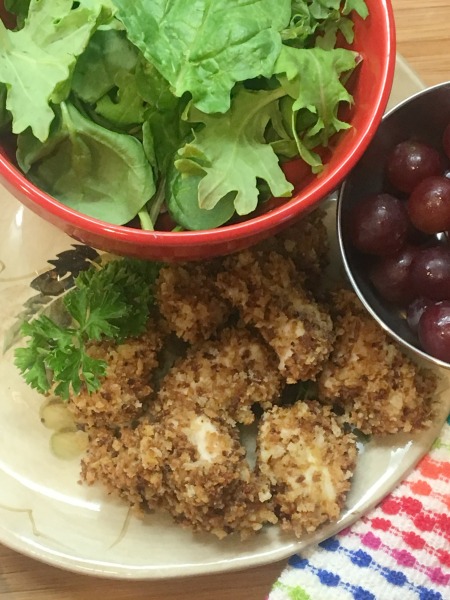 Ingredients