This shop has been compensated by Collective Bias, Inc. and its advertiser. All opinions are mine alone. #EasyAsPotPie #CollectiveBias
 I’m always excited when it starts to feel like winter outside! There’s just something about the cooler temperatures that gets me excited to pull out my winter sweaters and fuzzy socks and start cooking up comfort foods!
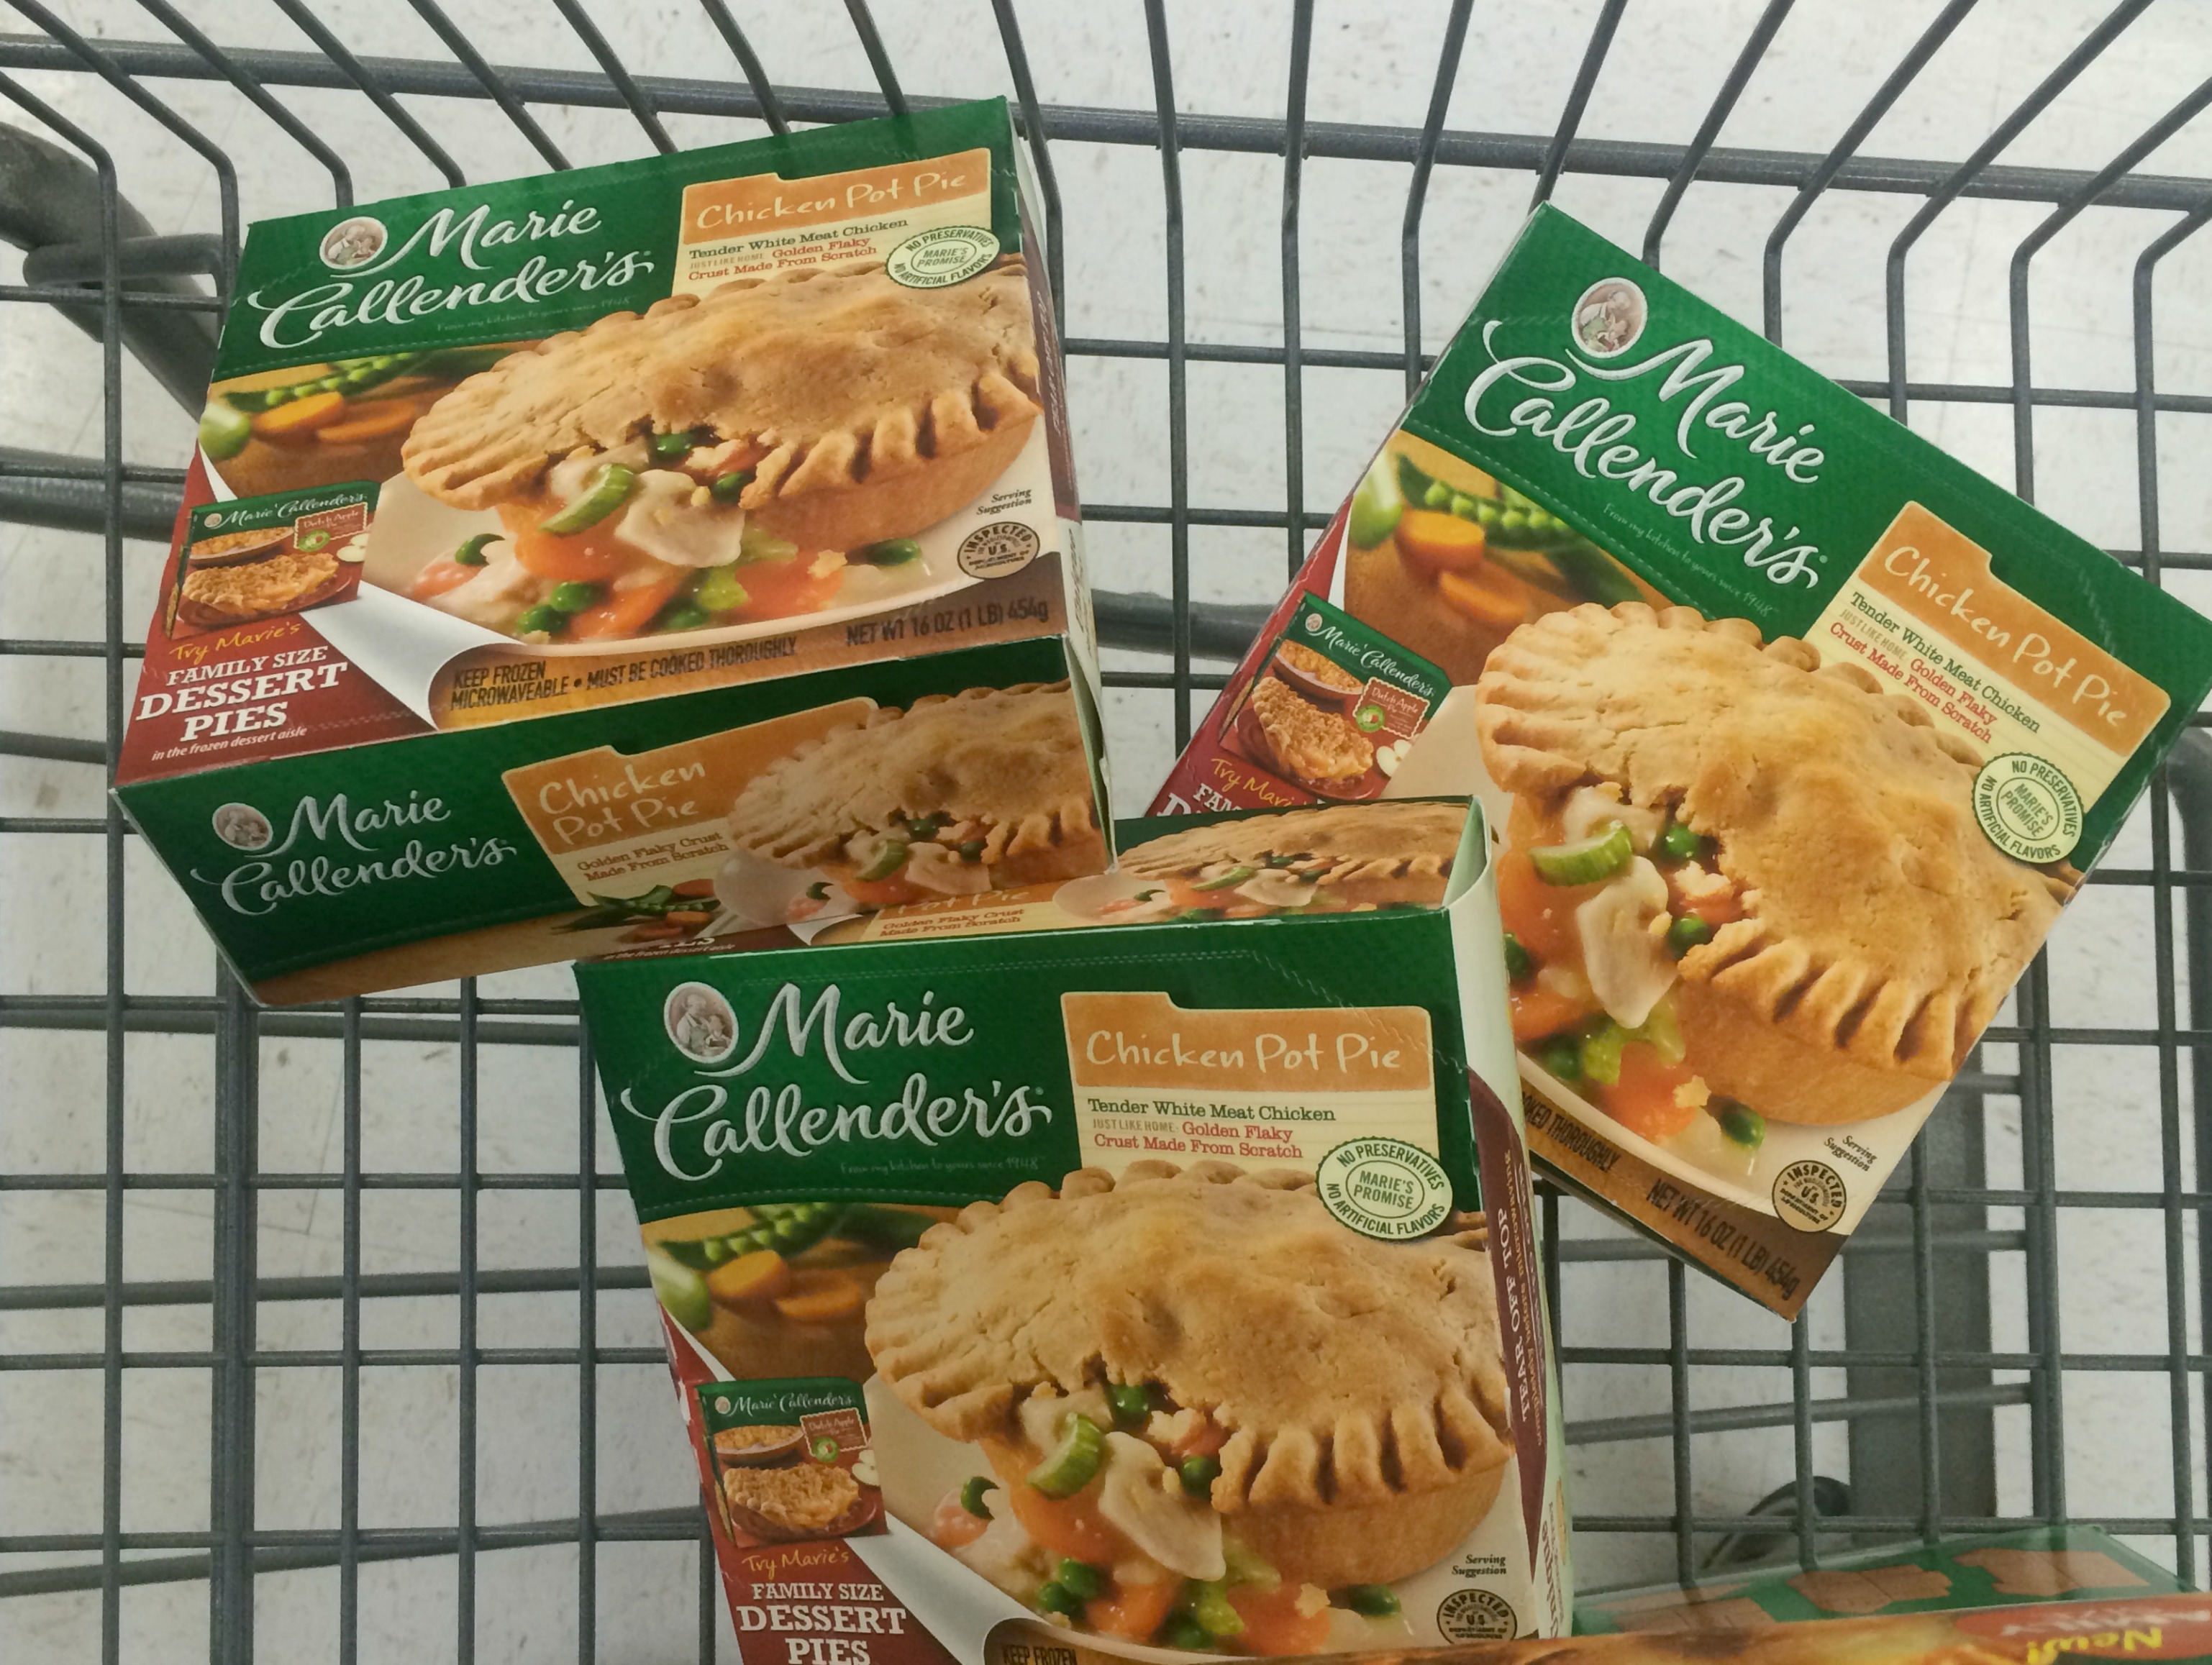
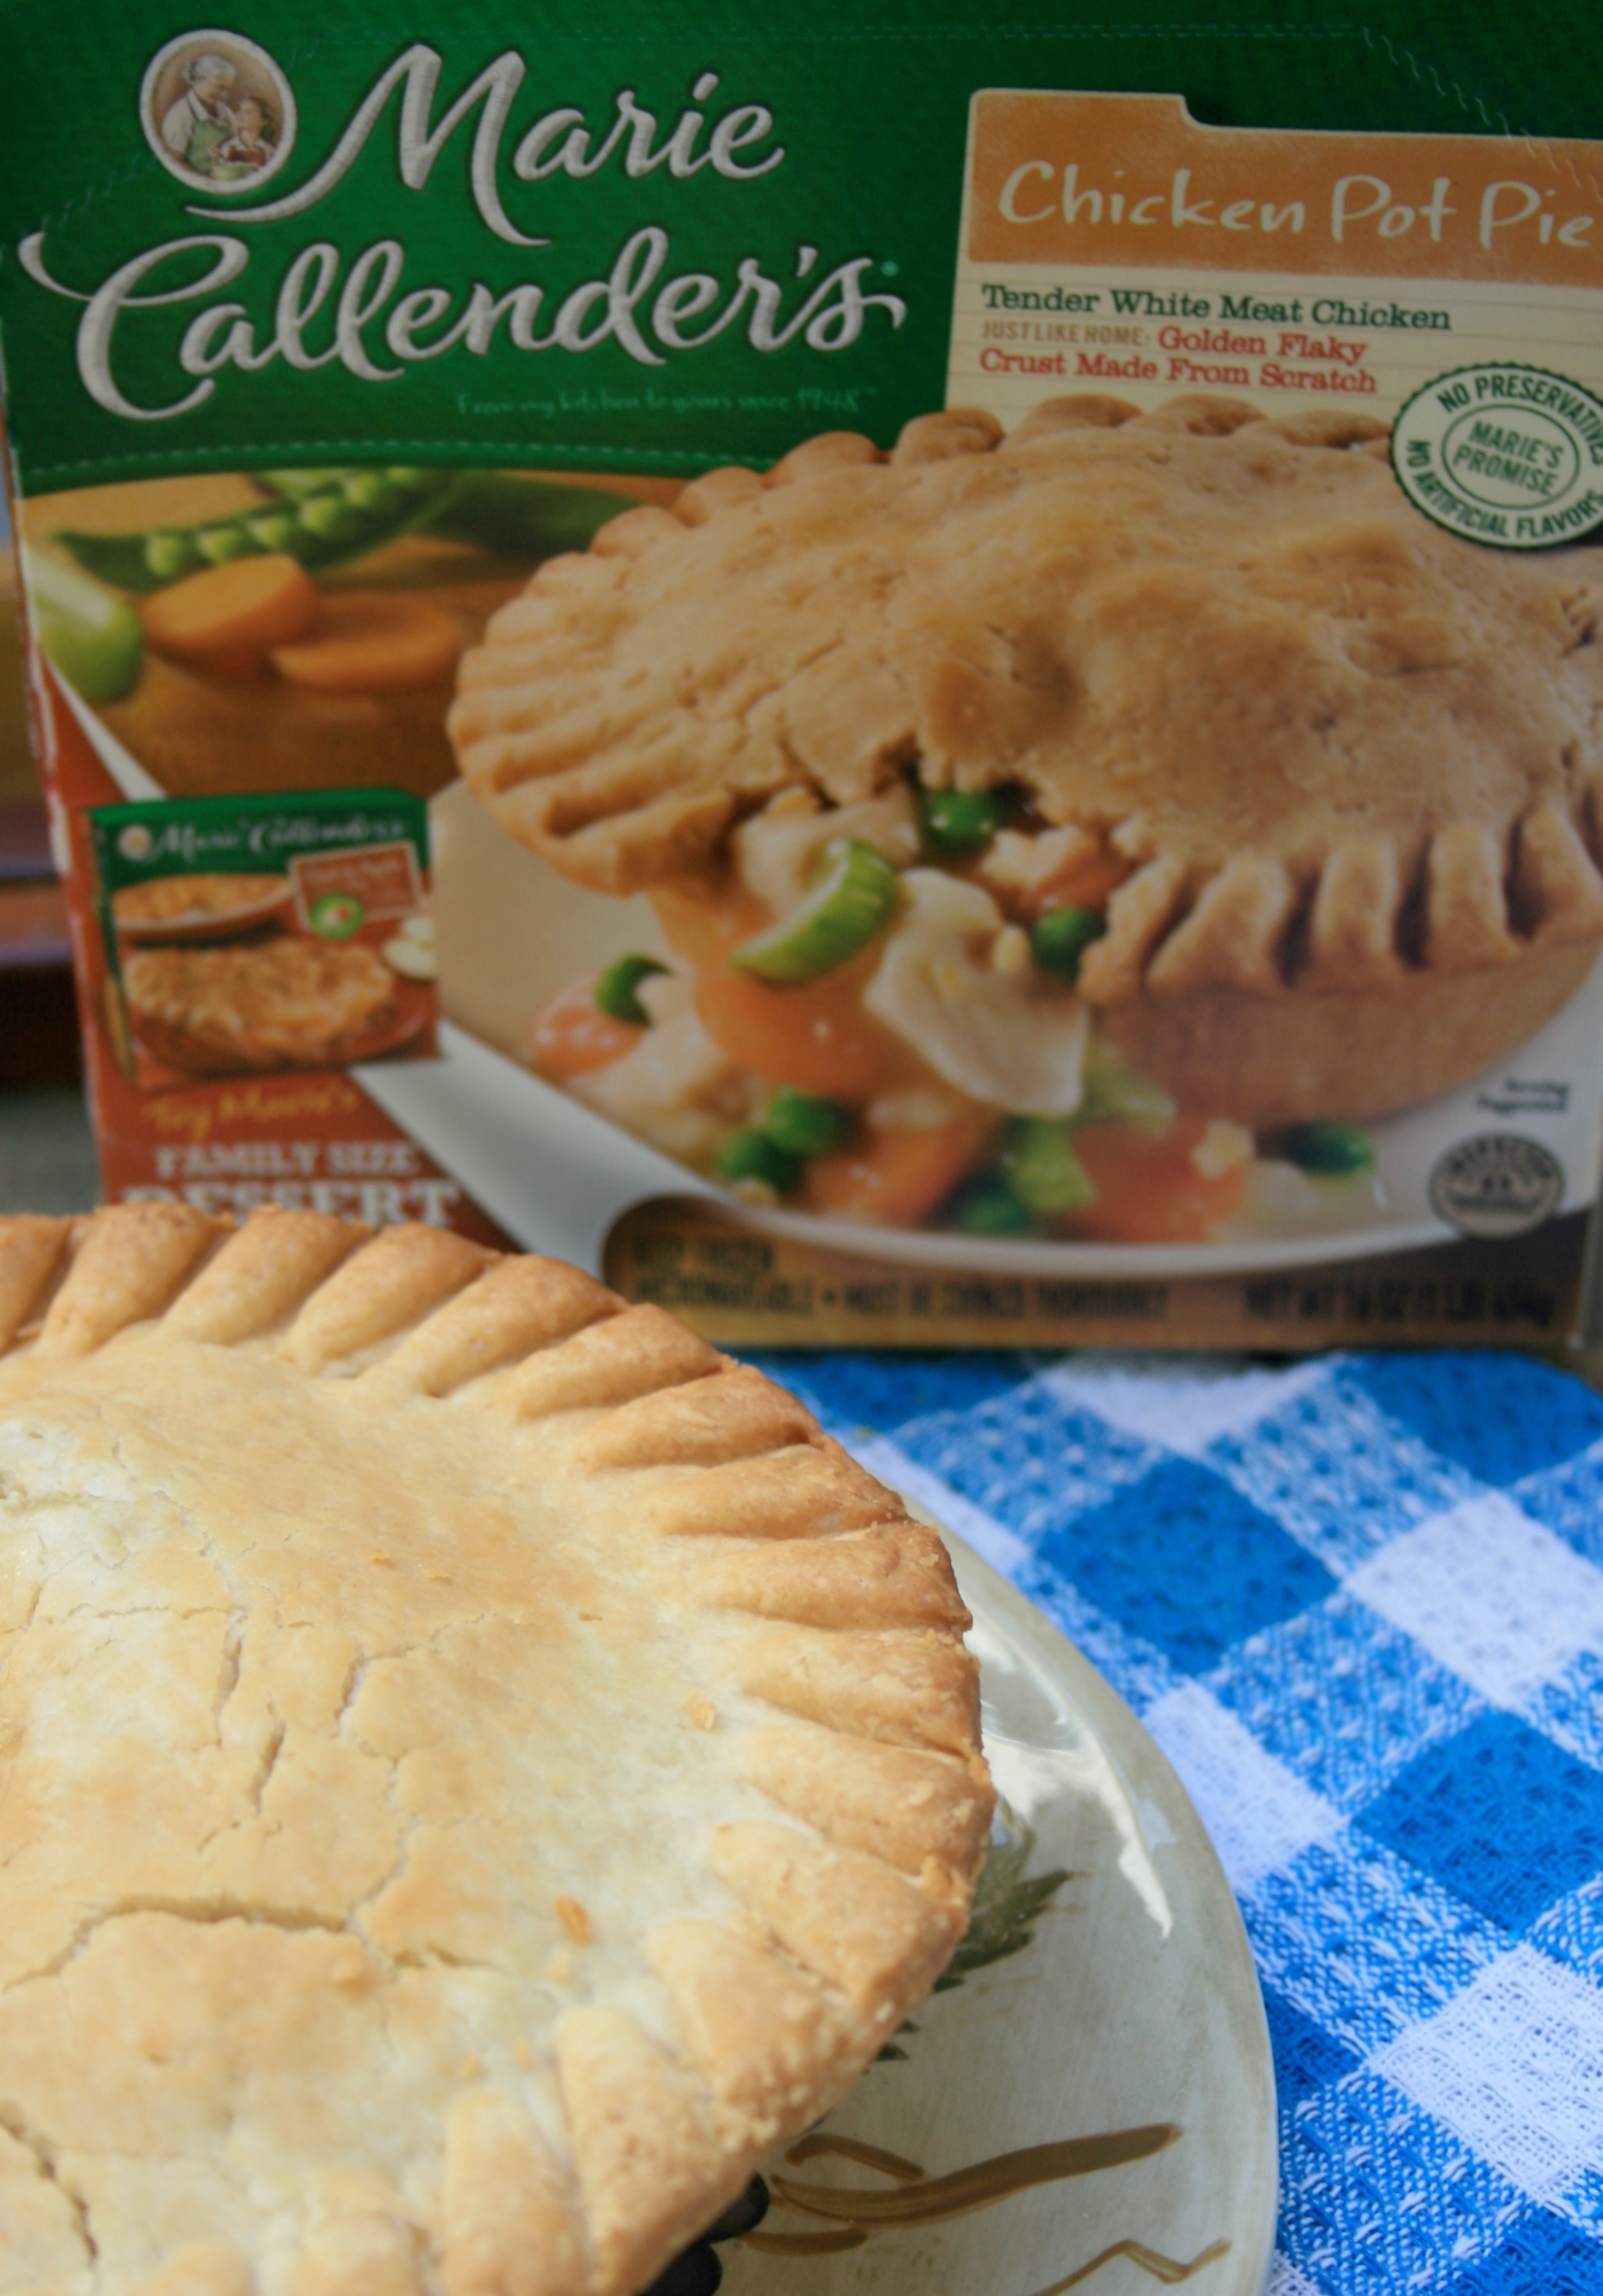 One of my favorite comfort foods are Marie Callender’s pot pies, specifically the chicken ones, which I actually grew up eating as a kid. They’re made with tender white-meat chicken, carrots, celery, and peas and prepared in a golden, flaky crust made from scratch, that tastes like homemade. Just writing about them makes me want one right now! The pot pies are also available in turkey, beef & a few different kinds of chicken flavors and are sold in a variety of sizes, to fit the needs of your own family. Although they’re available in Family Size, our family prefers the smaller individual ones. I think it has do with us each getting our own full crust!
 As a busy mom, who’s always on the go, I appreciate a meal I can make for my family, that not only tastes good but is quick and easy to prepare. With our schedules, it’s sometimes hard to find very much “together time” at home. To prepare a Marie Callender’s pot pie, you just pop it into the oven. (They can be prepared in the microwave, too). While they’re cooking in the oven, I’m then able to spend some quality time in the kitchen with my daughter, making a side dish to complete the meal. My daughter loves to cook and bake so any time that we can carve out time to spend together in the kitchen is a plus. For me, it’s so important to make that connection with family.
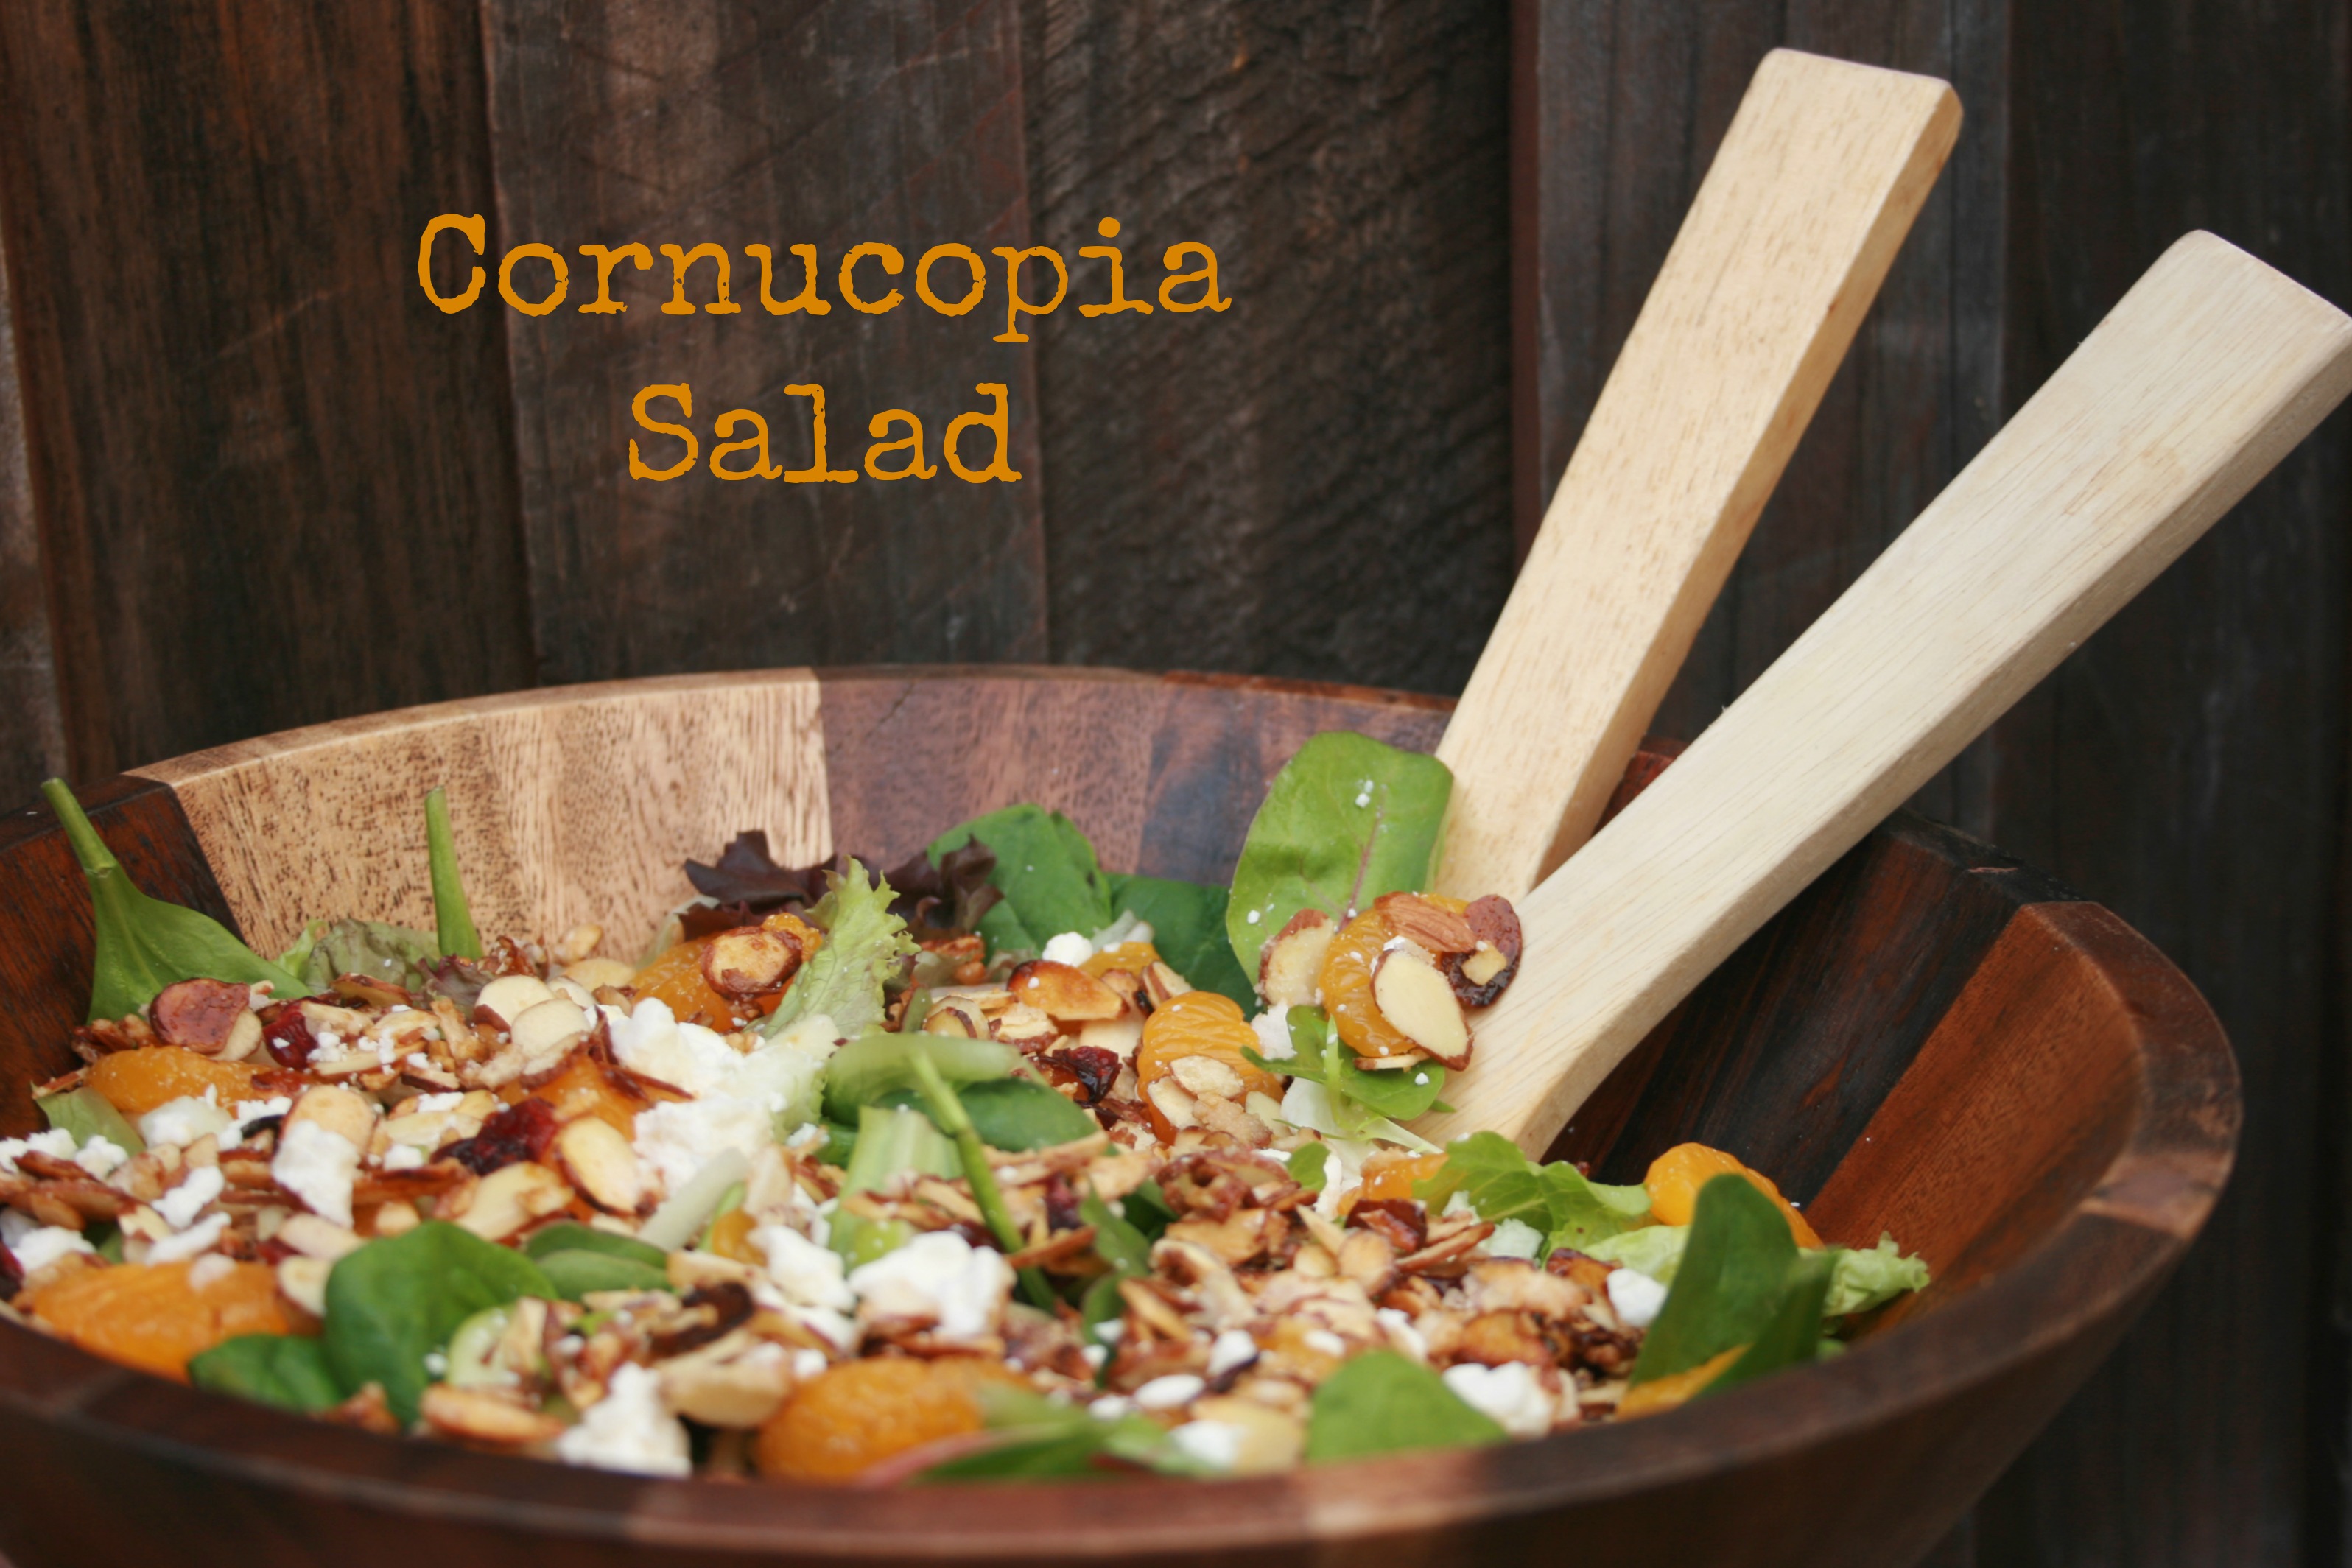
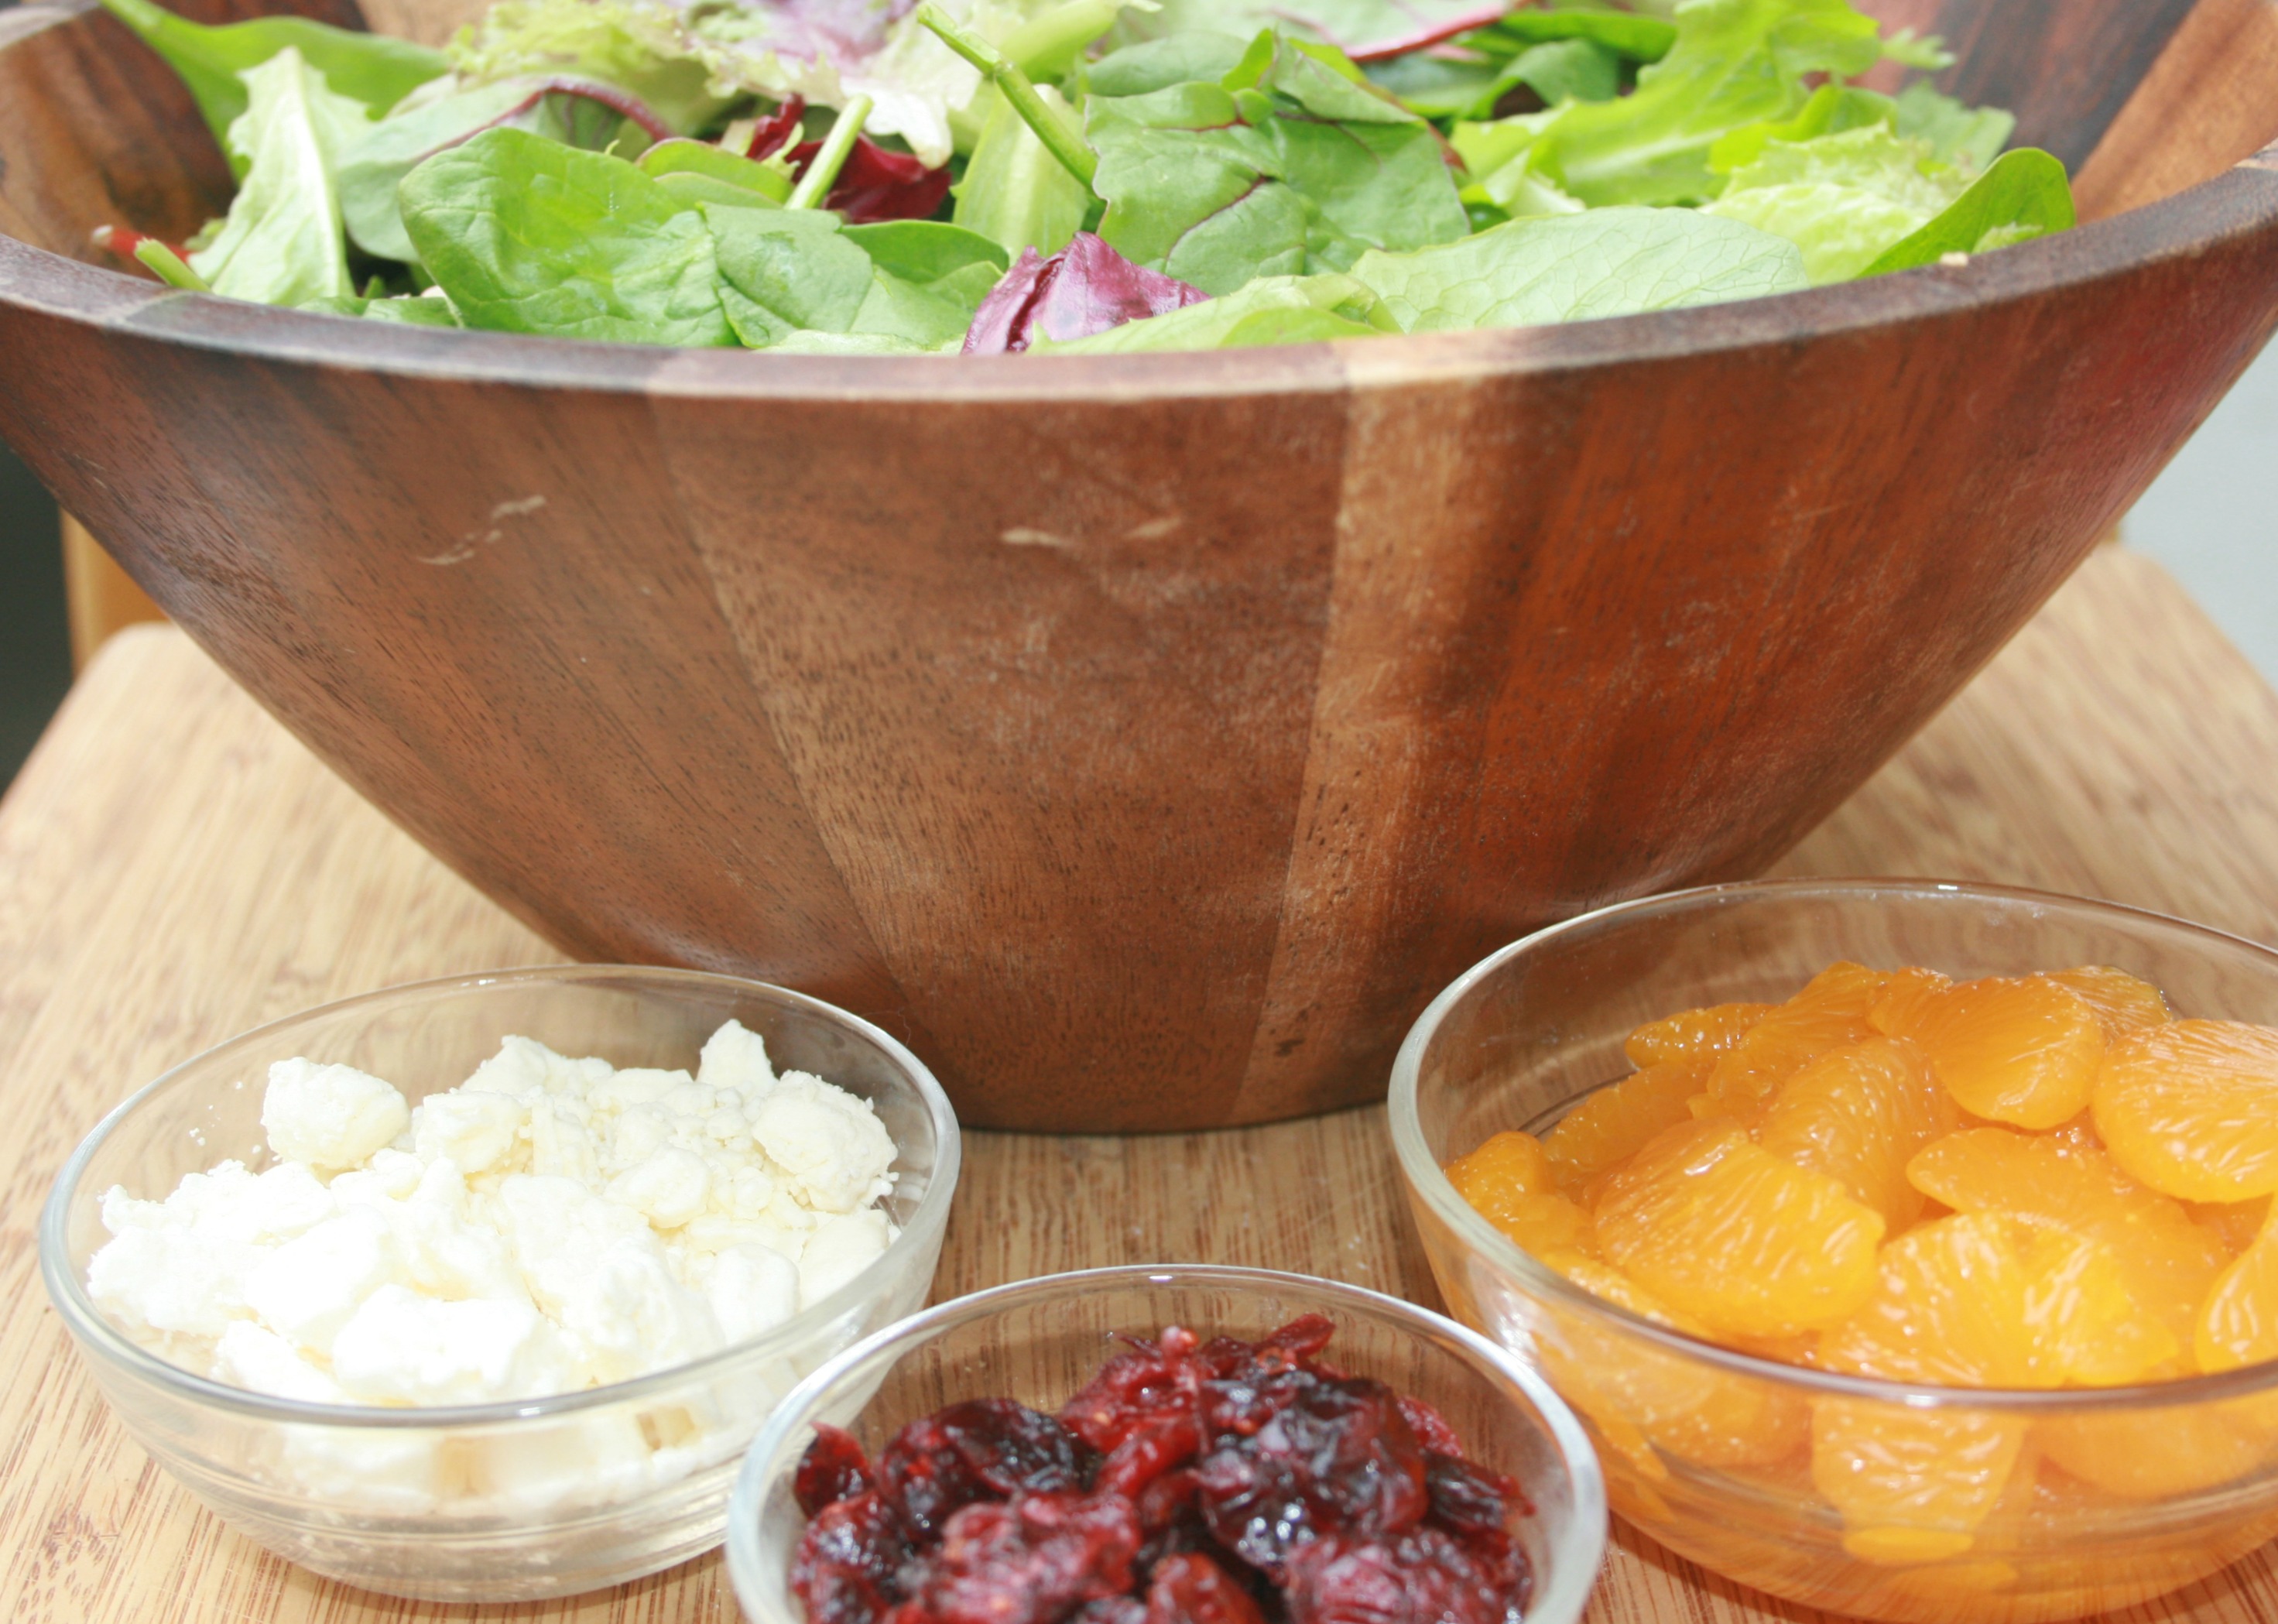
One of our favorite side dishes is the “Cornucopia Salad“. This salad combines baby lettuce, green apple, dried cranberries, mandarin oranges, feta cheese crumbles, and candied almonds. It’s tossed in a delicious olive oil-based dressing and just goes really well with just about any meal! It’s very simple to throw together too!
Ingredients for salad
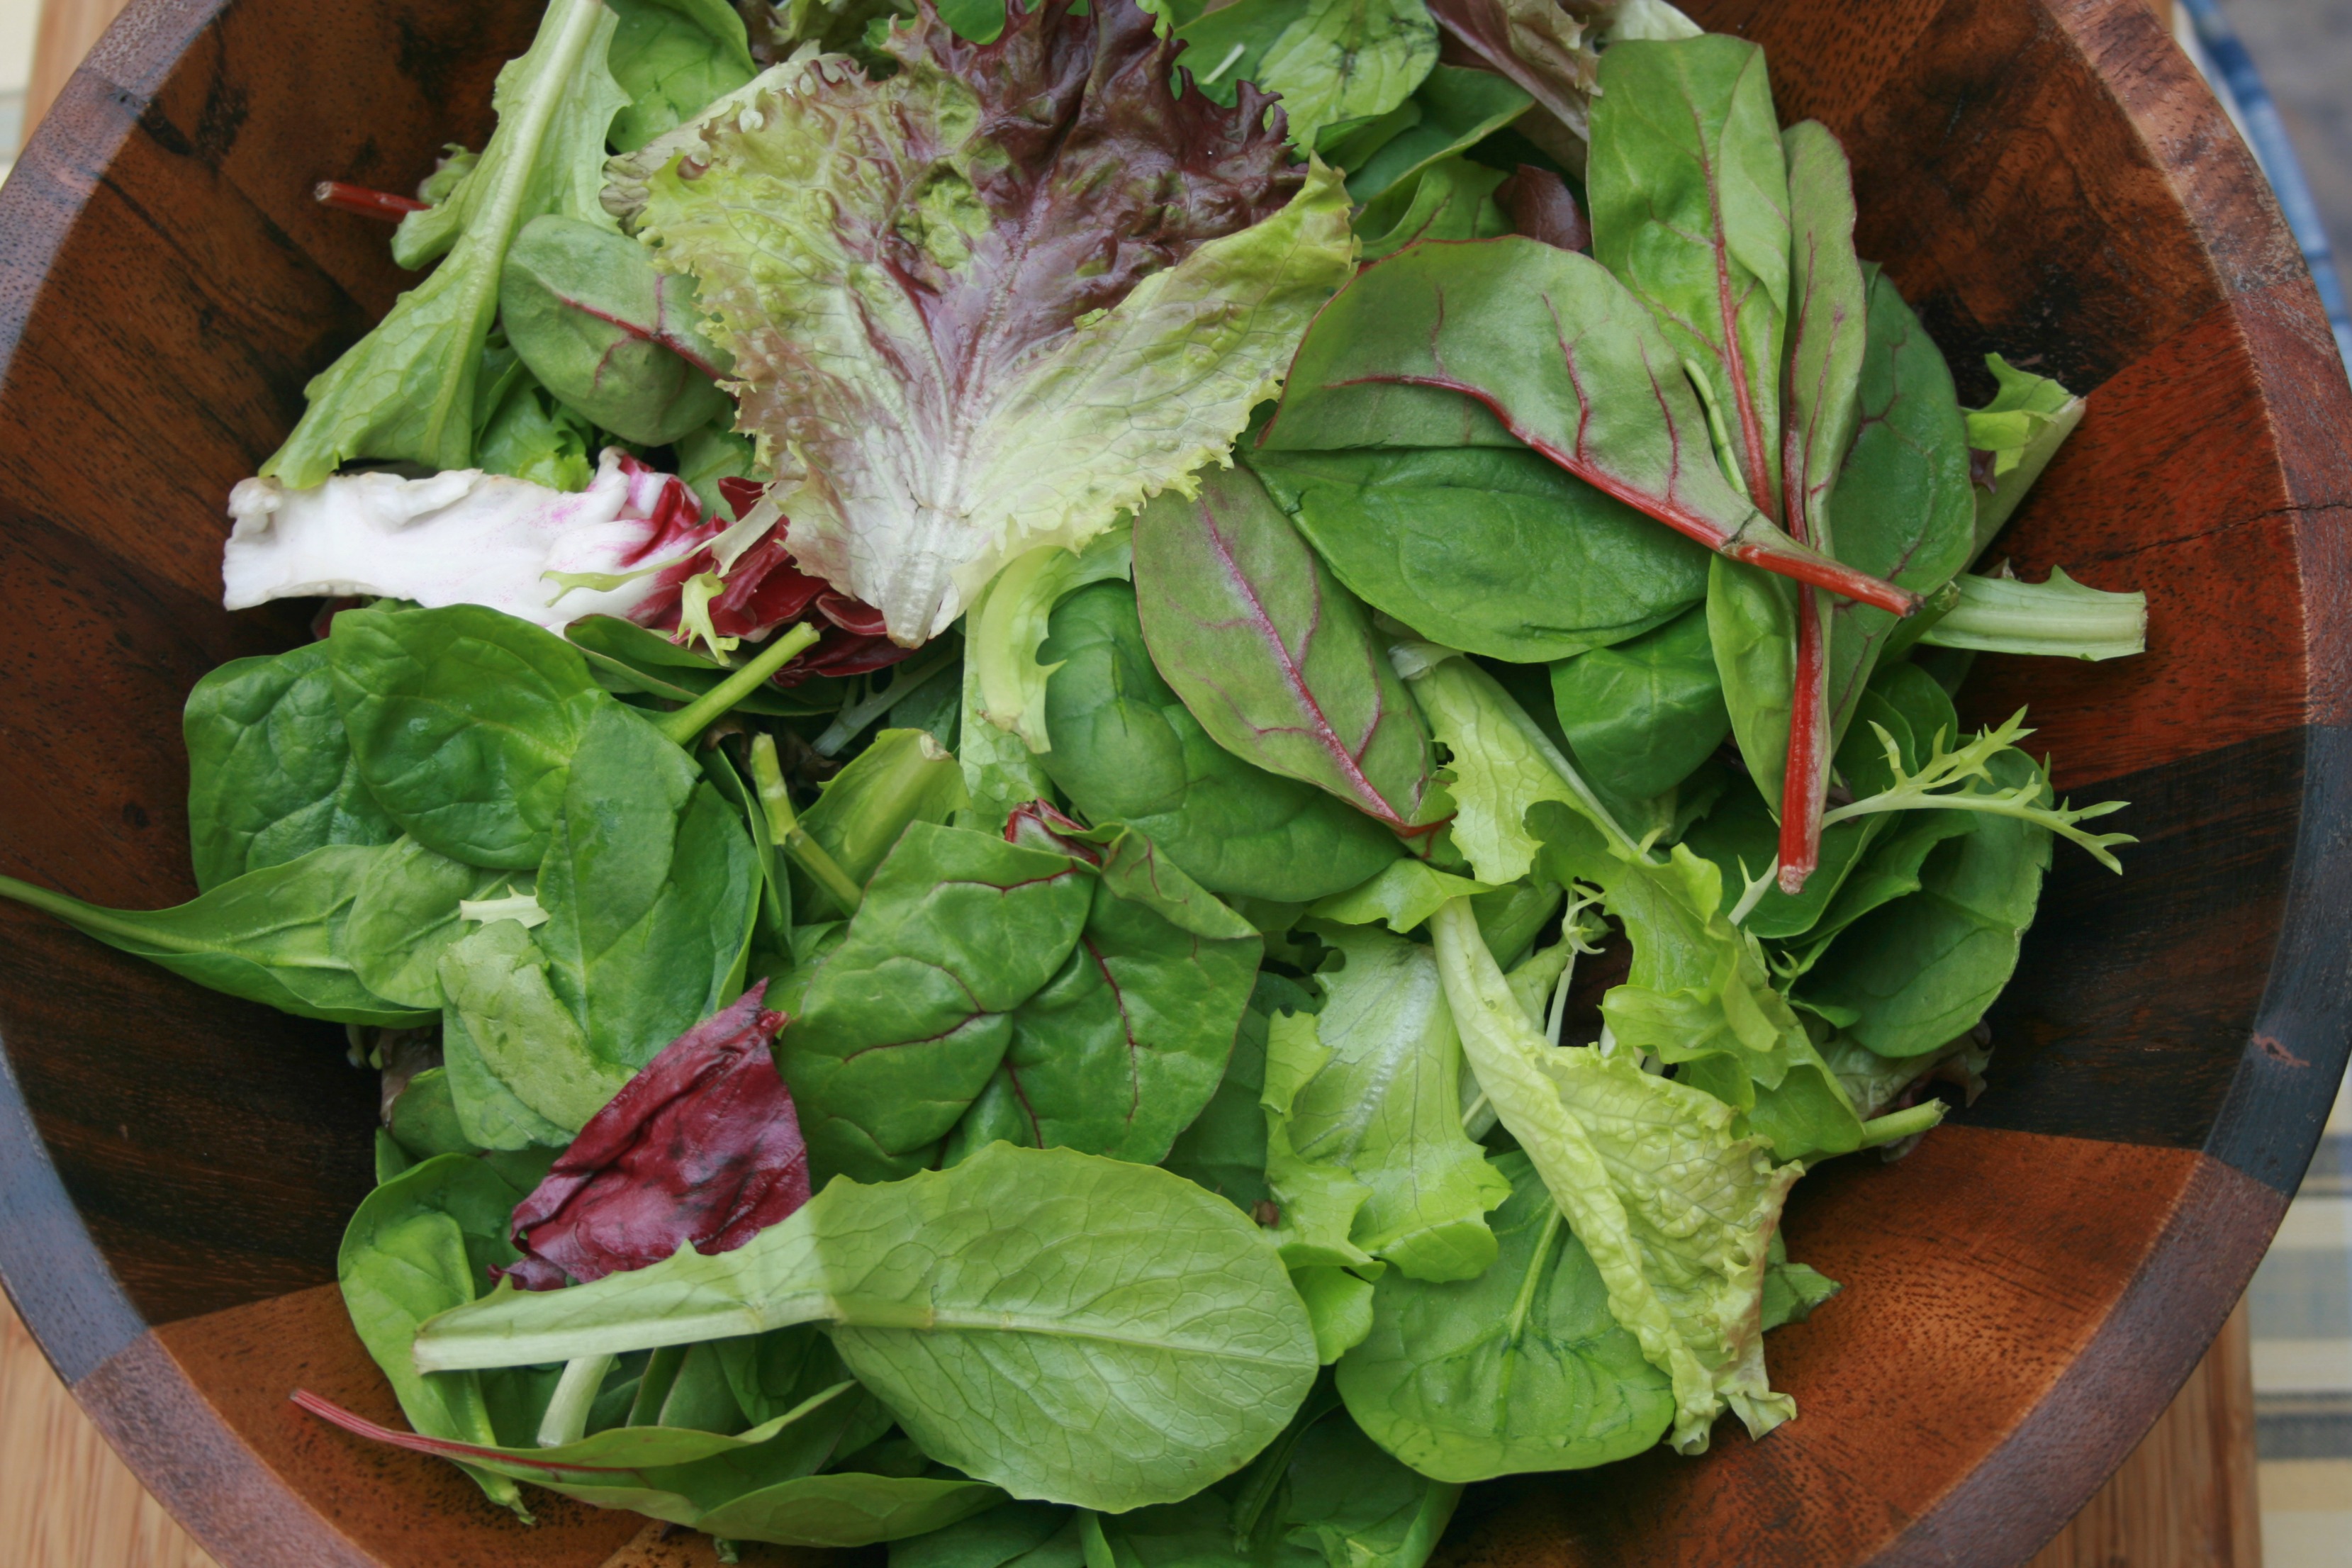
- 6 cups lettuce of your choice, washed. (I sometimes use bagged lettuce to save time.)
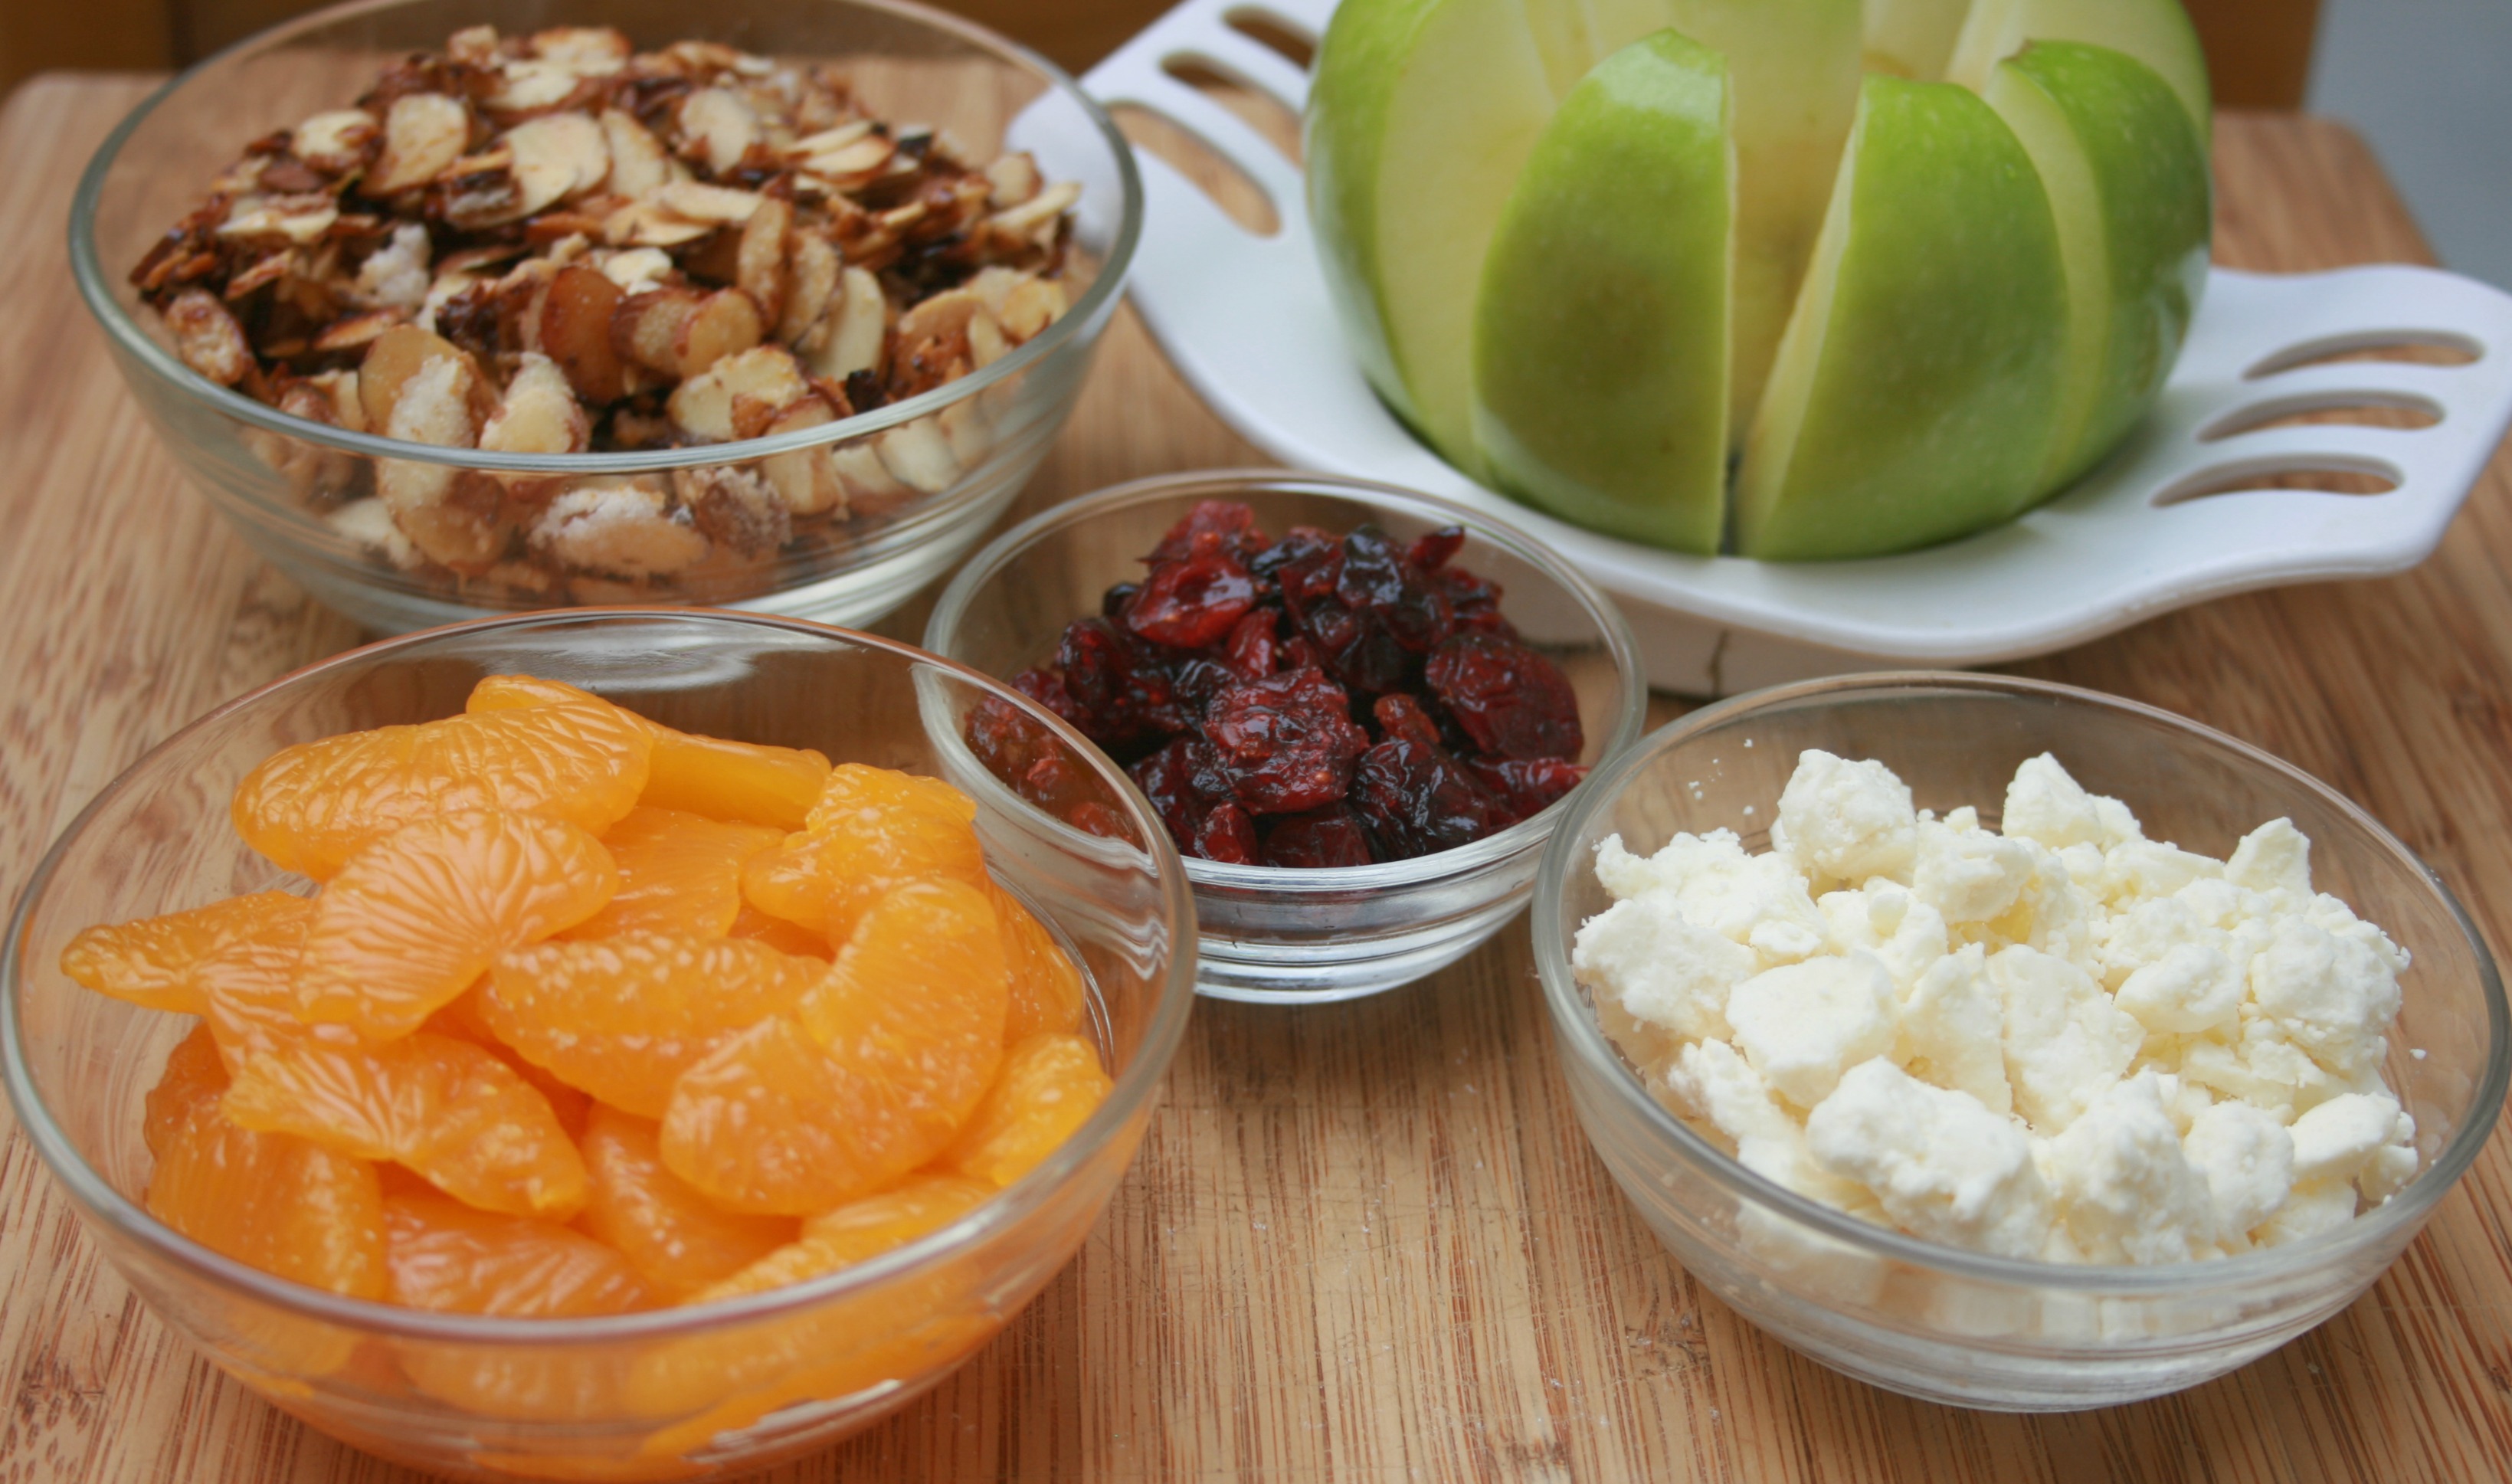
- 1 large Granny Smith apple
- 1 11 ounce can mandarin oranges
- 1/4 cup dried cranberries
- 1/2 cup raw almonds, sliced
- 1/2 cup Feta cheese crumbles (blue cheese also works with this recipe)
- 1 tablespoon parsley, finely chopped
- 3 tablespoons sugar
- the juice from 1 lemon
 Ingredients for dressing
- 2 tablespoons sugar
- 2 tbsp white wine vinegar
- 1 tablespoon chopped parsley
- 1/2 teaspoon salt
- 1/2 teaspoon pepper
- 1/4 cup olive oil
Instructions
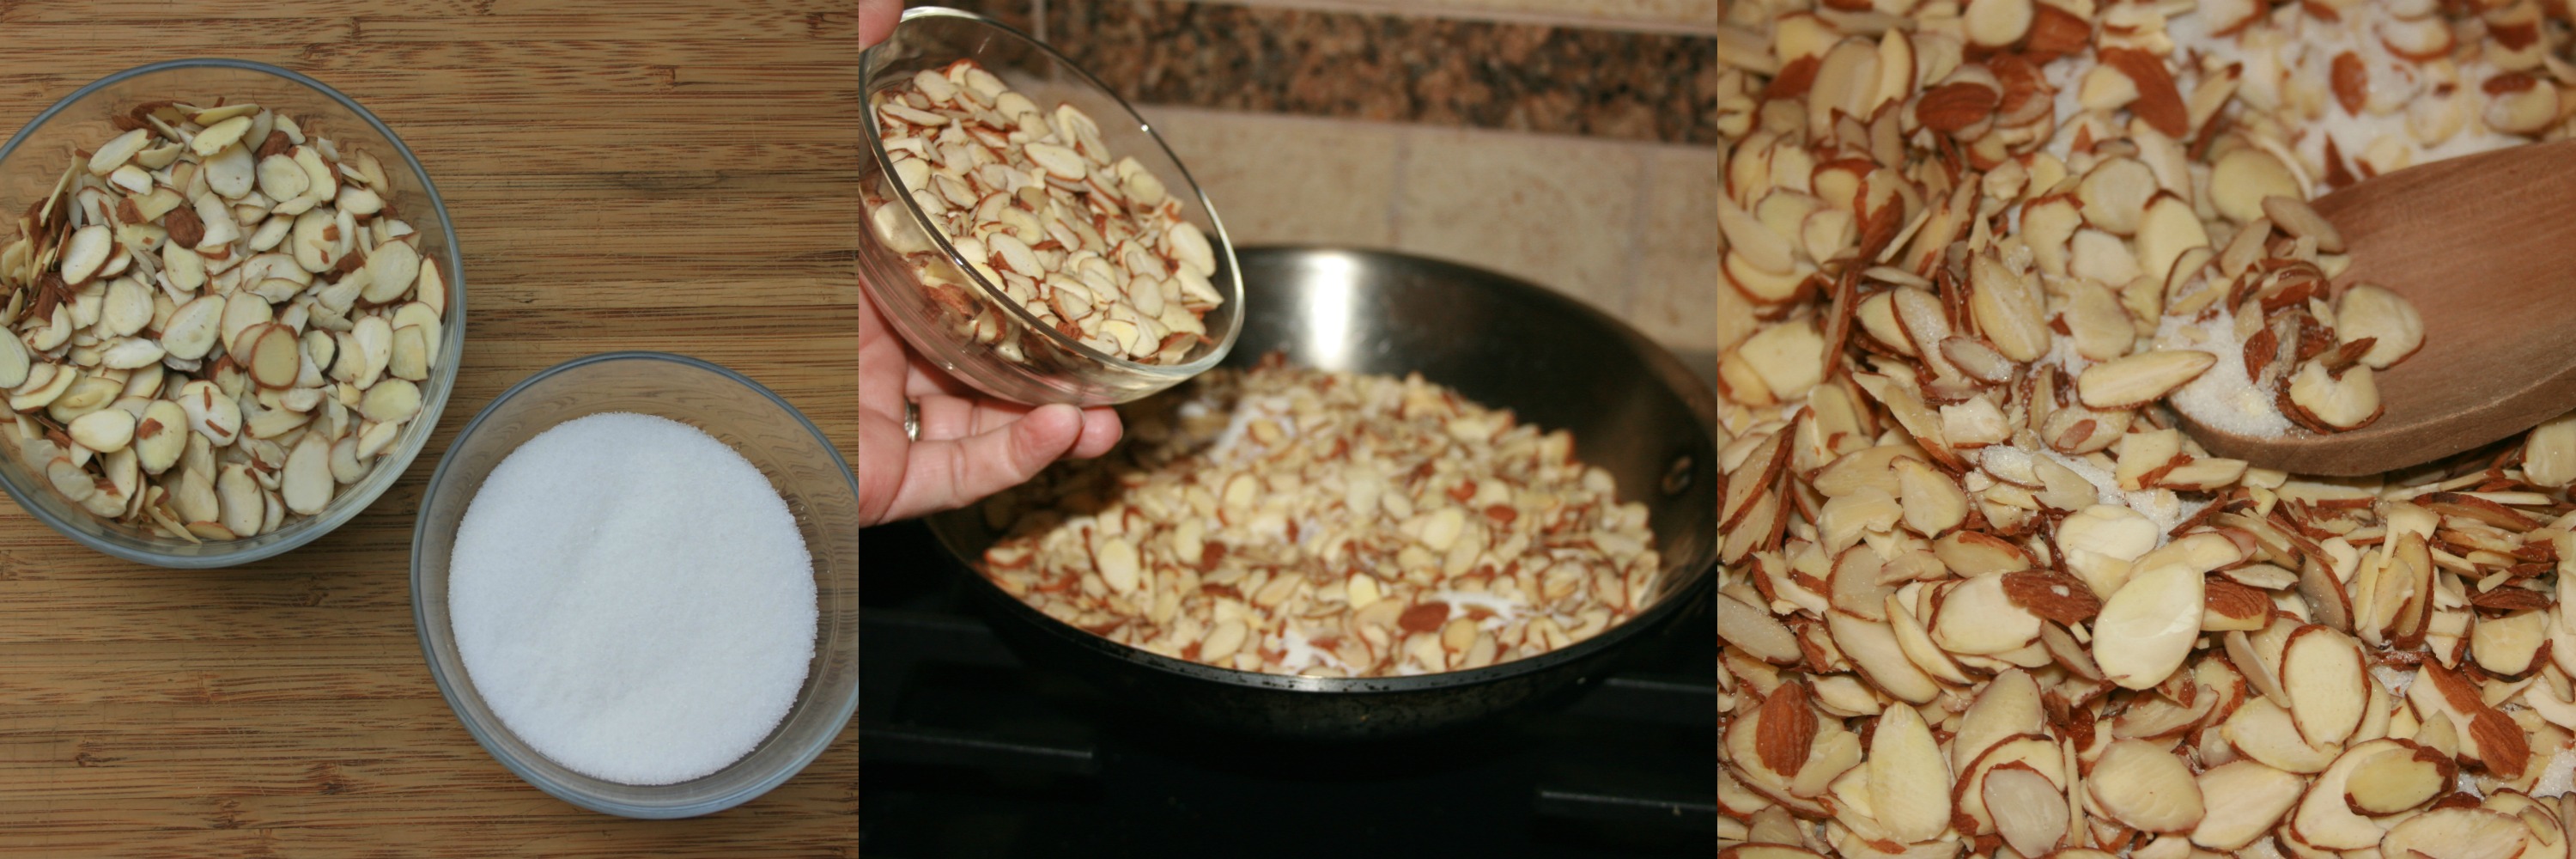
Candied Almond Preparation
- In a large saucepan, combine the sugar and almonds and put over medium heat.
- Continue to stir the mixture every couple of minutes until the sugar starts to melt.
- Once this happens, continue stirring evenly to sugar coat all of the almonds evenly and then transfer from the pan to some foil, allowing the almonds to cool down and solidify a little bit.
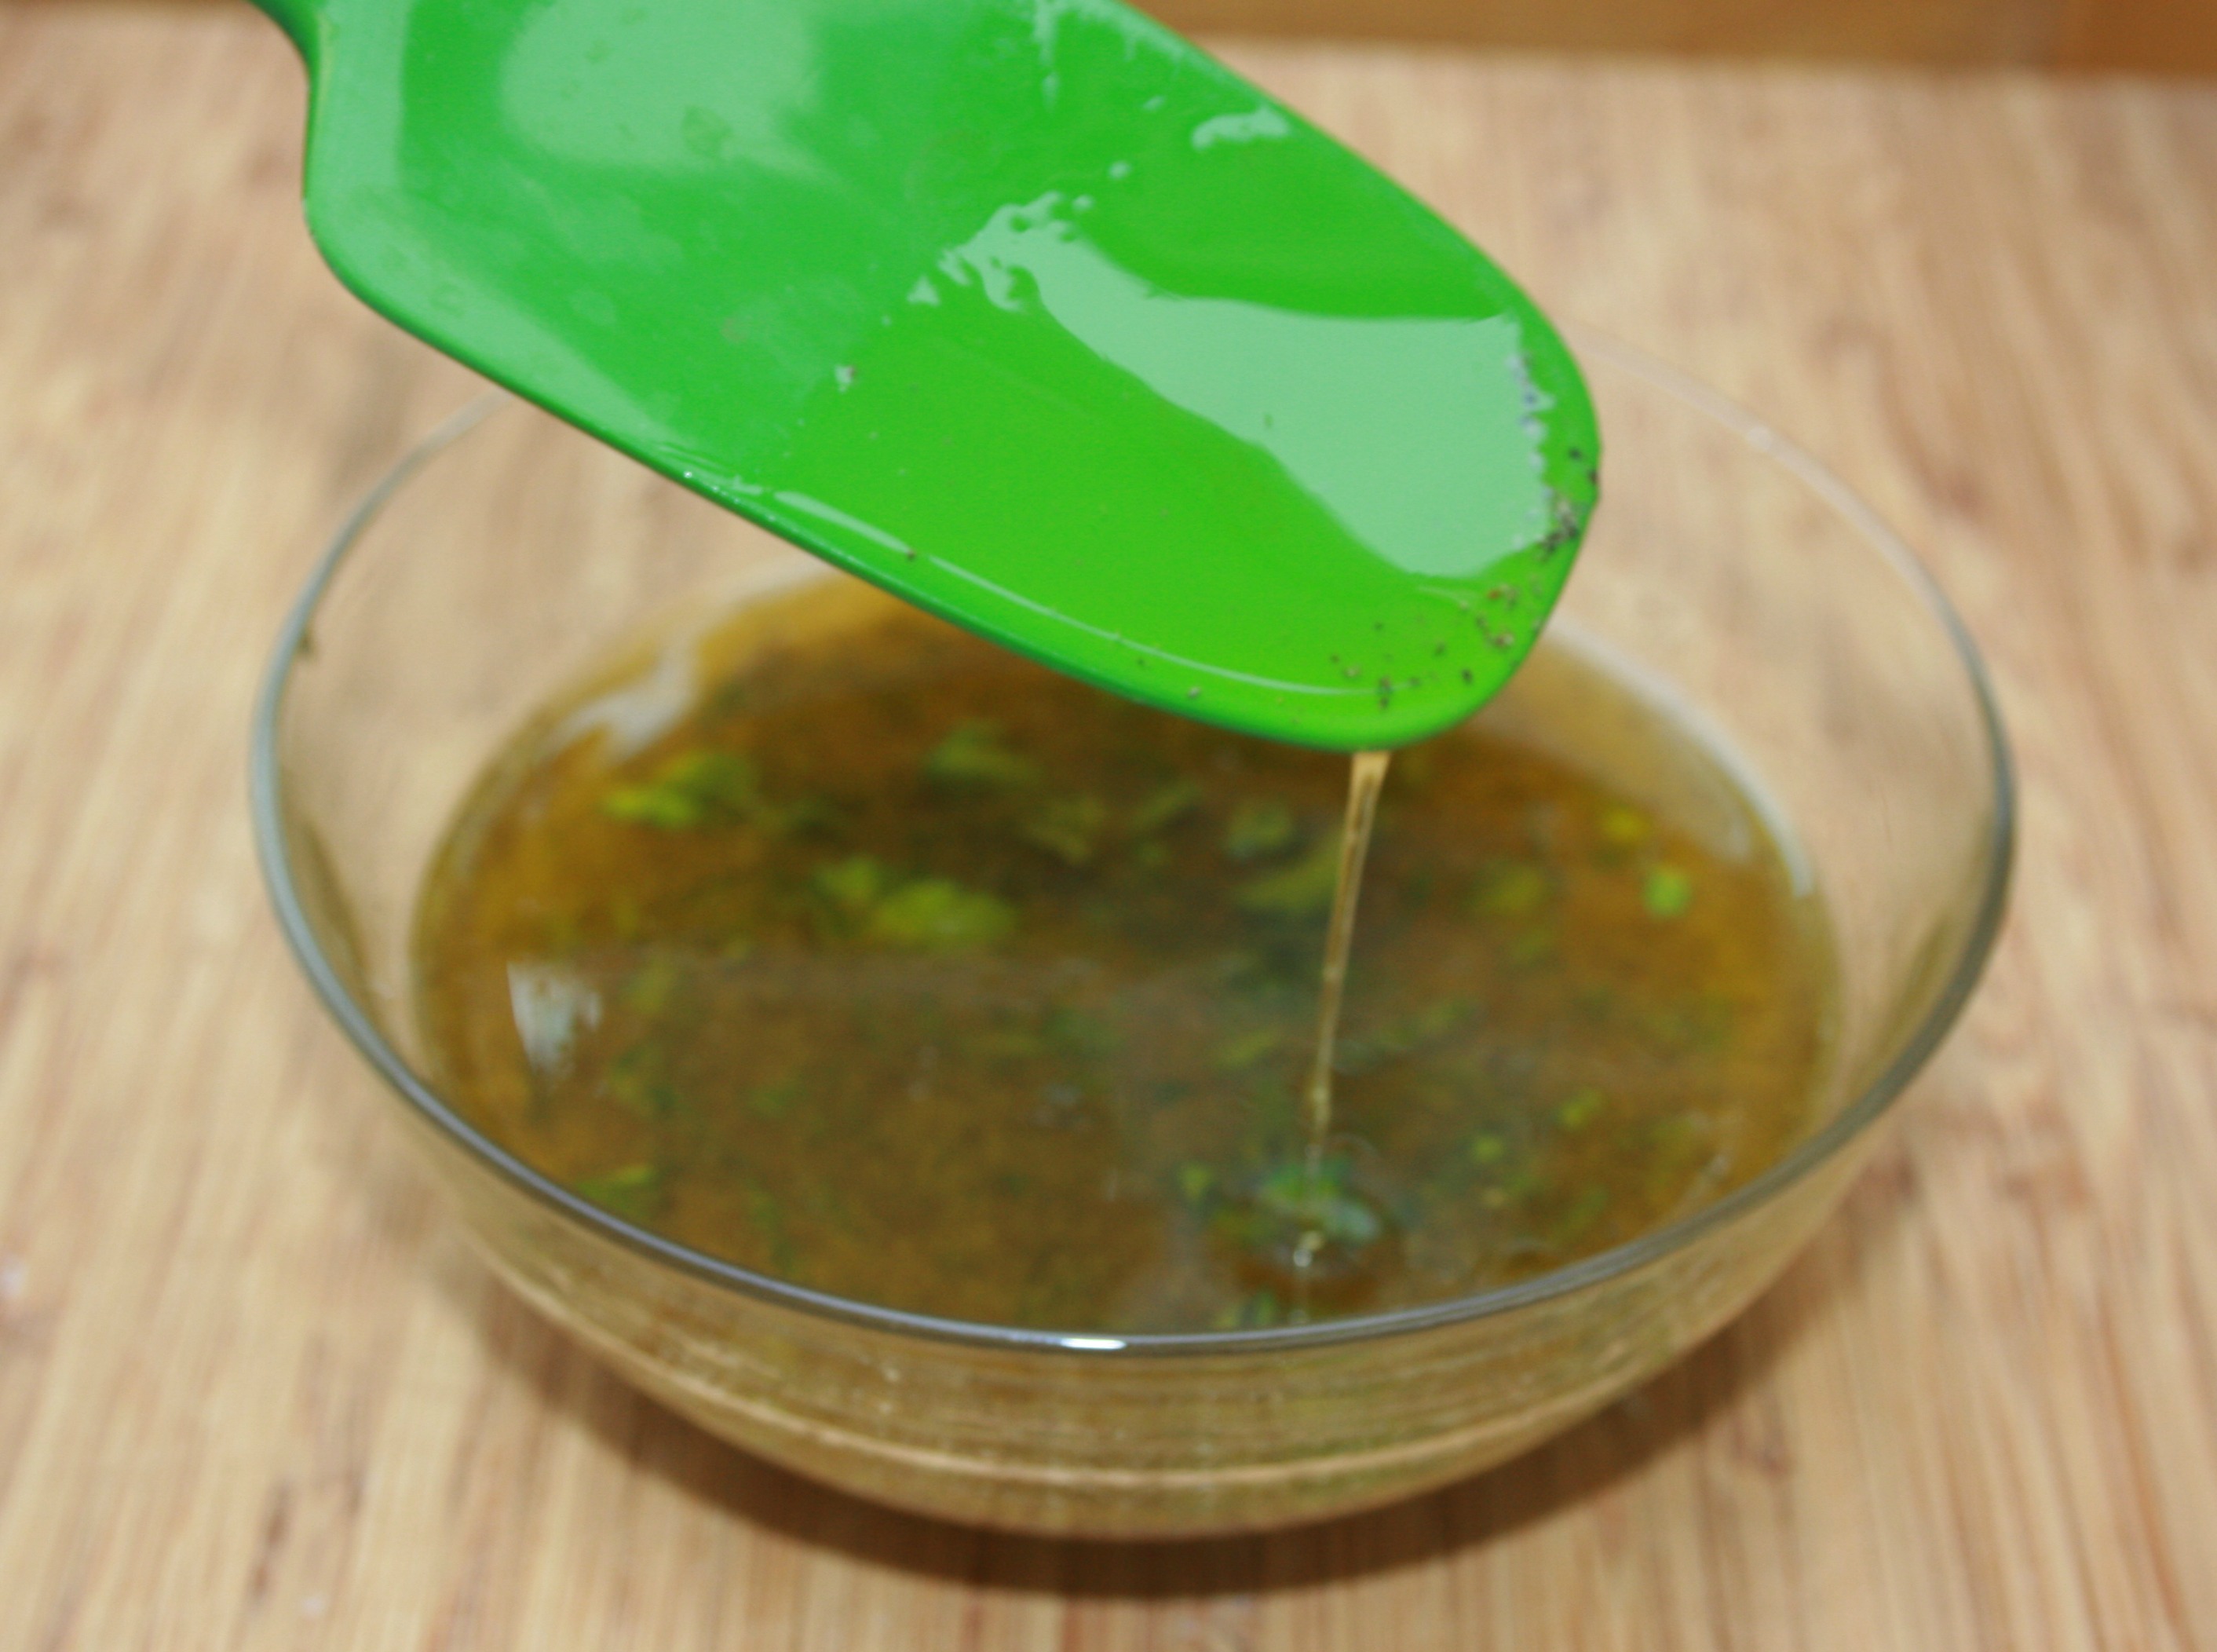
 Dressing Preparation
- Whisk together salt, pepper, sugar, and olive oil in a small bowl.
- Finely chop up parsley and add to the mixture.
- Set dressing aside and shake well before tossing onto Cornucopia Salad.
 Salad Preparation
- Add lettuce to salad bowl.
- Cut and core apple and either cut into large apple slices or dice it up. Next, add to salad bowl. If you don’t plan on serving right away, squeeze lemon juice onto apple to prevent browning.
- Drain mandarin oranges and add to salad.
- Add dried cranberries, feta cheese crumbles, and candied almonds to the bowl and mix everything together.
- Set salad aside until you’re ready to toss with dressing and serve.
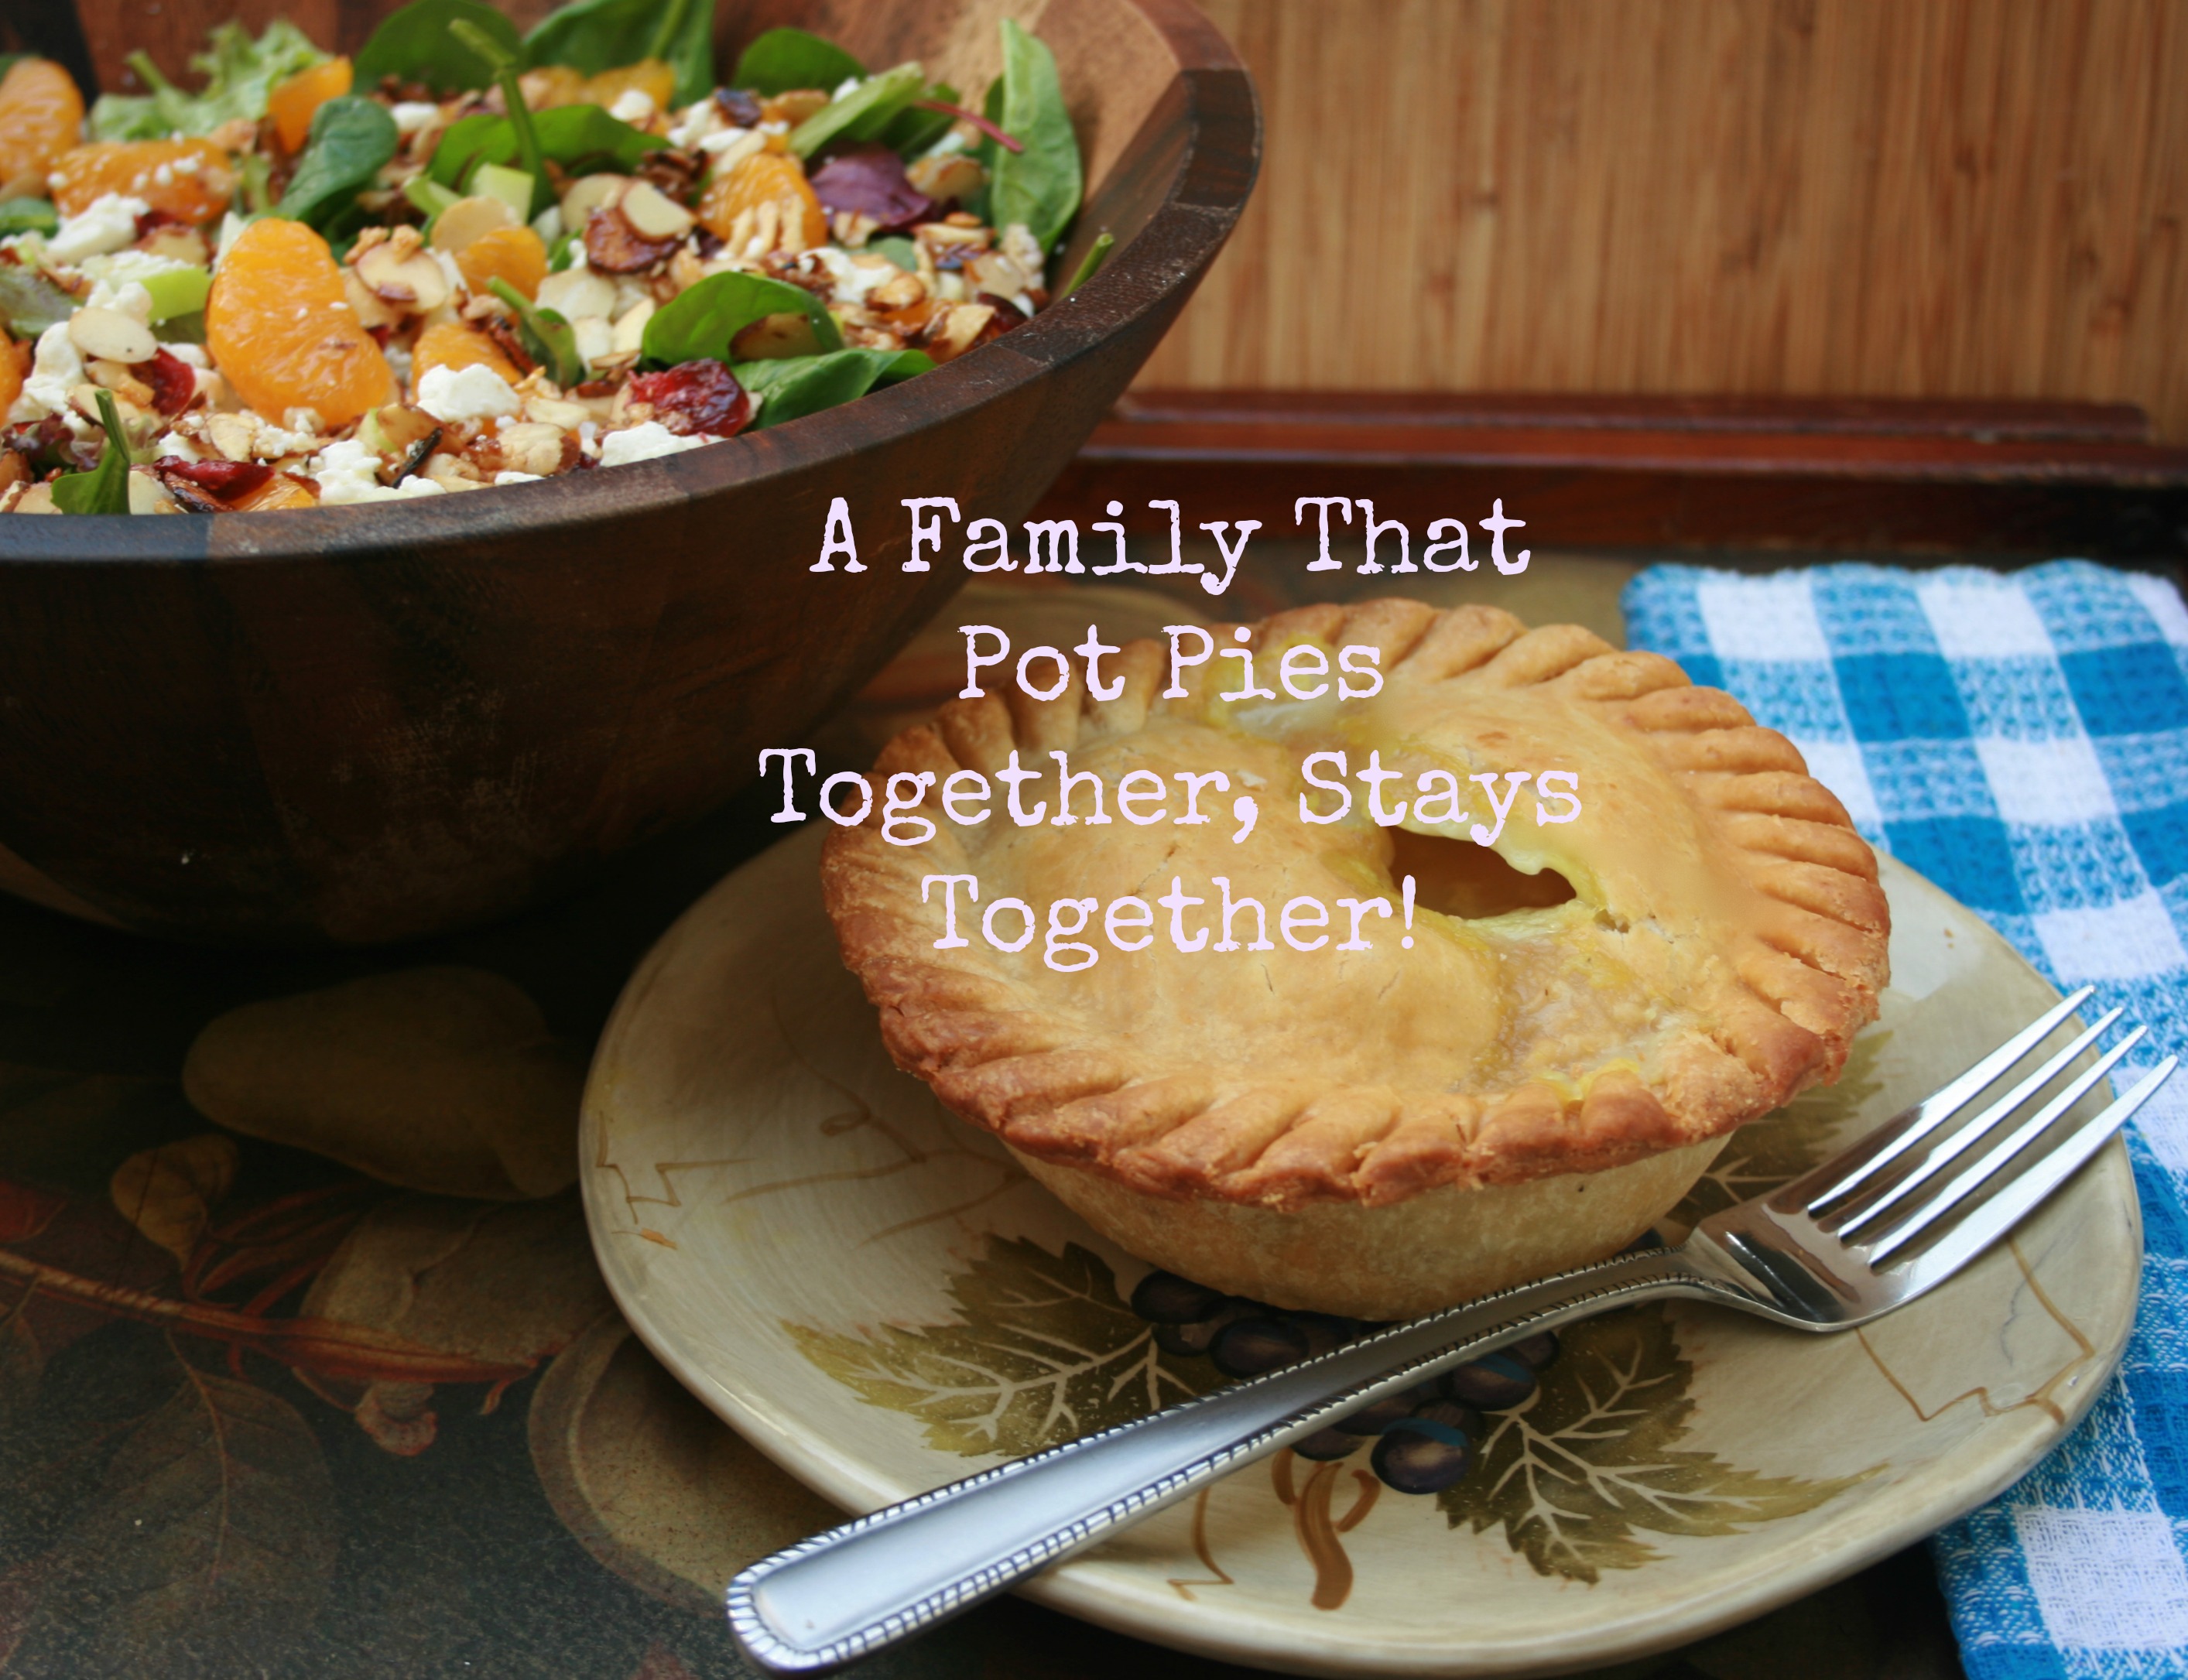
 For me, a Marie Callender’s Chicken Pot Pie served with Cornucopia Salad IS the ultimate comfort meal that my family and I can all sit around the table and enjoy, as we chat about each others’ days. Family time together is the most important time!
 This fall, Marie Callender’s launched the Comforts From Home Project, a program dedicated to bringing the heartwarming feelings, flavors, and favorites of home to those who miss it most…. those who protect America’s homes every day: the brave men and women of the U.S. Military. Every time you enter a code from a specially marked package of Marie Callender’s meals or desserts, Marie Callender’s will make a donation to USO2GO, a USO program that brings electronics, sports gear, books, games, and more to troops stationed in remote locations. Look for the code on participating products.
You can find Marie Callender’s pot pies in the frozen meals section of the grocery area in your local Walmart! Visit here to learn more about Marie Callender’s pot pies and here for more great recipes!
 What’s YOUR family’s favorite comfort food to enjoy together?
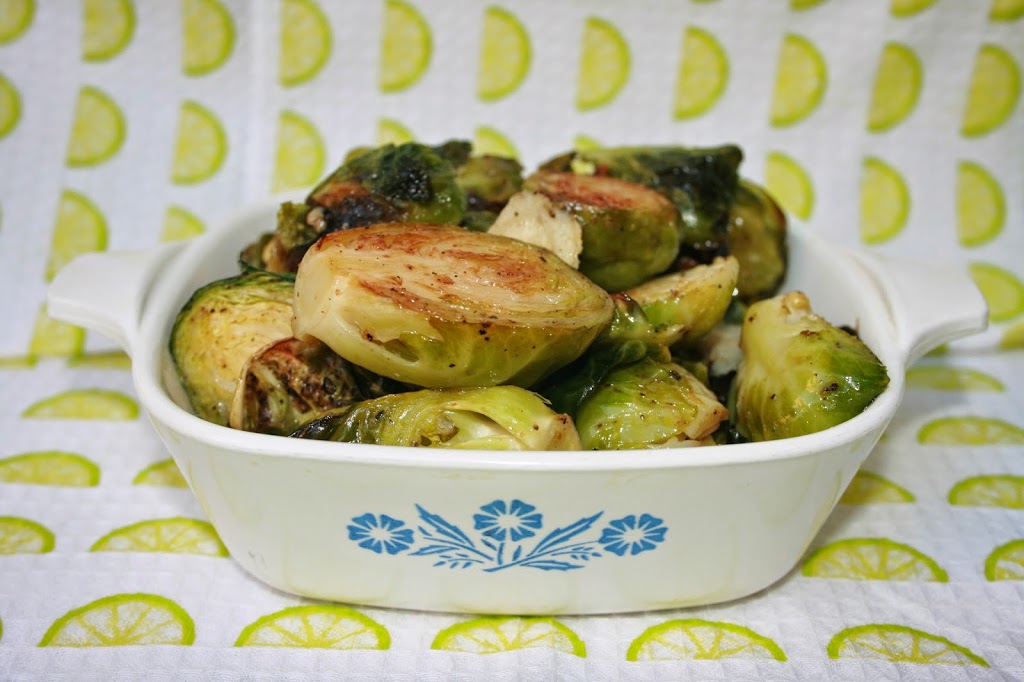
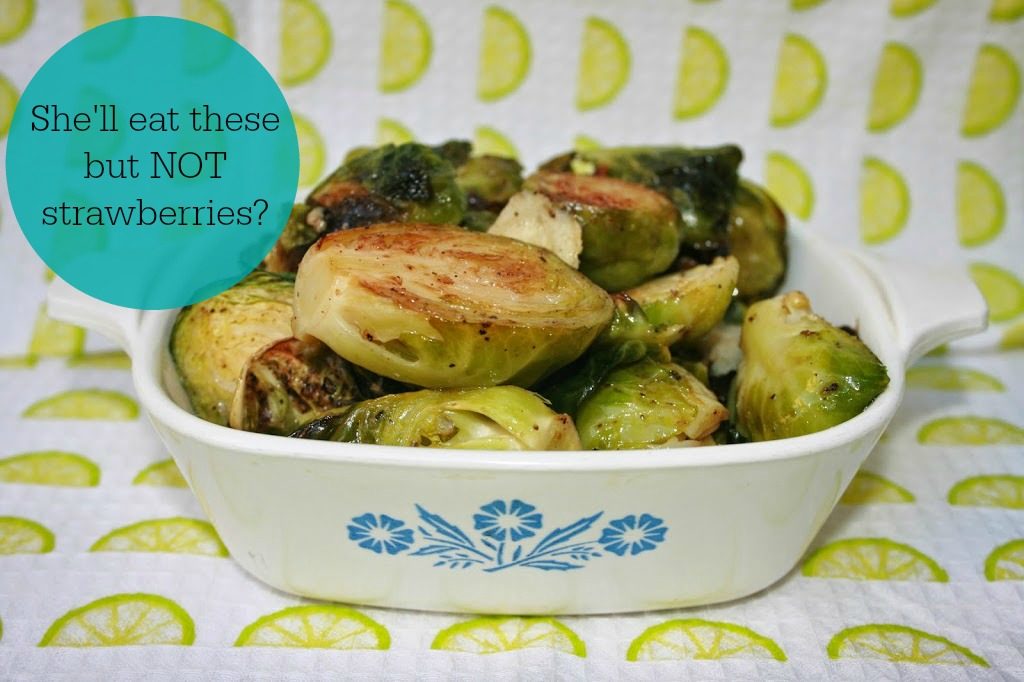 At first my daughter seemed hesitant but then I told her to try one of the brown parts and I think that’s when she was hooked! She almost ate the entire dish I gave her BEFORE touching any of the coconut panko crusted chicken tenders I served with it! At this point, I think I did “The Mommy Happy Dance”! Another victory! Yay!