
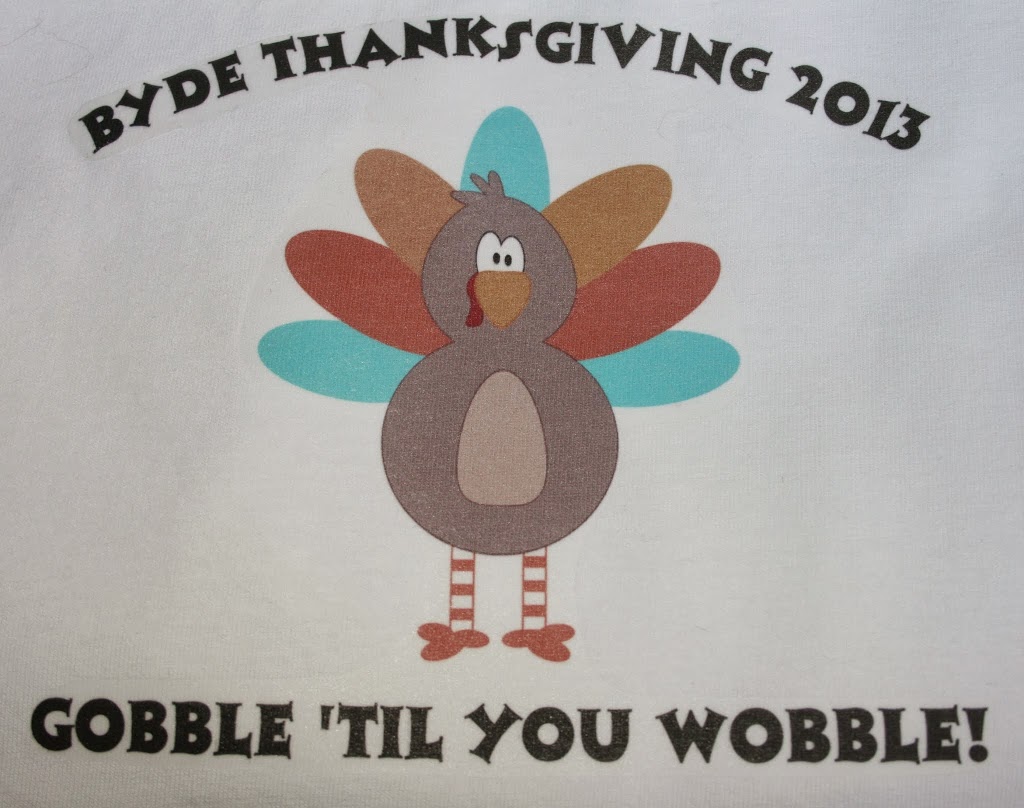
Can I just share with everyone HOW excited I am about the shirts I just finished making using the “Little Turkey” collection by Lauren McKinsey? I often have personalized shirts made at a local shop, but they’re never less than $20 and that can add up quickly if you’re making something for your whole family. I recently saw a DIY for a turkey shirt over on Lauren’s blog and thought I’d try it myself! Since Emily requested we all wear pajamas on Thanksgiving Day this year, I thought some matching family shirts would look really cute with our pj pants!
Here’s what you’ll need to make these shirts:
*tshirts that are all cotton and no stretch (you don’t need to prewash them)
*the turkey clipart image from The Little Turkey collection by Lauren McKinsey
*a pack of Avery Light Fabric Transfers paper, size 8 1/2 X 11 (It’s product 8938)
*scissors
*an iron
*a pillowcase
The first thing we did was to go and pick out our t-shirts at the store. After that, we went to Staples and bought some Avery Light Fabric Transfers. (They also sell separate ones for dark fabrics.) When we got home, I went online to avery.com/print, where you can actually find the templates that work for this product. Not only are there tutorials and tons of different areas to go for help on the site, but the templates practically walk you through the process. For our shirts, I chose a circular text for the top and then regular text for underneath the turkey. I also chose the “Ashley Crawford” font, but there are many to choose from. After doing all of the text parts, it was time to insert the turkey image into the template. I had the collection already saved on my computer, so in the template when I clicked on “images”, I then clicked on “from my computer” where I found the turkey clip art to insert into this template. After I was content with my image, I saved it onto my computer, as well as in my avery.com account. (You can register an account at that point.) The instructions recommended printing out a test copy on regular paper first. This is a good idea because then you can see if it’s the right size for the shirt you’re putting it on. If I were to make these shirts again, I think I would’ve made the image and text a little bit bigger. After printing out your test page, you’re ready to print on the fabric transfer paper. The one I purchased was recommended for Ink Jet printers. Next, you need to trim around them pretty closely. Then the directions tell you to take all of the water out of your iron (it says NO steam) and then to locate a surface you can iron on. The directions say that you SHOULDN’T iron on an ironing board, glass, granite, concrete or heat sensitive surfaces. I just chose to iron mine on the kitchen table. First, you have to iron the shirts, themselves, and then you have to iron a pillowcase, which you’ll be using underneath the shirts when you iron on the images. After setting the fabric transfer FACE DOWN where you want it on your shirt, you start to iron back and forth over it, applying firm downward body pressure. There are specific amounts of time recommended on the directions, depending on how big of an image you’re using. After ironing, you remove your garment from the heating area and let it cool down for about 2 minutes. Finally, you begin to peel the paper backing from the transfer to reveal your fabulous, new holiday shirt! (see directions for washing guidelines)
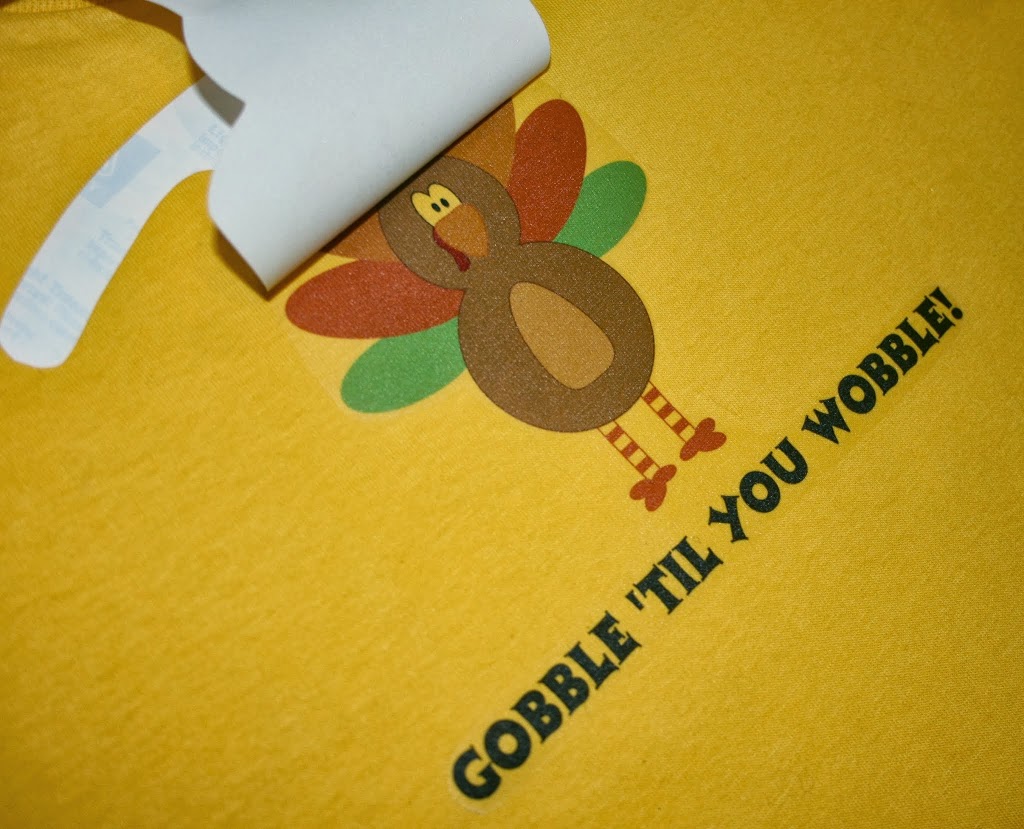
I am just amazed at how easy it was to do! I feel like I want to transform everything now with these fabric transfer papers! To check out the entire “Little Turkey” collection, click here!