Over The Top Mommy

Peppermint S’mores

One of my favorite parts about the holiday season is the variety of peppermint treats you can find in the stores. I seriously love anything peppermint! I think I have a peppermint obsession, actually! The other day, I came across these yummy Ghirardelli Chocolate Peppermint Bark Squares at Target.

I immediately felt the necessity to toss a few bags into my cart, mostly because they’re a limited edition item and I know if I don’t stock up now, they’ll be gone when I go back. My daughter came up with a brilliant idea. She said, “Mommy, why don’t we make peppermint s’mores?” We love s’mores around our house. I think she just likes being my official taste-tester/model!

I love that these squares are the perfect shape for s’mores too. 

We just decided to microwave our marshmallows. I’d prefer to roast them on the stove because I actually like the little burnt parts, but Emi likes hers to be perfect and when you pop them in the microwave, they are perfect to stick inside of the s’more!

Seriously though…how yummy does THIS look? 

Did I mention that Emi finds it necessary to stick a mustache on absolutely everything?
Yep, even on the s’mores! (these mustaches are by Wilton and we got them at Michael’s.)

She also likes to use my old stand-by line…”I need to taste it and make sure it’s not poisonous!” 
I fall for it every time! 
I wonder if Santa would prefer we leave out s’mores for him rather than cookies this year?


DIY Family Thanksgiving Shirts Using the “Little Turkey” Collection

Can I just share with everyone HOW excited I am about the shirts I just finished making using the “Little Turkey” collection by Lauren McKinsey? I often have personalized shirts made at a local shop, but they’re never less than $20 and that can add up quickly if you’re making something for your whole family. I recently saw a DIY for a turkey shirt over on Lauren’s blog and thought I’d try it myself! Since Emily requested we all wear pajamas on Thanksgiving Day this year, I thought some matching family shirts would look really cute with our pj pants!
Here’s what you’ll need to make these shirts:
*tshirts that are all cotton and no stretch (you don’t need to prewash them)
*the turkey clipart image from The Little Turkey collection by Lauren McKinsey
*a pack of Avery Light Fabric Transfers paper, size 8 1/2 X 11 (It’s product 8938)
*scissors
*an iron
*a pillowcase
The first thing we did was to go and pick out our t-shirts at the store. After that, we went to Staples and bought some Avery Light Fabric Transfers. (They also sell separate ones for dark fabrics.) When we got home, I went online to avery.com/print, where you can actually find the templates that work for this product. Not only are there tutorials and tons of different areas to go for help on the site, but the templates practically walk you through the process. For our shirts, I chose a circular text for the top and then regular text for underneath the turkey. I also chose the “Ashley Crawford” font, but there are many to choose from. After doing all of the text parts, it was time to insert the turkey image into the template.  I had the collection already saved on my computer, so in the template when I clicked on “images”, I then clicked on “from my computer” where I found the turkey clip art to insert into this template. After I was content with my image, I saved it onto my computer, as well as in my avery.com account. (You can register an account at that point.) The instructions recommended printing out a test copy on regular paper first. This is a good idea because then you can see if it’s the right size for the shirt you’re putting it on. If I were to make these shirts again, I think I would’ve made the image and text a little bit bigger. After printing out your test page, you’re ready to print on the fabric transfer paper. The one I purchased was recommended for Ink Jet printers. Next, you need to trim around them pretty closely. Then the directions tell you to take all of the water out of your iron (it says NO steam) and then to locate a surface you can iron on.  The directions say that you SHOULDN’T iron on an ironing board, glass, granite, concrete or heat sensitive surfaces. I just chose to iron mine on the kitchen table. First, you have to iron the shirts, themselves, and then you have to iron a pillowcase, which you’ll be using underneath the shirts when you iron on the images. After setting the fabric transfer FACE DOWN where you want it on your shirt, you start to iron back and forth over it, applying firm downward body pressure. There are specific amounts of time recommended on the directions, depending on how big of an image you’re using. After ironing, you remove your garment from the heating area and let it cool down for about 2 minutes. Finally, you begin to peel the paper backing from the transfer to reveal your fabulous, new holiday shirt! (see directions for washing guidelines)

This was the color Emily chose. Here, I’m peeling back the paper. So cute! 
I definitely feel like the image pops more on a white shirt! I love both options though.

I am just amazed at how easy it was to do! I feel like I want to transform everything now with these fabric transfer papers! To check out the entire “Little Turkey” collection, click here!

Happy Thanksgiving! 


“Classy Thanksgiving” Collection and Free Printables by Lauren McKinsey

I am getting so excited for Thanksgiving! I love looking for new recipes to try each year, especially the dessert ones. I also love decorating and adding adorable little accents to our set up. I like Lauren’s printables because they’re so easy to print out on card stock, cut and use. I’m loving the colors & design of this collection. It’s called the “Classy Thanksgiving” collection. Since November is still the “acceptable season” to eat candy corn (one of my favs), I’m using these “so thankful for youmini hanging gift tags to whip up little favors for our guests this year. All I did was put some candy into a dessert cup that I got from Target, wrap it in a cellophane bag and tie it up with this natural-colored string and then I put one of these tags on.

I also love that each of her collections has drink wraps to coordinate. I love having an area on my counter full of water bottles that are festive. It just brightens up the drink station! I actually print these out on regular paper (not card stock), then just cut apart and tape onto the bottles after removing the original labels. My party guests always know they can count on “fancy water” at my get togethers!

Seriously, how cute are these? 
This year I’m going to ask each guest to fill out one of these cards and then hang them all up with clothespins for all to see. Of course Emi wanted to make the example for me. She LOVES helping me with things like this!
I love this kid! 
Well, those are just a couple of my decorating ideas this year but I’ll be posting more soon because I’m also using her “Little Turkey“Thanksgiving collection for our kids table! Click here to get your free printable from each of these collections!
I just KNOW these Lauren McKinsey printables from both of her latest collections are going to really “cute up” my house and my Thanksgiving this year!

My Love Affair with Cookie Chips

I’ll be the first to admit that I have a love for snacks! Whenever I come across something new and delicious, I just feel like it’s my duty, as an American, to let everyone else know about it too. Recently I attended a fun blogger event called The Socal Social. Inside our Swag Bag, we were each given a bag of Chocolate Chip Cookie Chips.

I had never heard of them before but the packaging looked adorable and with a motto like, “Tastes like a Cookie, Eats like a Chip“, how could I NOT rush to try them? I, of course, had to wait to try them with Emi, as she’s always been my taste-testing partner. Look what happened when I poured some out of the bag!!!

I swear the came out of the bag and landed like this! hehe! 
(I can’t help that I see Hidden Mickeys everywhere!)
 
Cookie Chips are so yummy! They are very light and crunchy and made a perfect after-school snack for Emi with a glass of milk. After Emi read the part that said “Eats like a Chip”, she said to me, “Mommy, since they eat like a chip, can I have them in my lunch EVERY day with my sandwich?” Now I’m dying to try one of the other flavors. They are available in Original, Chocolate Chip, Cinnamon Sugar, Dark Chocolate Chip, and Sea Salted Peanut Butter. To find a list of stores where you can find Cookie Chips, click here. I promise you, once you have just one bite of a Cookie Chip, you’ll start your own love affair with them too!

Our Adventures at the Disney Parks Christmas Day Parade Filming

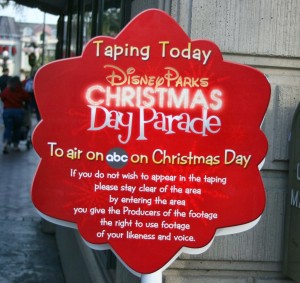
I never take for granted how close we live to The Disneyland Resort! Since it’s just a hop, skip & a jump to the parks, we are often able to attend special events, on short notice, like the taping of the Disney Parks Christmas Day Parade filming. This year, we were able to attend the final day of filming, which included the parade portion and a performance by the cast of Teen Beach Movie!

Disneyland opened at 9 a.m. that day and we arrived at the Main Gate around 8:45 a.m. I didn’t realize that guests would be allowed to enter at 8 a.m., so we weren’t able to find a spot that was within the close filming area where the celebs were going to be dancing. We still found a seat on the curb down in front of Plaza Inn. This is where the parade floats, characters, dancers, and giant balloons all approached though, so we had the prime spot for taking pictures of it all. We were also filmed a couple of times in audience shots, so we still may end up on TV, right? I won’t post photos of the actual parade  until it actually airs because there were a few special parts added to this that aren’t normally included and I feel like it spoils some of the magic, but I will share a couple of fun pics that we took from the curb!

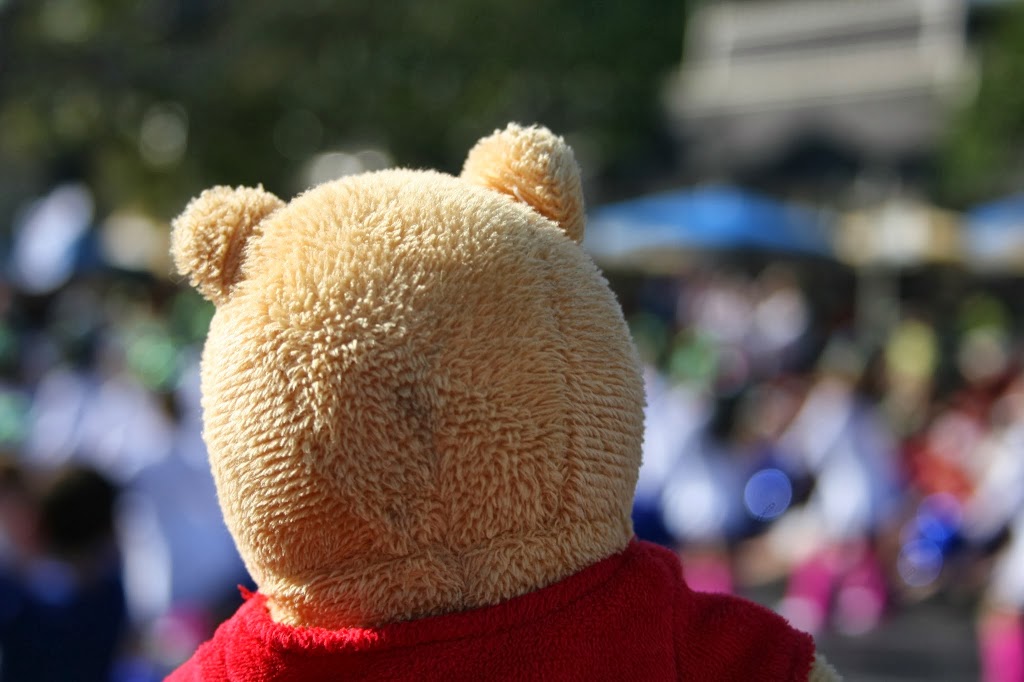
This is Pooh waiting patiently for the festivities to begin.
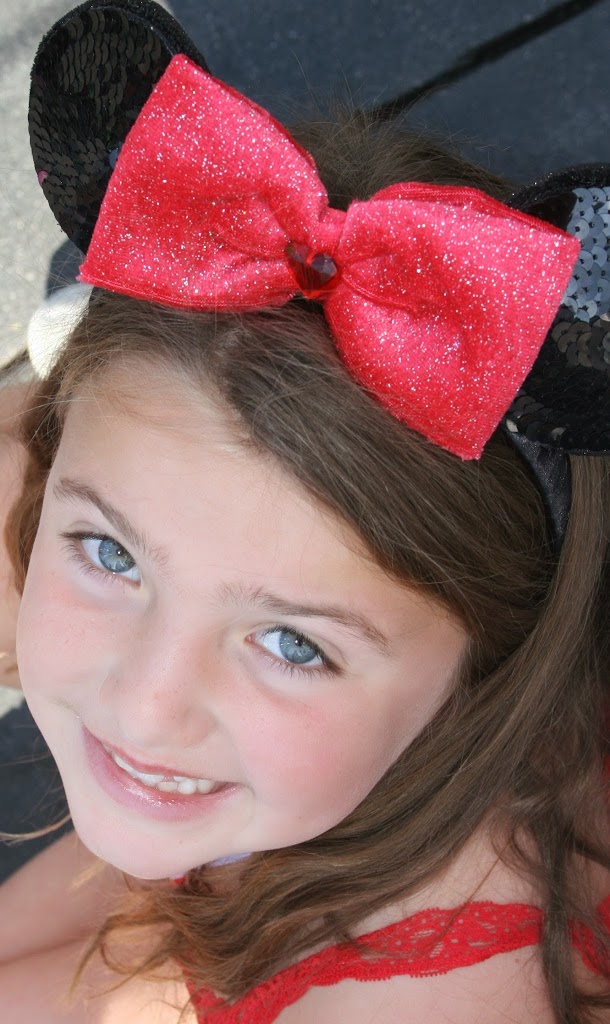
Here’s Emi trying to be patient as she sits on the curb, showing off her DisneySide!

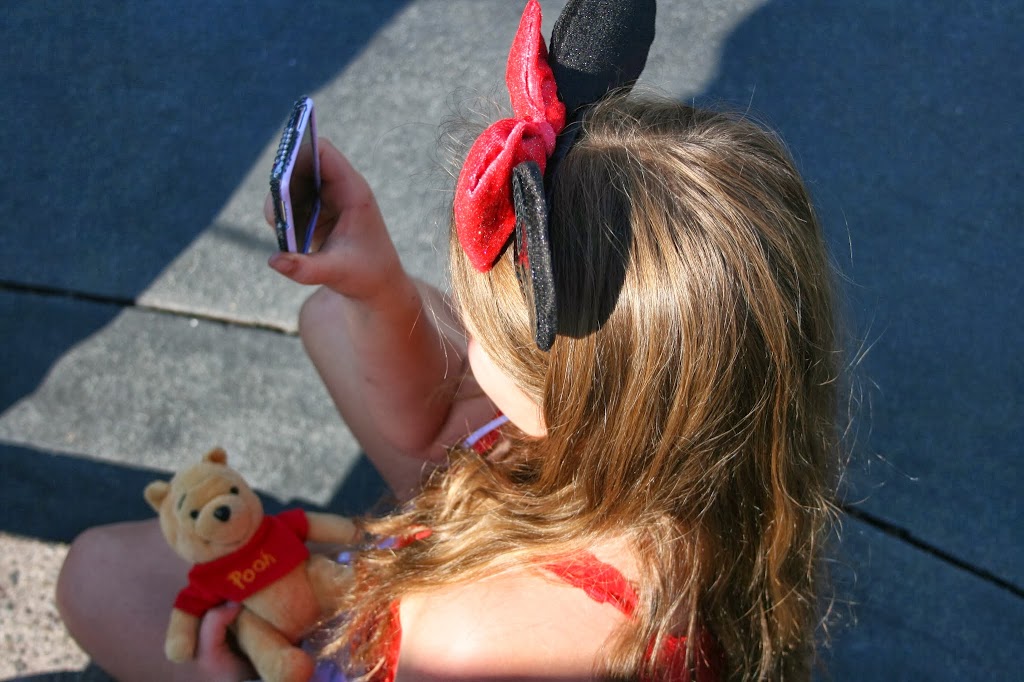
Emi was taking her own pics and videos during the parade! 

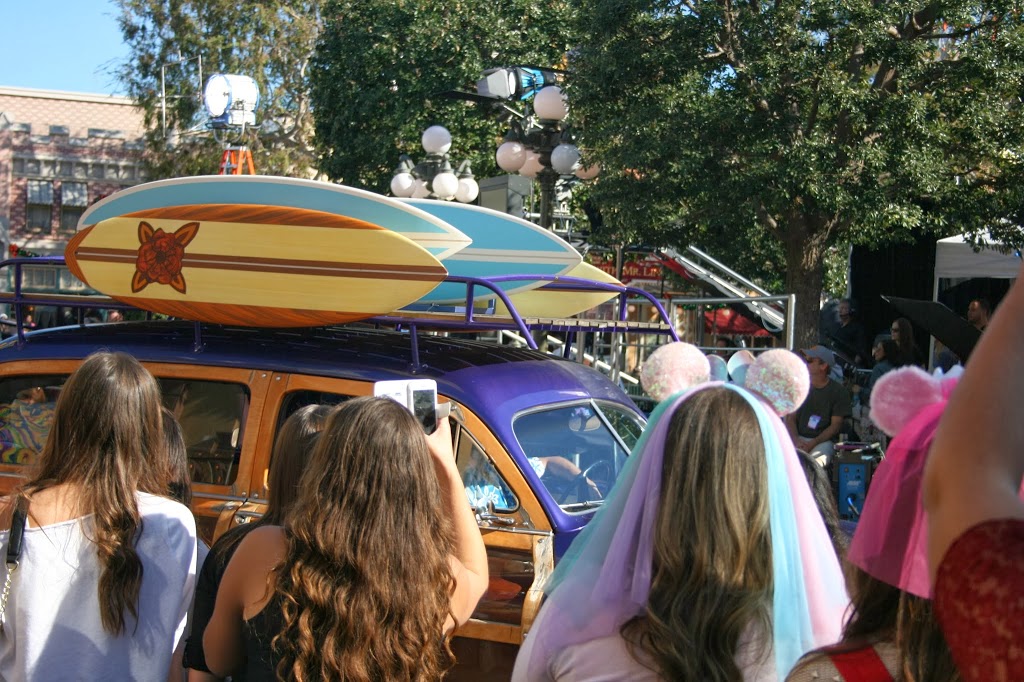
After sitting there for about 3 hours, we were startving and went to get something to eat. After we returned, we saw that the woody from Teen Beach Movie was parked at the front of Main Street and we knew what this meant…..the cast would soon be entering the park!

I’m pretty sure I had to walk up and back Main Street about 6 times just to get this shot because the CMs were shooing everyone to keep on moving! 

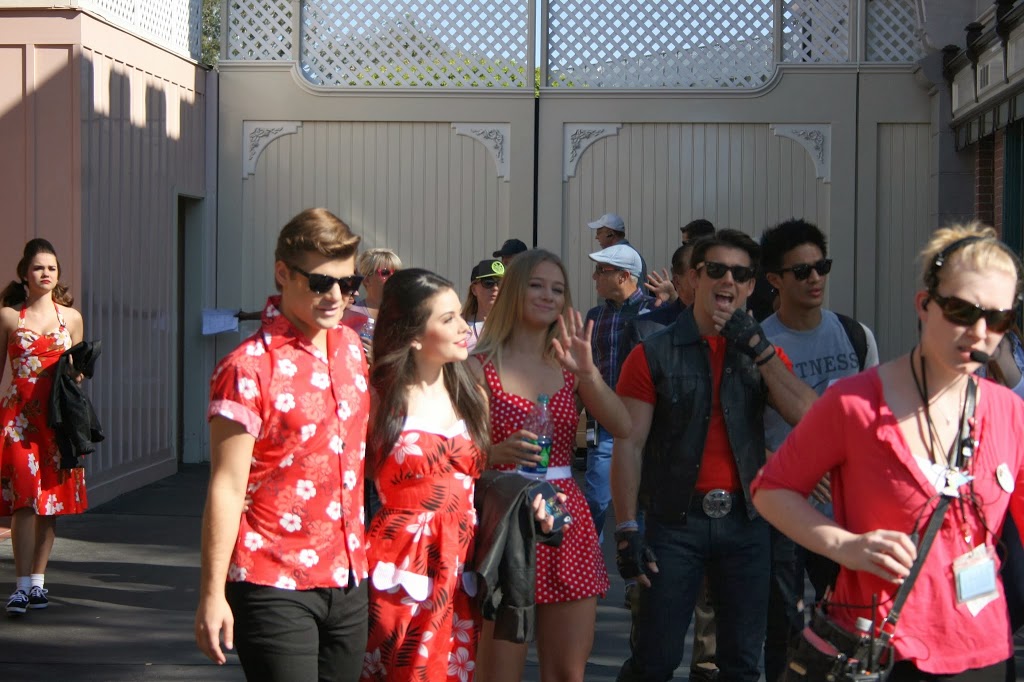
We finally made our way through the insane crowd to the top of Main Street, and there we waited and waited and waited…..until they FINALLY came out!
I LOVE Maia! She is so adorable!
 

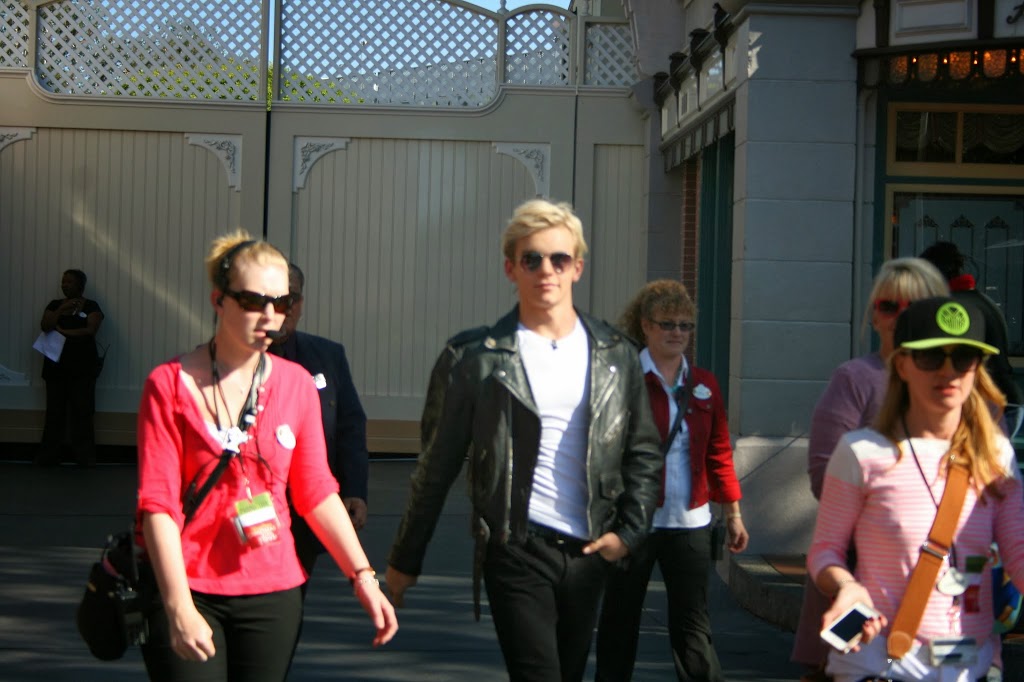
Well all of them came out except for Ross Lynch. Thank goodness I had Emi there to let me know that Ross’ mommy, Stormy, was walking right in front of where we were standing, and that it looked like she was going backstage, so we knew he was coming out soon.

This is his mom going to get him and escort him out.
Ross Lynch! 
 

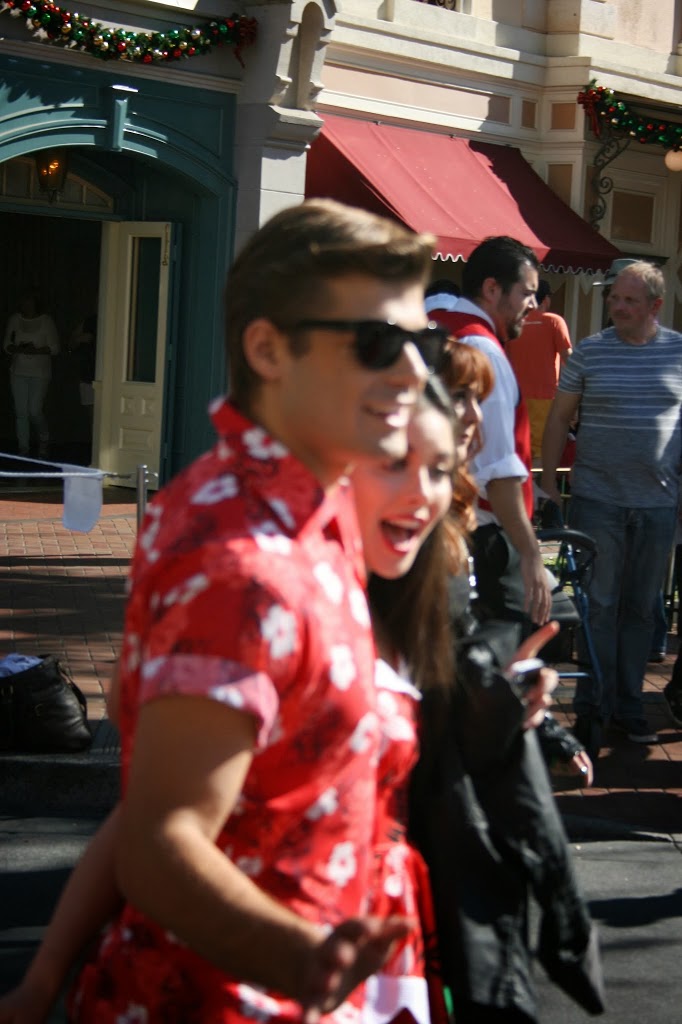
I cannot describe my daughter’s expression when he walked out! Not only her expression but the fact that she was flushed too! This is the 2nd time within 2 months that she’s seen Ross & Maia this close up. (our other opportunity was when Ross & Maia were in Downtown Disney)
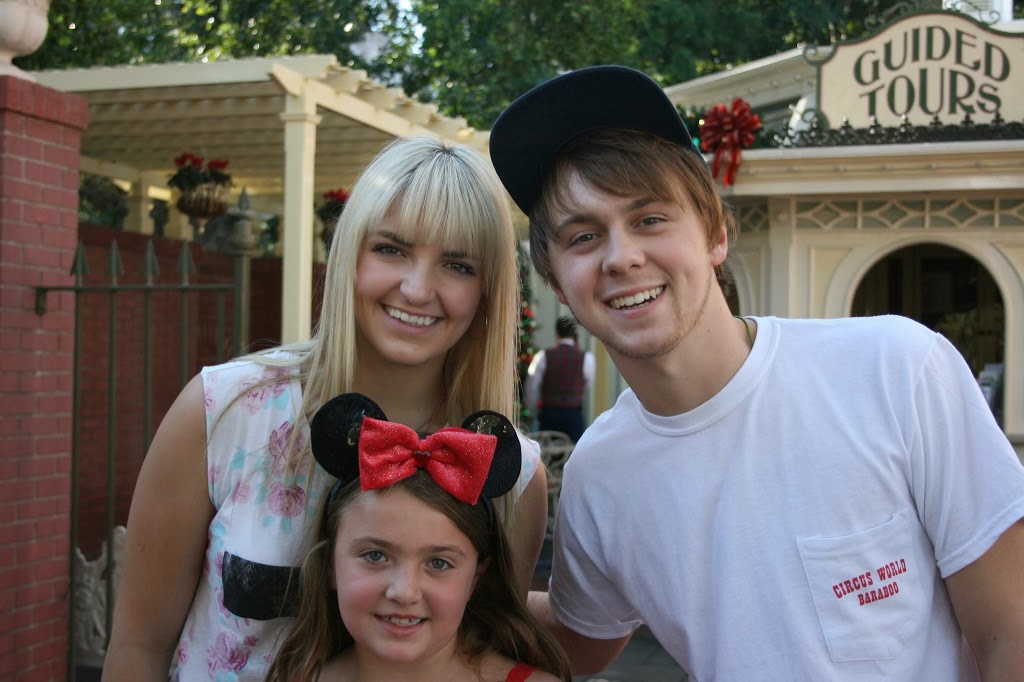
After the Teen Beach Movie portion of the show began filming, which we couldn’t sit or stand and watch, we decided to head towards the Matterhorn. That was when Emi realized Rydel Lynch was walking in front of us! Yep, she’s Ross’ sister and a member of R5! She was hanging out with Ellington Lee Ratliff ,who’s also in R5. So, of course, we had to pace behind them for a couple of minutes until I got my big “Mommy Courage” up enough to ask them if they’d take a pic with Emi! They were very nice. I definitely see an R5 concert in our near future!

 Emi with Rydel Lynch and Ellington Lee Ratliff
It was an amazing day at Disneyland. I also learned what I’ll be doing differently for next year’s taping.
Here are some of my tips if you’re planning on attending the taping for the Disney Parks Christmas Day Parade:
1. Arrive at Disneyland 1-11/2 hours before the park opening.
2. Dress festively in Christmas attire and holiday Disney gear so you can attract the cameras’ attention, but also layer because it gets HOT! If you have babies or small children, the cuter they are dressed, they more likely they’ll get on camera.
3. Bring water and snacks because you might not be able to get up and get food.
4. Wear sunblock and bring extra! It is almost ALWAYS hot at Disneyland! 
5. For the most camera time, sit on the sunny side of Main Street! It’ll be hot, but it’s worth it! 
6. Be prepared to smile and have fun!


It was an exciting day for us at Disneyland.
 It’s always an adventure with Emi and I can’t wait for our next trip to the parks!


The Switch Witch

In our home, we are HUGE fans of The Switch Witch! In case you were wondering who she is, she’s a friend of The Tooth Fairy, The Easter Bunny & Santa Claus! The Switch Witch is an easy way to lure the candy away from your kids without them being upset about it. (and yes I know that I’m a parent and I could also just monitor the candy intake or just say “no”) 
Basically, the story goes like this:
“If you’d like to set aside a few pieces of your favorite candy in a hidden place and place the rest out with a note for The Switch Witch, she’ll visit our house when you’re sleeping, take the candy, and leave you a surprise in exchange.” 
This must be done within the week following Halloween, before she goes away for the year. The Switch Witch doesn’t HAVE TO leave a giant surprise, it’s just whatever your preference is. 
I think Emi lucked out this year.
 

DIY Glitter Shoes Using Mod Podge

I cannot tell you how many pairs of my daughter’s perfectly good shoes have had the toe area ruined by what seemed like just a few wears to school! I don’t know what exactly kids are playing at recess these days, but it can sure be frustrating for me to either 1) send Emi to school wearing shoes that look worn out or 2) keep having to buy her new school shoes every month. Let me show you what just a couple of supplies can do to transform scuffed up shoes into beautiful glittery ones!
Here’s the supplies you’ll need:
*a bottle of Mod Podge (I buy mine at Michael’s)
*a container of glitter (Since Emi’s favorite color is blue, I chose a pretty aqua blue glitter.)
*a roll of painter’s tape. (I like 3M brand. The skinny width is easiest to use for this project.)

The first thing you need to do is tape up the shoes around the area you’ll be adding glitter to. Don’t forget to do part underneath the glittered area too, which is part of the sole.
Next, apply a coat of Mod Podge to the exposed area with a paintbrush.
 After this, sprinkle glitter over it while it’s wet, shake off  the excess glitter, and allow it to completely dry for about 12 hours.
At this point you’ll need to apply another coat of Mod Podge, this time over the glittered area and again, allow it to completely dry for another 12 hours. **VERY IMPORTANT I forgot to take a picture of this part, but don’t forget to do this 2nd coat!
Afterwards, remove the painter’s tape and the shoes will be ready to wear!

How cute did these turn out? I feel like one of Cinderella’s step sisters, trying to cram my own feet into them so I can wear them!
 The entire project was so simple and I think these are Emi’s new favorite pair of shoes!

Now I’m wanting to make a pair for ME! What color glitter do you think I’ll choose? If you know me well enough, you’ll easily answer that question! 

My First Blogger Conference: Blended

It’s almost a month later and I still smile when I think about how much fun I had at the Blended Conference. Blended was a one day event held in Tempe, Arizona at the Double Tree by Hilton. It’s a beautiful property to stay at and when you check-in you’re always greeted with a freshly baked chocolate chip cookie! (They were so generous that we got a cookie when we checkout out, too!) In the case of Blended attendees checking in, each one of us was also given one of these adorable Shamrock Farms coolers, which were filled with goodies for our hotel room. There was a bottle of half & half, some milk, 3 flavored sour creams and chips to dip them in! Shamrock Farms was one of the generous sponsors of the conference!

Blended was my first blogger conference and I wasn’t sure what to expect prior to attending. The only thing I knew for sure was that I was excited to meet both of the SUPER ladies responsible for the great conference, mainly because they’re both named Wendy also! I just KNEW we were meant to meet! I was also excited to hear all of the guest speakers’ presentations! Normally, I’m not a shy person but I would say I was bit intimidated going in, just because I’m so new to the blogging world. Although I’ve been a blog reader for years, I hadn’t actually sat down to blog on my own until this past summer. I brought my best outfit, a pad of paper for note taking and a stack of my pretty new business cards that were designed by Tania Fischer Designs. (And seriously, my cards turned out SOOO cute! You’ll see them in this picture amongst some my new blogger friends’ cards that I got at the conference)

It was great to connect with some of the other ladies at the informal meet up on Friday night in the hotel bar. It’s always exciting to meet some of the bloggers in person that you’ve only communicated with online. It was even more exciting to chit chat while we enjoyed some Fairytale Brownies (another one of the conference sponsors) that were in a giant basket on the table! What a great conference sponsor to have! Mmmm!

On the morning of the conference, while I was getting ready, I may or may not have had a solo dance party in my room!  I’m not used to having a big giant room all to myself where I can make as much noise as I want! With my coffee in hand, I dressed in my signature color, pink, and headed over the conference room. It was just the best day! I learned so much from each of the amazing guest speakers, (click here to see the list of talented ladies who presented), talked with some of the conference sponsors that were actually present in the back of the room, ate tons of yummy food, and met so many other bloggers like myself. I also appreciated the break-out groups that were led by Wendy Wright of  Choosing Love and Arizona Moms Network  and Wendy Bevill O’Neal of Around My Family Table,  because you could basically ask them ANY question you might’ve had about the blogging world. As if all of that wasn’t enough, they then held a raffle for  some awesome prizes, including each of the centerpieces in the room.  I actually won one of the centerpieces which had been provided by Fry’s Food Stores! My daughter was ECSTATIC when I brought it home!

At the end of our day, we were each given two huge bags filled with even more swag that had been provided by the sponsors! (Click here for a list of ALL of the Blended Conference sponsors)

These are just some of the business cards I collected!
Two fun peeps I met that day: Heather from Brie Brie Blooms & Laura from Pink Cake Plate
And after the conference, we kept the party going over at Joe’s Crab Shack! As you can see, Laura & I are NOT afraid to wear a bib!
The entire event was just an amazing experience and I cannot wait to go back next year!

So….the word on the street is that next year’s Blended will be a 2-day event! I’m crossing my fingers that it is! To sign up to receive information about next year’s event, click here. I hope to meet you there!

Sometimes Instagram is MORE Than Just Pictures

I love Instagram. I love posting pics, I love interacting with others, and I love seeing the variety of pictures that people share. I love seeing pictures of families and fitness and crafts people have made and DISNEY and recipes….etc. Every once in a great while there are pictures that you scroll by and then scroll back to….sometimes several times. You don’t necessarily know the person but then suddenly you almost feel like you want to know them or at least more about them. Today I felt that way about a picture I came across. I have been following this adorable young girl (I’m guessing she’s in her 20s) for just a short while. She is in the fight of her life because she’s battling breast cancer! I don’t know her real name, I don’t know where she lives, I post supportive comments, but the fact that she’s on Instagram, not only sharing pictures of everything she’s going through, but also her thoughts about the cancer is both brave and extremely enlightening for the rest of the world to see! Today I started crying though when I read what she posted with her picture. It was a letter, actually it seemed more like a total PLEA to her cancer. I cried when I read it and then I commented something on her picture and then I read it again.

Here’s the picture she posted: 
Here’s what she wrote: 
“What’s on my mind this morning: my eyelashes. Cancer you’ve taken my hair, my boobs, my periods, you can take my eyebrows, my toenails, whatever, just please don’t take my eyelashes. Pretty please. I’ll buy you some ice cream or a cold pop. But ain’t nobody got time for that, leave the eyelashes. Thank you! Sincerely yours: The girl who’s going to kick your ass!”

I’ve been thinking about it all day. I feel like I want to know her name. I feel like I want to know her. I know I can’t help her much, but even if I can just encourage her and pray for her, I know it’s something. Some people think it’s silly to exert any of your energy on complete strangers. I don’t. Some people don’t quite get the power of social media and how it connects strangers sometimes. I’m guessing that the positive support she gets from her Instagram followers actually helps her get through some tough times, like her rounds of chemo.

Luckily, I am a great investigator and I was able to find her and ask for her permission to share. If you’d like to follow this sweet, adorable chick too, just go and look up @screamqueen13 on Instagram!