This is not a sponsored post. All opinions are my own.
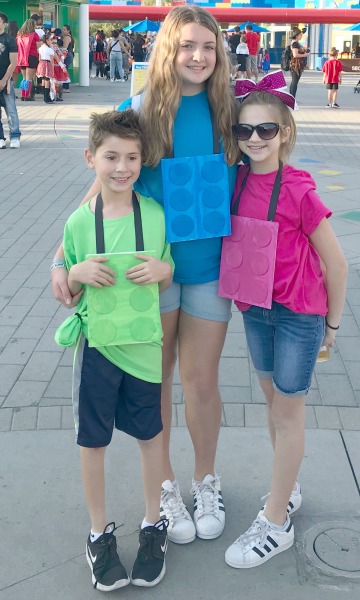
Calling all LEGO fans and moms looking for a cute costume idea that’s easy to make! Last year, we put together these LEGO Brick costumes on very short notice, to wear to LEGOLAND California’s Brick or Treat night.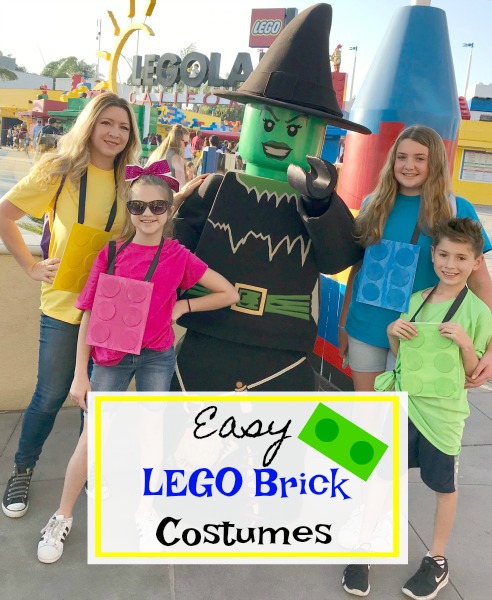 Since it’s an event in the park and the kids still want to go on rides and wear a costume, I found these very easy to wear and also to take off and put on quickly for rides, but still look cute. We got a ton of compliments and it was fun for our whole family to have matching costumes.
 To make these LEGO Brick costumes you’ll need:
- A thin wood rectangle (1 for each costume)
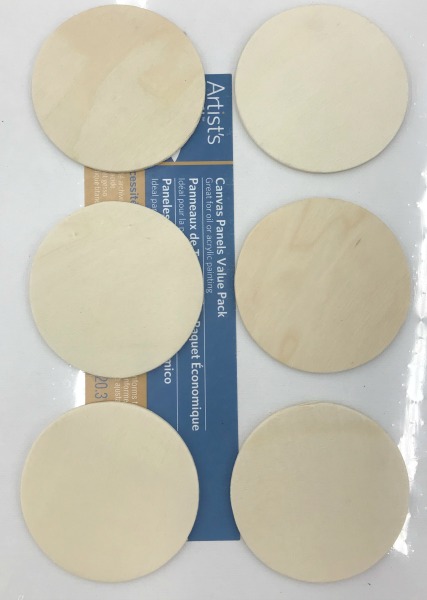
- 6 thin wood circles (for each costume)
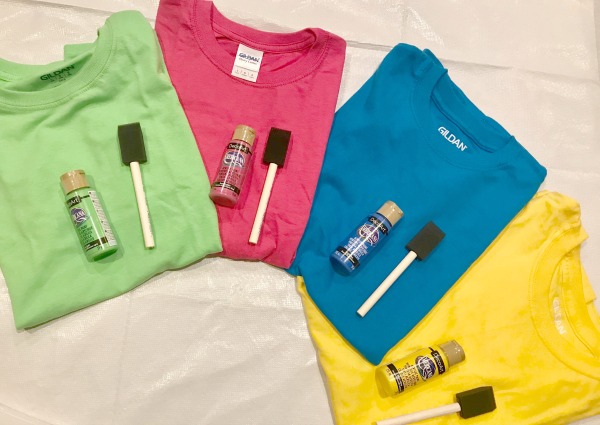
- spongy paintbrushes
- acrylic paint
- craft wood glue
- mini glue gun with glue sticks
- 1/2″-1″ wide ribbon
- a coordinating color of t-shirt to match your “brick”
- newspaper or paper, for painting on
- scissors
 Directions for the costume:
- Use a generous amount of acrylic paint to both the canvas and the 6 wooden circles. (Make sure your painting surface is covered.) Allow to dry overnight.
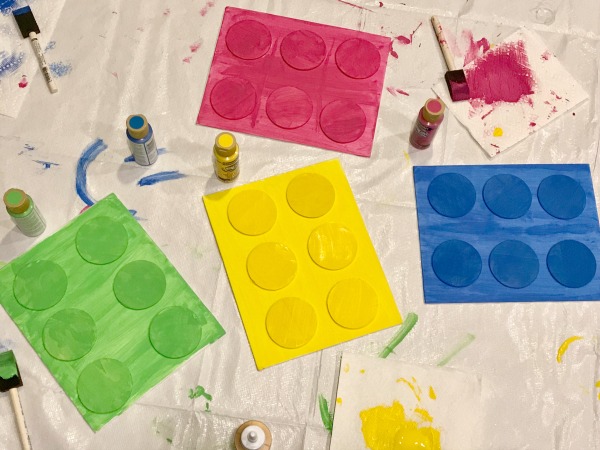
- Lay circles onto painted canvas to see where you want to glue them. Use your favorite craft wood glue to fasten them to the painted canvas. Allow them to dry.
- After the LEGO Brick is completely dry, get ribbon and measure how long you want it to hang then cut the ribbon accordingly. Use the glue gun to fasten the ribbon to the back of the LEGO brick and it’s ready to wear!
With these costumes, it’s easy to grab any kind of pants, shorts, skirt, jewelry, sunglasses, hair bow in the same hue as your “brick” to accessorize your costume. I’m thinking of making a GLITTERY PINK LEGO BRICK this year to wear for Halloween! What do you think?

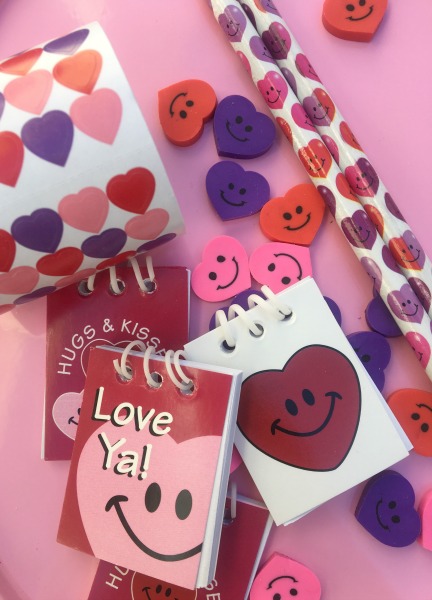
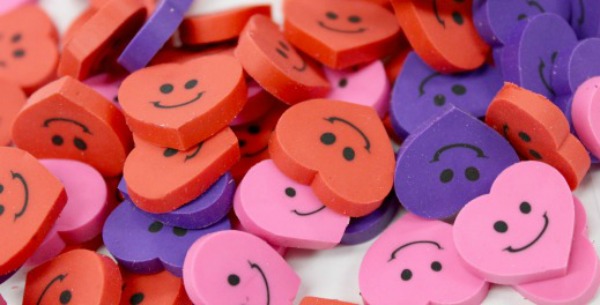 I found a ton of cute, non-sweet treats like tiny notebooks, mini heart erasers, fun pencils, and a bunch of different Valentine’s stickers. (everyone loves stickers!) I love to give my students
  To make the Valentine’s pencils extra fun, I designed a set of purple, hot pink, and red printable “Happy Valentine’s Day” flags to add to them. I printed them on white cardstock so they were sturdy. (You can download these for free at the bottom of this post.)
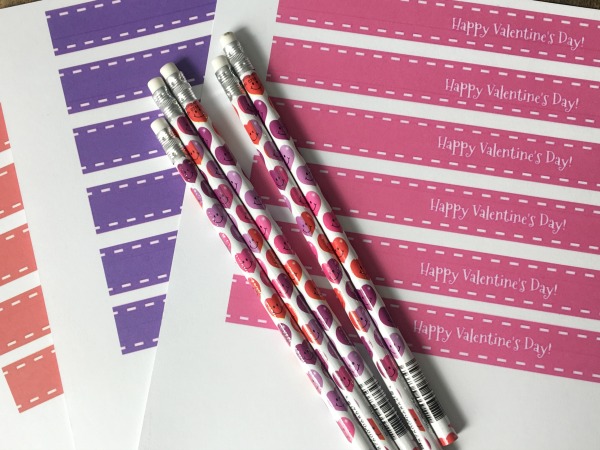
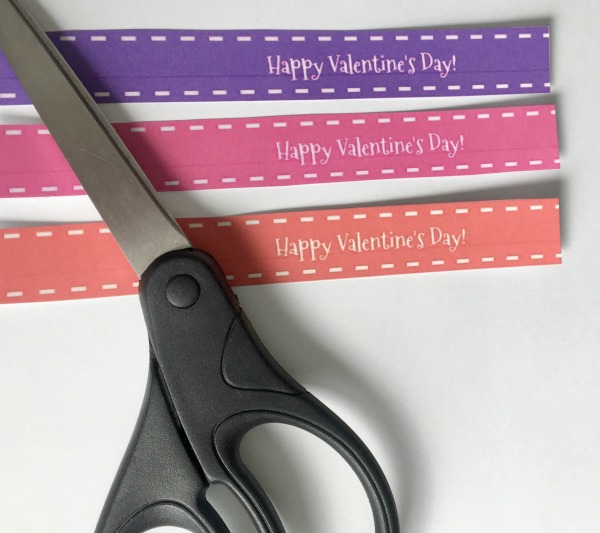 Fold them flag strips and apply pressure to the crease. Next, trim each one to a flag shape. Use a glue stick to fasten each one securely around the top of each pencil. To print out the FREE printable “Happy Valentine’s Day” flags, go
 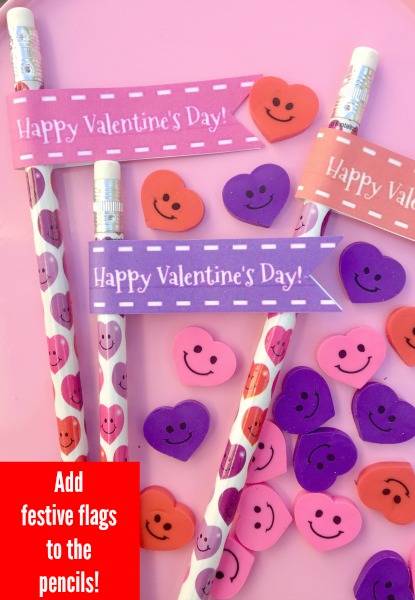 I made a non-candy “treat” bag for each of my students that included a Smile Face Valentine pencil with a flag on it, a couple of Mini Valentine Spiral Notebooks, a handful of Mini Smile Face Erasers, a couple sheets of Mini Heart Big Roll Stickers, and a Tic-Tac-Toe Valentine Sticker Card for each student. I stuck everything into a clear cellophane bag. and tied with some ribbon. I can’t wait to pass them out on Valentine’s Day! Do you send anything special for Valentine’s Day for your child’s classmates?

 With the ability to choose every part of the invitations or cards you’re ordering, you’ll be able to create the cute cards you’ve been dreaming of. (Keep reading because I have a discount code for you to use on your Basic Invite holiday cards order, to save 30%, at the bottom of this post.)
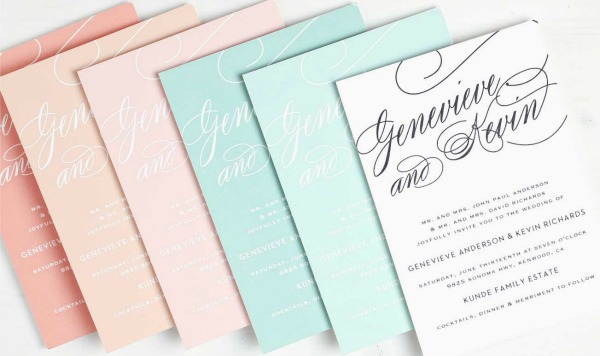
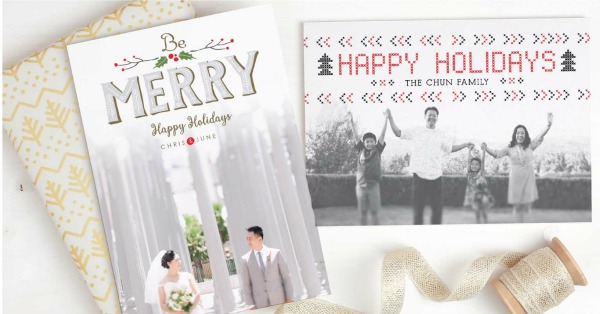 It’s so hard to narrow down my choices but I’m thinking foil cards for our own
 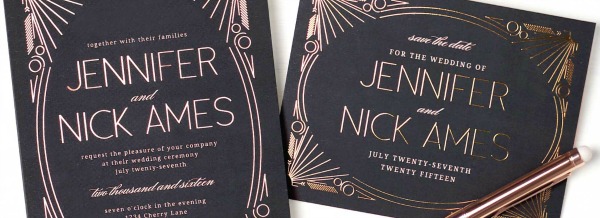 In addition to their foil 2017 Christmas cards, here are just a couple other pictures of some of the other cute Christmas cards you’ll find on their site:
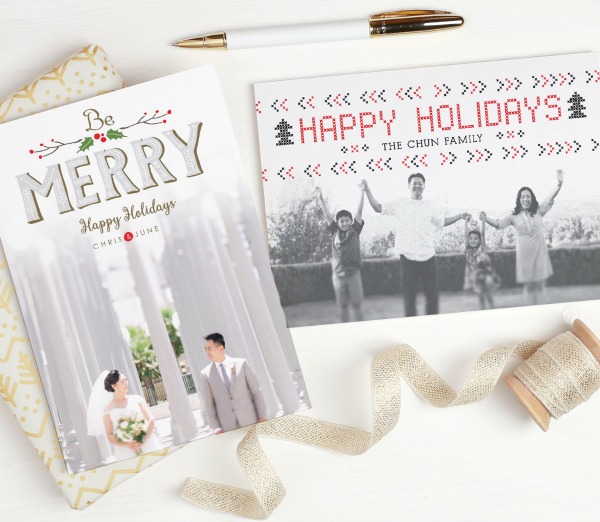
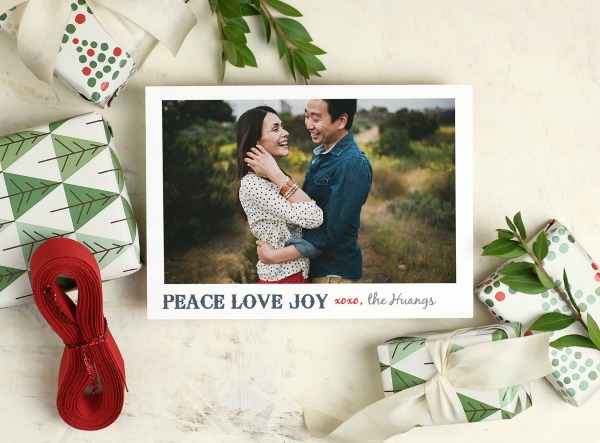 To check out more of their cute Christmas cards, go
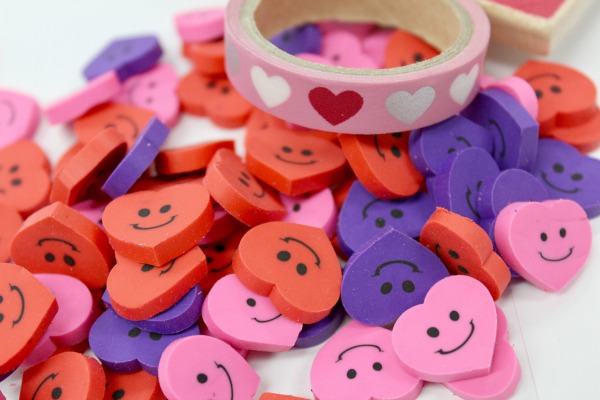 To create this fun Valentine’s Day patterning activity, I found the most adorable mini smile face heart erasers on the Oriental Trading Company site’s
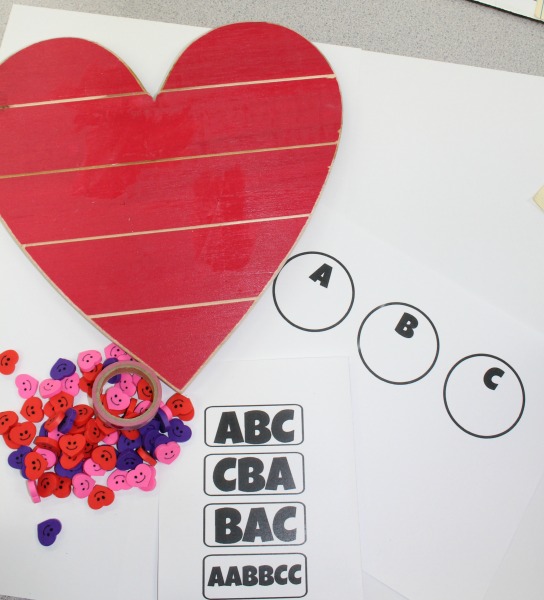
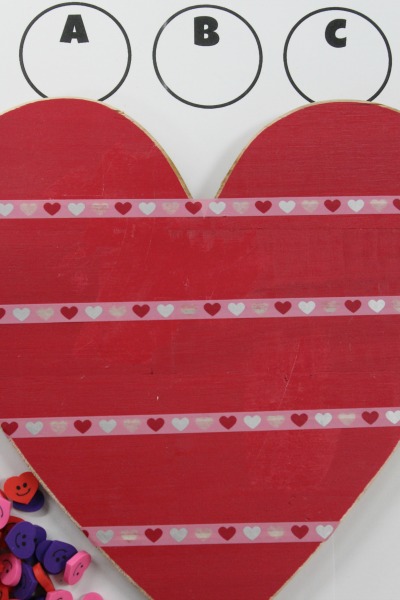 Students can also just practice the patterning at their desks. Each student gets 3 circles, each one with an “A”, a “B”, and a “C” in the center, to create their “key”. They place a different colored heart eraser in each circle after they decide which ones they want to be each letter in their patterns.
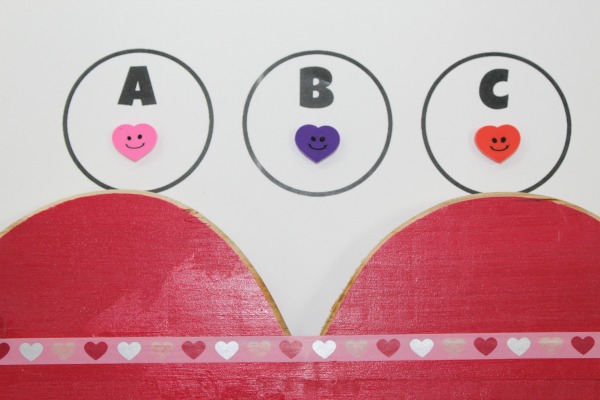 Then they place the rectangular pattern cards out on their desk. Each student receives about 50 heart erasers to work with and they create their own patterns. It keeps them pretty quiet for a short while, which is nice.
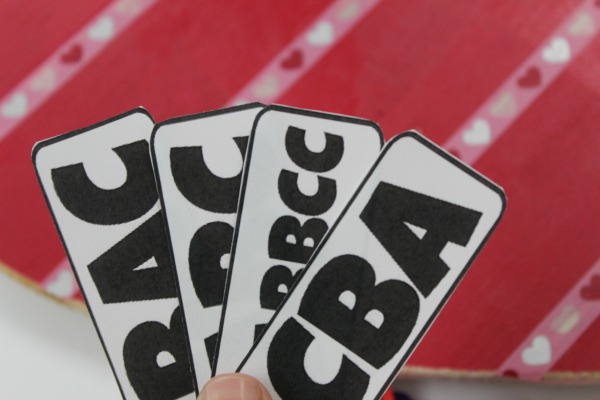 To switch it up, they can change around which color heart they place in the key and create new patterns. They LOVE doing this patterning activity!
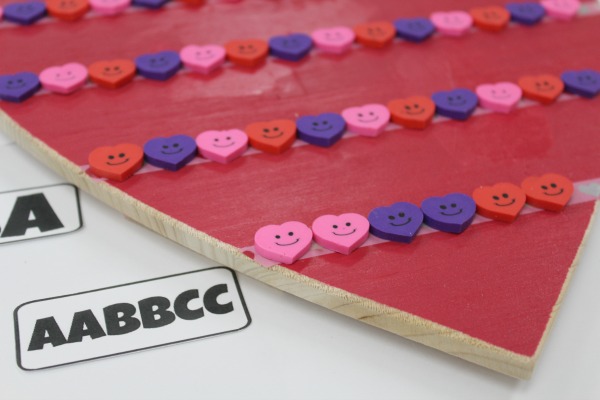
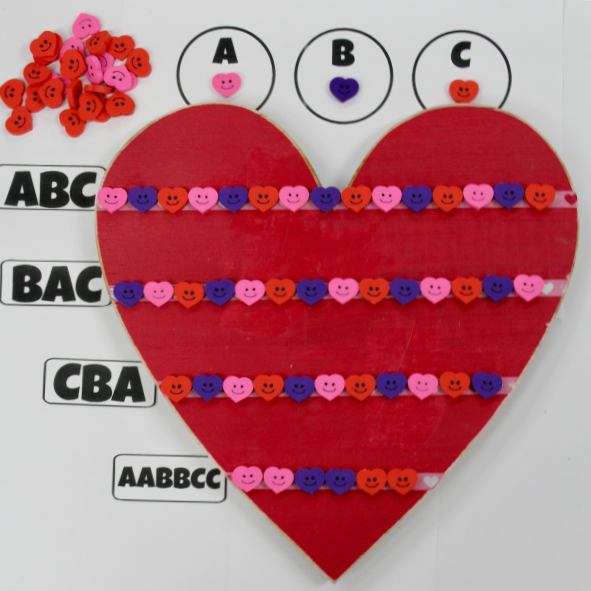 As an extension activity, you can also have students draw and illustrate their patterns on a piece of paper.
 Don’t worry, The Switch Witch is a friendly witch and she will make your life so much easier. This time of year, kids everywhere are gathering way too much candy for their own good. Whether they’ve gone to Halloween parties or received goody bags from school, it’s all more candy than they should be eating. As soon as Halloween night hits, your home is going to be overthrown by even more sweet treats!
  The story of The Switch Witch is a fun, friendly one and a game changer for parents everywhere who are looking to get rid of their kid’s Halloween candy! It’s important to know that she is a friendly witch and a friend of The Tooth Fairy, Santa, and The Easter Bunny, so that’s how I first explained her to my daughter. She only visits during the first few nights after Halloween (including Halloween night).
 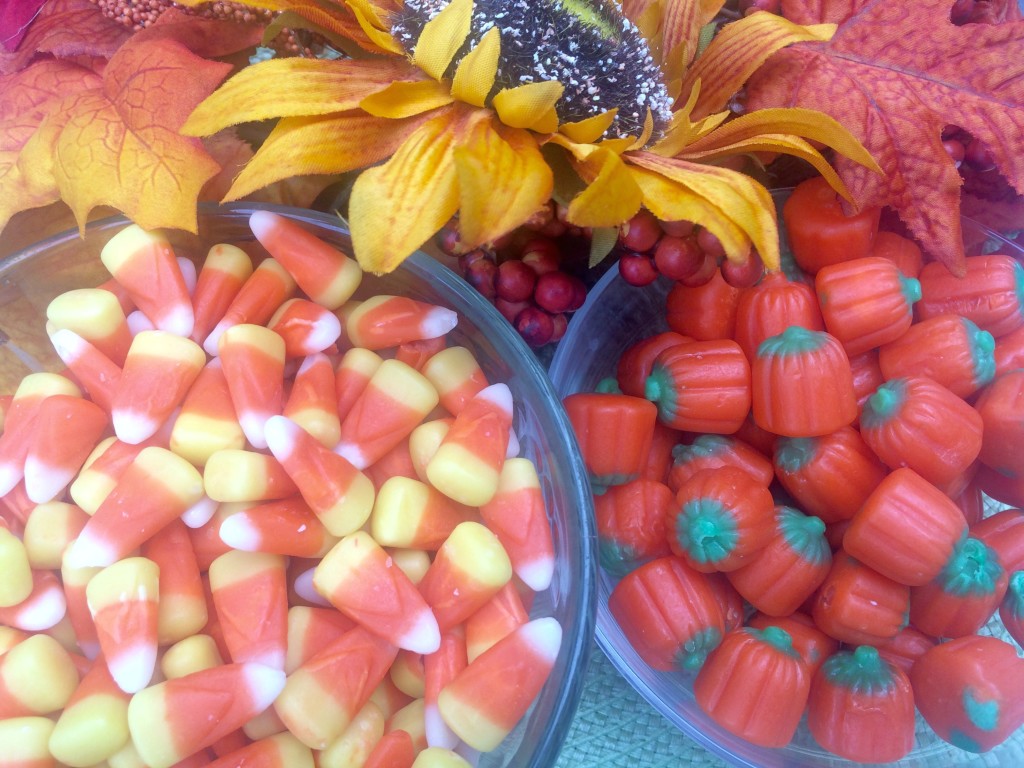 Kids get to pick out 10 pieces of candy and put them away somewhere safe. Then, they leave the rest of their candy out for The Switch Witch before they go to sleep. (Some kids even write her a nice note!) Later that night, when everyone is sleeping, The Switch Witch will come in and “switch” out their candy for a surprise!
 When kids wake up the next morning, they get so excited to see what she left them! We’ve done this for every year that my daughter can remember and it really saves what could be looked at as a lot of unwanted sugary treats from being ingested by your kids. Your pediatrician and your dentist will be so pleased with you! Happy Halloween!
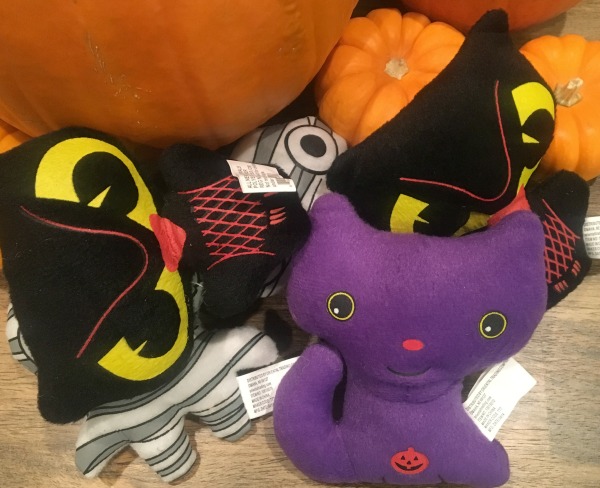 It’s hard for anyone to resist stuffed animals, so I ordered a bunch of Plush Halloween Mini Characters for my students, which come in owl, cat, and mummy. I love that they’re Halloween-y but not scary. They’ll be perfect for kids to hug or hang onto. I know my own daughter used to have plush with her when she was afraid of the dark. I also think I’ll let my students read with their animals in the classroom if they choose to do so.
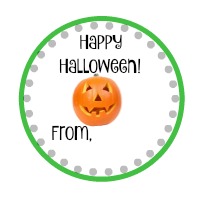
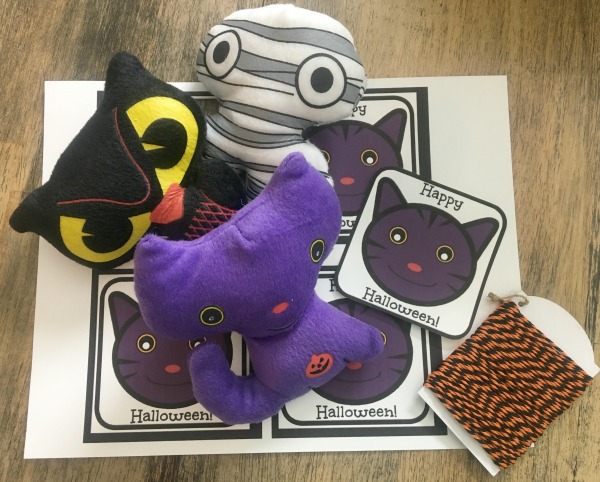 I attached a “Happy Halloween” tag to each one using a printable I made, and used orange and black bakers twine to tie it on.
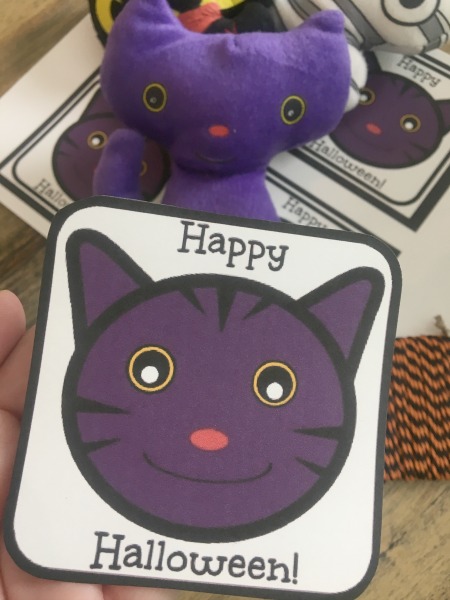 You can download my FREE printable
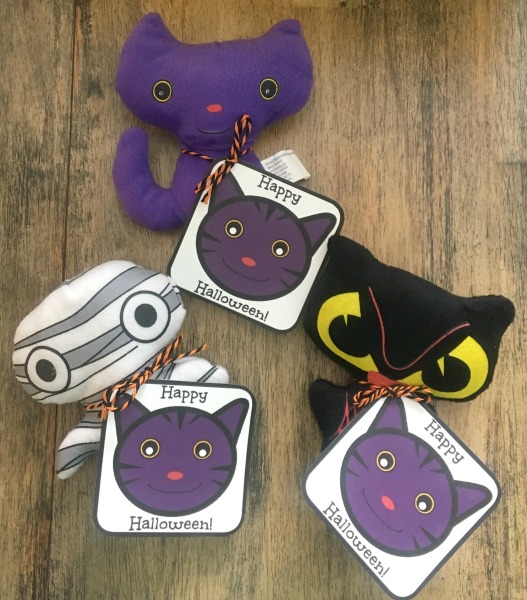 I cannot wait to to give these to my students. They are going to be so excited! Do you have alternatives to sweets that you like to give to kids at Halloween time?