Over The Top Mommy

Crafts & DIY

DIY Decorative Mason Jars for Kitchen Organization

This shop has been compensated by Collective Bias, Inc. and its advertiser. All opinions are mine alone. #PowerfulFusionClean #CollectiveBias DIY-decorative-mason-jars-for-kitchen-organization
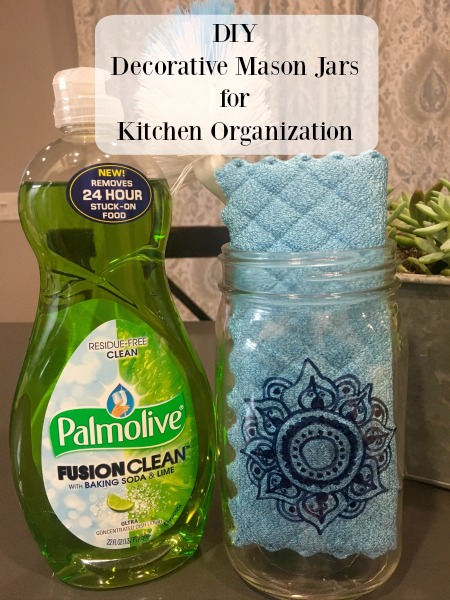
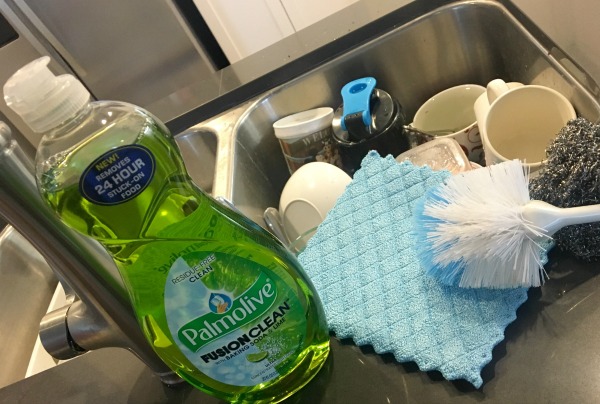
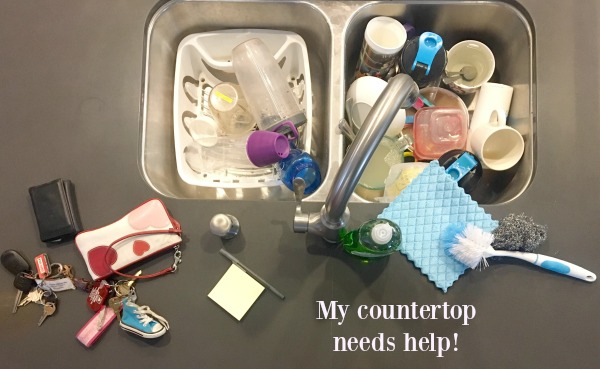
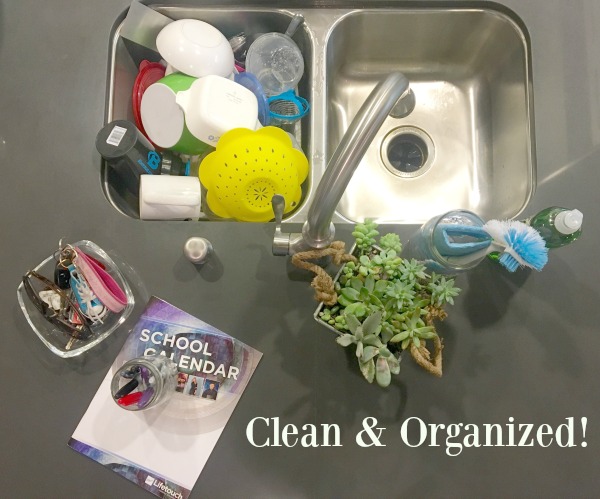
We recently moved into a new home and I am absolutely in love with having everything brand-new, especially my kitchen. One thing I still haven’t gotten used to in this kitchen though is having such a large countertop space. My counter top is grey quartz and includes the sink, the prep area, and an area to sit at barstools, directly in front of the sink. There’s no real separate place to set my dish cloth, pot scrubber, and my dish liquid, NEW Palmolive® Fusion Clean™.palmolive-fusion-sink-area-before It seems kind of awkward to have these things sitting right in front of where people gather, The big countertop is intended to be the focal point of the room. It’s also the area where everyone’s things “land” when they come home, like keys, wallets, planners, etc. I’m going to share a picture of what my counter top looks like on any given day with you, so please don’t judge. my-countertop-needs-helpI realized that I needed help staying more organized in that area.  So I decided to make a decorative sink organizer using a Mason jar, that I could keep right up on the counter. decorative-mason-jar-5
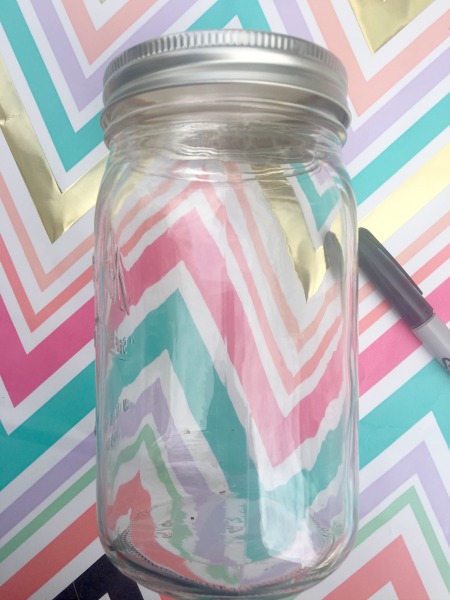
Lately, I’ve been doodling and coloring in those adult coloring books, as a way to relax. Have you seen those yet? I wouldn’t call myself an artist but I got brave and decided to draw my own design on the Mason jar….freehand! (I practiced on paper first, of course.) mason-jar-1It was so easy to do. Honestly, if you feel like it’s not looking cute, just wait until you admire it from afar. There are parts of mine that turned out asymmetrical but don’t show. I’m kind of obsessed with my design! (see below to learn how you can make your own decorated Mason Jar) decorative-mason-jar-3
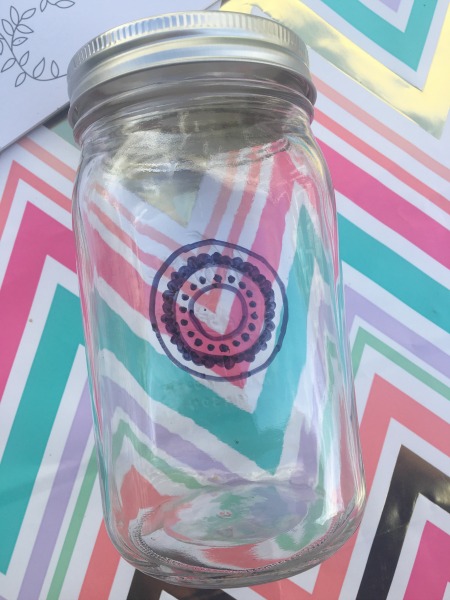
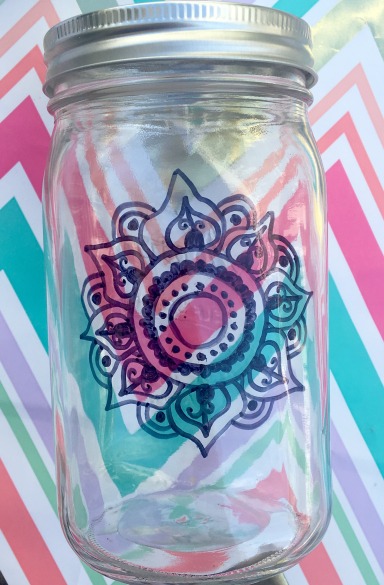
So let’s look closer at my sink area now. Storing the metal scrubber, the scrubber on a stick, and the dish cloth in the Mason jar seems to keep it all looking nicer. I like having my Fusion Clean™ Baking Soda & Lime out on its own because I use it so often. Have YOU tried it yet? clean-and-organized-sink-areaNew Palmolive® Fusion Clean™ dish liquid provides a Modern Twist on Cleaning™ It’s specially formulated for tough cleaning challenges and as you could see from my previous sink photo, my dishes sometimes pile up and don’t get washed right way. Luckily,  the unique formula removes 24 hour stuck-on food. It’s available in Baking Soda & Lime (the green one) and Baking Soda & Grapefruit (the pink one).
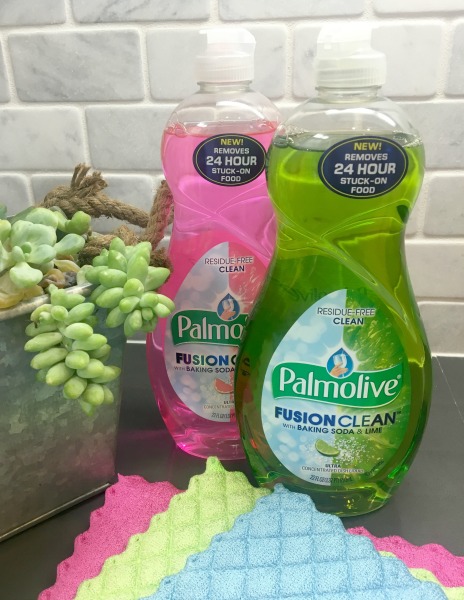
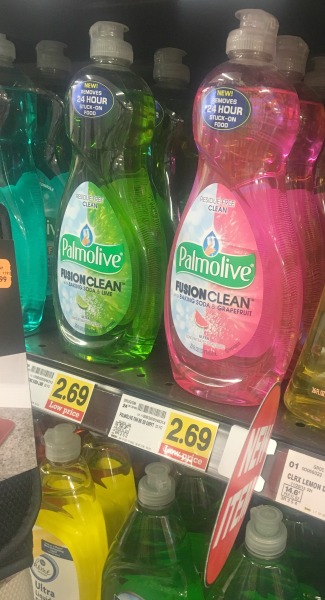
palmolive-fusionI found mine at Ralph’s,on the household cleaners aisle, and couldn’t decide between the two, so I bought both! You can find New Palmolive® Fusion Clean™ dish liquid at Kroger and Kroger Banner Stores. (Ralph’s, Fred Meyer, and Food 4 Less). palmolive-fusion-in-store
I love how organized my sink area jar looks now and how the colors shine through the Mason jar on my counter.

Pick up some NEW Palmolive® Fusion Clean™on your next trip. You can also grab a coupon for $0.50 off 22oz or larger one by clicking herehow-to-make-your-own-decorative-mason-jars

Here are the supplies you’ll need:

  • a Mason jar
  • fine point oil-based paint pens (I used black)
  • cotton swabs
  • nail polish remover 

Directions 

  • Thoroughly wash and dry your Mason Jar.
  • Draw your design onto the jar. I highly recommend practicing beforehand on paper. decorative-mason-jar-4
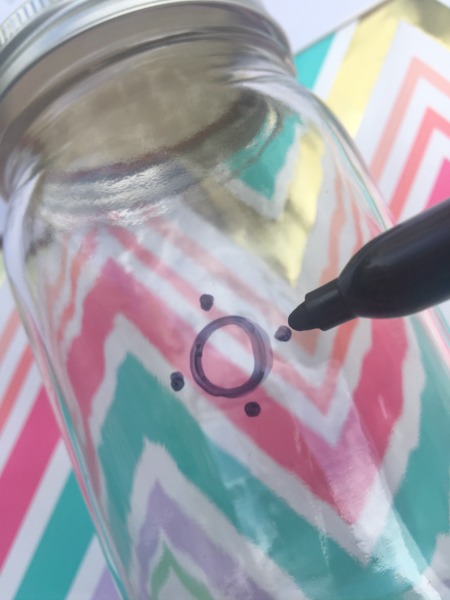
  • If you make a mistake, you can “erase” by dapping the area with a cotton swab containing nail polish remover. Make sure the glass is dry again before resuming the drawing.
  • When you are completely happy with your design, allow the jar to dry for 24 hours. decorative-mason-jar-2
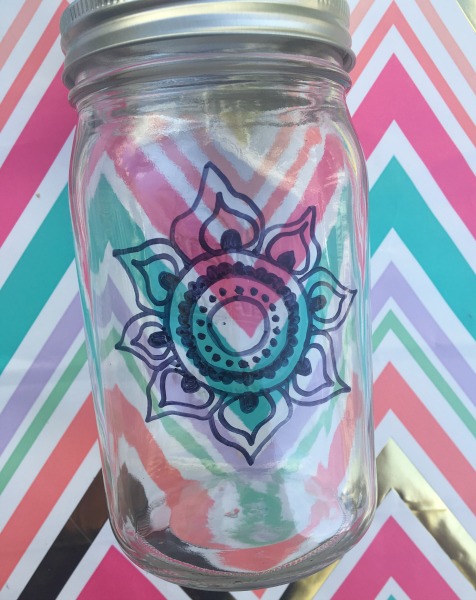
  • After 24 hours, you’ll need to “bake” your jar, to set the design on the glass. Place the jar, upside-down on a baking sheet, into the cooled oven, Turn on the oven to 350 degrees, allowing the jar to heat up along with the oven. Having the glass heat up with the oven, will help avoid cracking of the glass.
  • Allow the jar to “bake” for 30 minutes. At this point, turn the oven off and open the oven door to allow the jar to cool down with the oven.
  • Remove the jar after it’s cooled down.
  • The jar will be completely sealed at this point. I highly recommend hand washing the jar instead of putting it into the dishwasher.

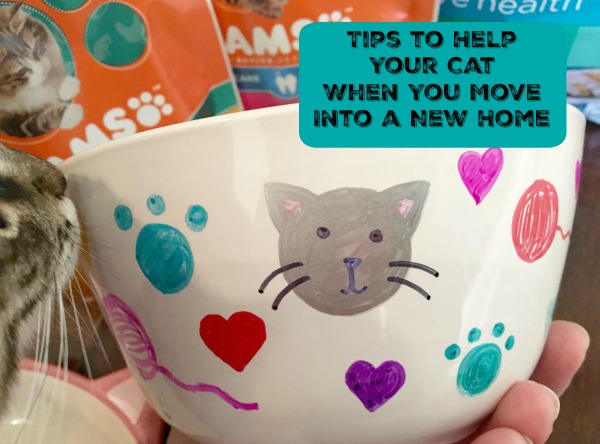
 

Tips to Help Your Cat When You Move Into a New Home + DIY Decorative Cat Bowl

This shop has been compensated by Collective Bias, Inc. and its advertiser. All opinions are mine alone. #IAMSCat #CollectiveBias iams-tips-to-help-your-cat-when-you-move

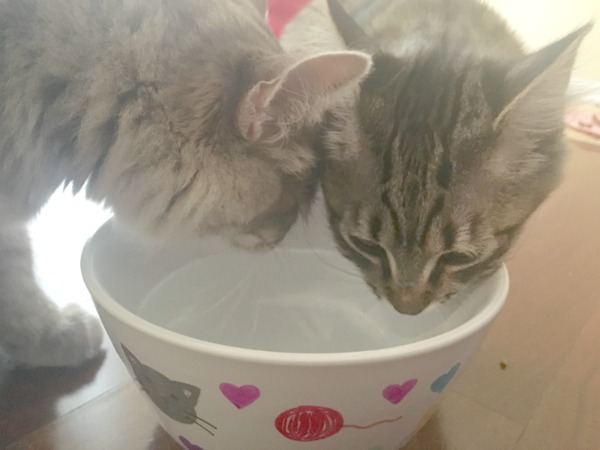
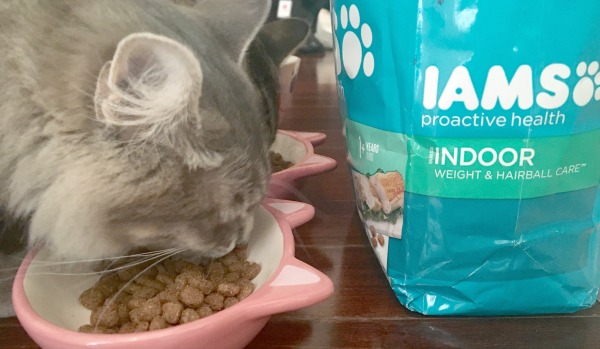
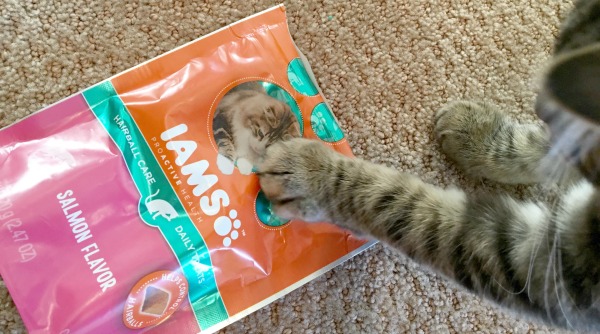
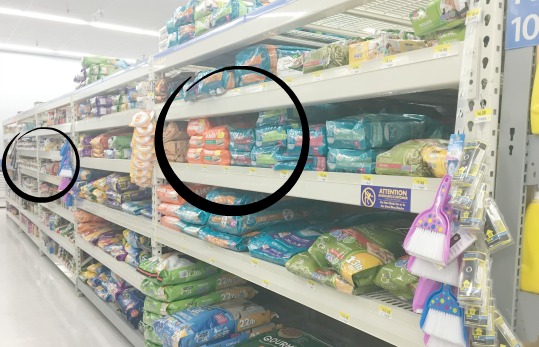
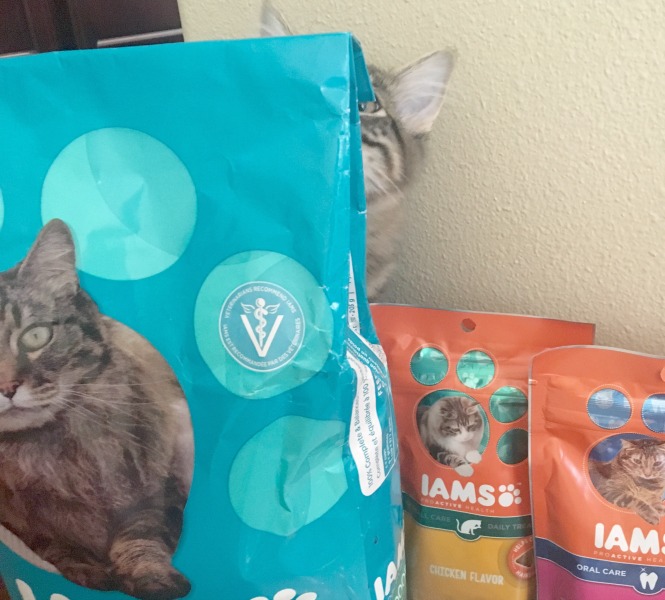
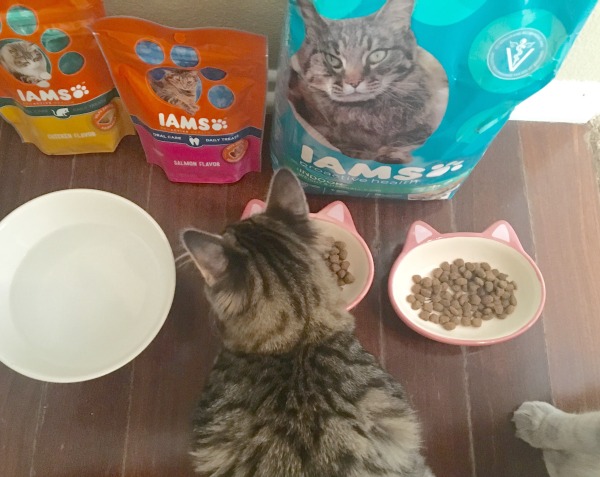
Our cats get tons of love, only the best quality IAMS™ food and treats, and of course, the cutest toys and even personalized accessories.There’s just no such thing as “spoiling” when it comes to your pet!  iams-dry-food-drinking-togetherAs a pet owner, I know how important it is for me to make the best decisions for them, especially pertaining to their health and well-being because at some point in their lives, cats can experience common issues such as hairballs, poor oral health, or even digestive issues. Since they can’t talk to tell us when they’re uncomfortable, it’s up to us, their owners, to seek out the solutions that can help prevent such issues from occurring. iams-dry-foodIAMS™ new reformulation of their cat treats and wet and dry foods, allows cat owners to customize their cat’s nutrition through a well balanced lifestyle. iams-paw-the-treatsWe always pick up whatever our pets need on the Pet Care aisle at Walmart. They have a huge selection of pet toys, pet beds, and we found our favorite pet food, IAMS™Proactive Health Weight & Hairball Care Dry Cat Food. IAMS™ also offers functional cat treats by targeting specific dietary needs—Hairball Care, Digestive Health, and Oral Care.iams-dry-food-walmart-pet-aisleAll I know is that my cats can’t keep their paws offf of their IAMS™ dry food bag and the treats! It’s funny how they look just like the kitty model on the bag, too! iams-dry-food-hide-behindWe recently purchased a new home and are slowly transitioning into our new home. We have been very careful to take necessary steps for our cats to adjust to this transition since we only just adopted them at the beginning of the year and have only known our one home. My goal is for them to make the transition to the new home without too much stress or anxiety since it’ll be a new unfamiliar place.

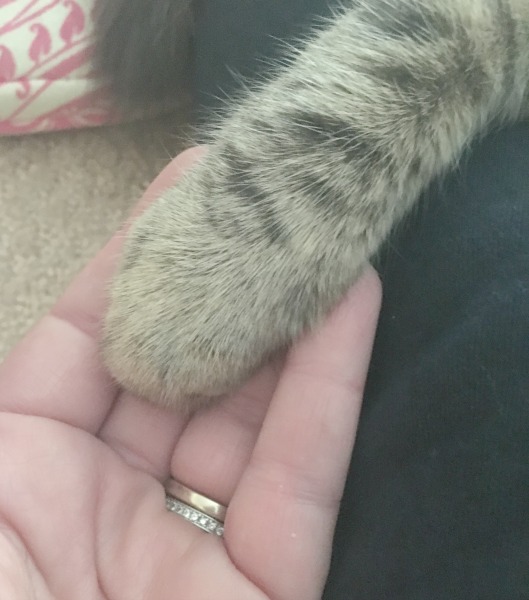
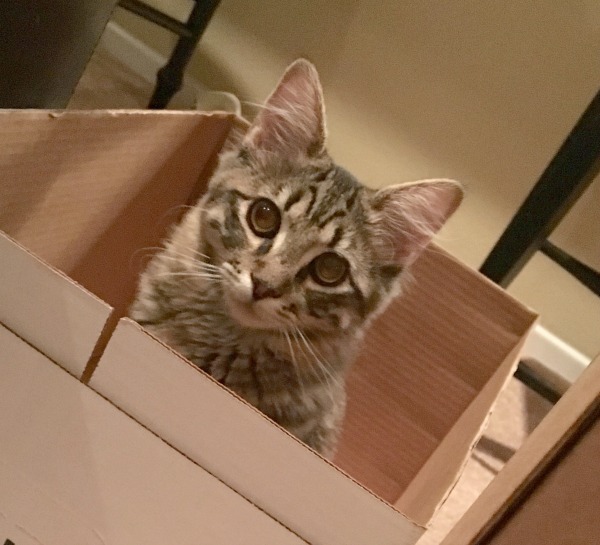
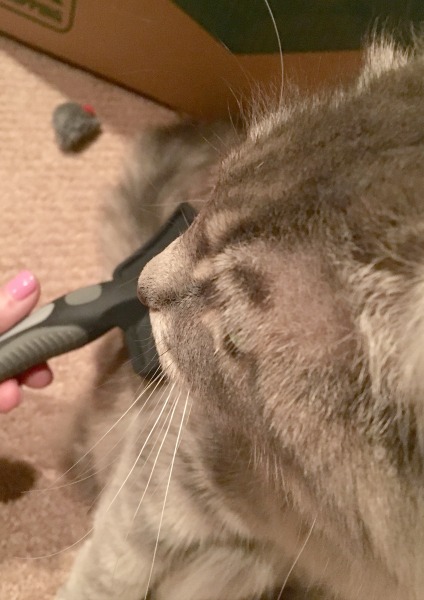
tips-to-help-your-catSo let’s talk about some of my tips for helping your cat make the transition during a move:hold-hands-with-catsTalk them through it – “Cat people” don’t think it’s unusual to do things like hold hand with or talk to their cats. As you begin to start packing things up and getting organized for your move, just talk to them and tell them what you’re doing. They can tell when things are starting to change. Mine even know when I’m just packing a suitcase for an overnight stay away. iams-cat-sit-in-boxesLet them sniff and play with the boxes – Bring the moving boxes into the house early and allow your cat to get familiar with them. Cats love to rub their faces on everything, especially new things. I can guarantee they’ll want to lay on the boxes, sit in them, or even play inside! iams-cat-sit-in-another-boxFind a secure place for your cat on moving day – It is crucial that you find a completely secure place for your cat on your big moving day. In our case, we have a good-sized guest bathroom where we can keep them for a few hours, while the movers are here. Put them in the spot a little ahead of time because they may freak out if they hear unfamiliar voices and/or footsteps of your movers. I have even used the boarding for a day option at the vet before. It kind of depends on your preference, and your cat. iams-cat-brushComfort your cat – It’s important that you comfort your cat before, during, and after the move. Take extra time to play with them and their favorite toys or to do something they like, such as brush their fur. Regardless of how seamless you make a move to a new home, their bound to experience some type of kitty stress. Once they realize you’re there to stay and have their “things” in place, such as pet beds, food and water dishes, all should be happy and familiar again! all-is-right-againDIY-decorative-cat-bowl

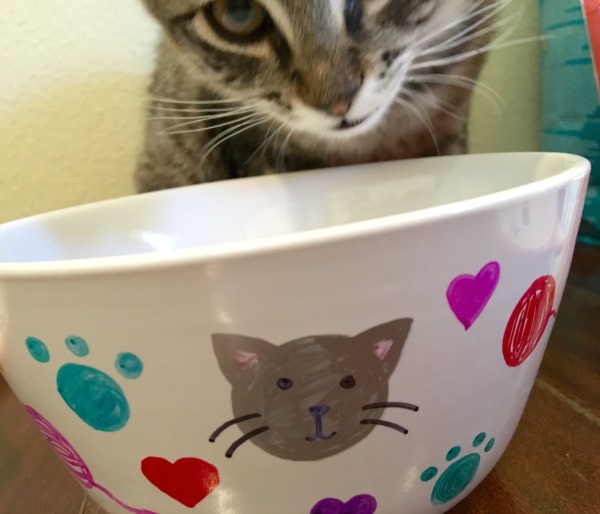
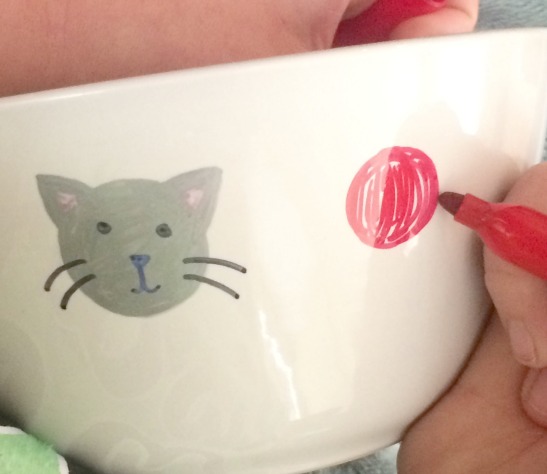
personalized-dish-1Here’s a simple tutorial that explains how I made the decorative pet bowl. We use it as our cats’ water dish because they insist on sharing water. You could also personalize food dishes the same way. It’s very simple to do.

Here are the supplies you’ll need to make your decorative pet dish:

  • paper and pencils for sketching the designs
  • 1 plain white ceramic bowl or dish, pre-washed and dried
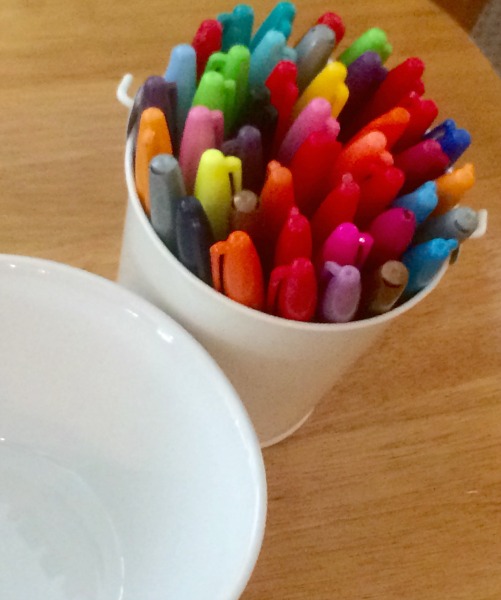
  • several multi-colored permanent markers with fine tips customized-bowl-supplies
  • a baking sheet
  • paper towels
  • baby wipes

Instructions for decorating your pet dish:

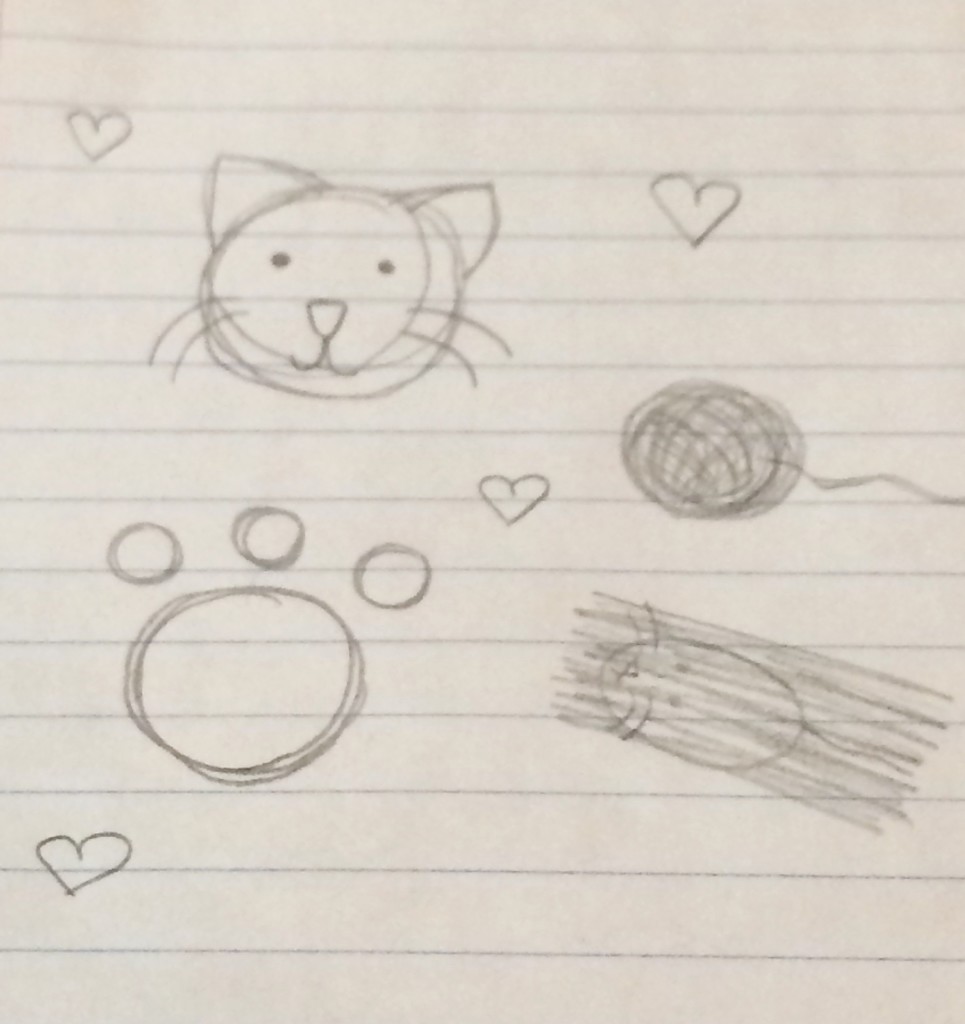
  • Practice designs, drawings and any wording on scratch paper first until you decide on your favorite elements. customized-pet-dish-sketches
  • Draw on the ceramic bowl with the permanent markers, decorating all the way around. 
  • Mistakes can be easily “erased” (prior to baking) using a baby wipe. Dry thoroughly with a paper towel prior to resuming the decorating with pens. customized-dish-decorating
  • Place dish on a cookie sheet and bake at 350 degrees for 30 minutes.
  • Remove dish from oven and allow to cool down before letting your pet eat or drink from it. 

*Dish should be always hand washed and never placed in the dishwasher.
iams-dry-food-happy-catsWe love our cats to the moon and back! Can’t you tell? How many cats do you have in your home? Have you checked out IAMS™ newly formulated food and treats yet? My cats love them!


Simple “Random Acts of Kindness” Christmas Countdown Bags With Free Printables

This shop has been compensated by Collective Bias, Inc. and its advertiser.  All opinions are mine alone. #CraftAmazing #CollectiveBias

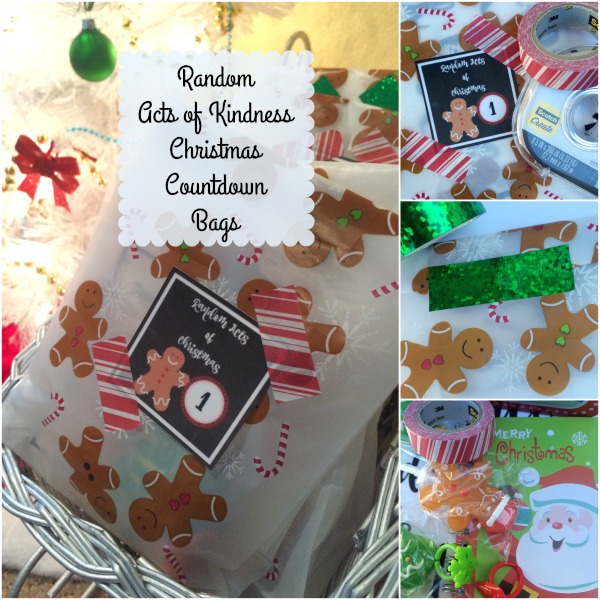
random-acts-of-kindess-christmas-countdown-bagsWhen my daughter was a preschooler, I started a holiday tradition with her every year, during Christmas time. I would put together 12 little surprise treats or bags that were labeled for the 12 days of Christmas and she would get  to open a new one each morning, as we counted down the days until Christmas. It’s always been something she’s looked forward to each year. As she’s gotten older, I’ve shifted the focus during the holidays from receive to give or better yet, do for others. I’m all about practicing Random Acts of Kindness whenever possible and it shouldn’t just be something you do just during the holidays. practice-random-acts-of-kindness-whenever-possible

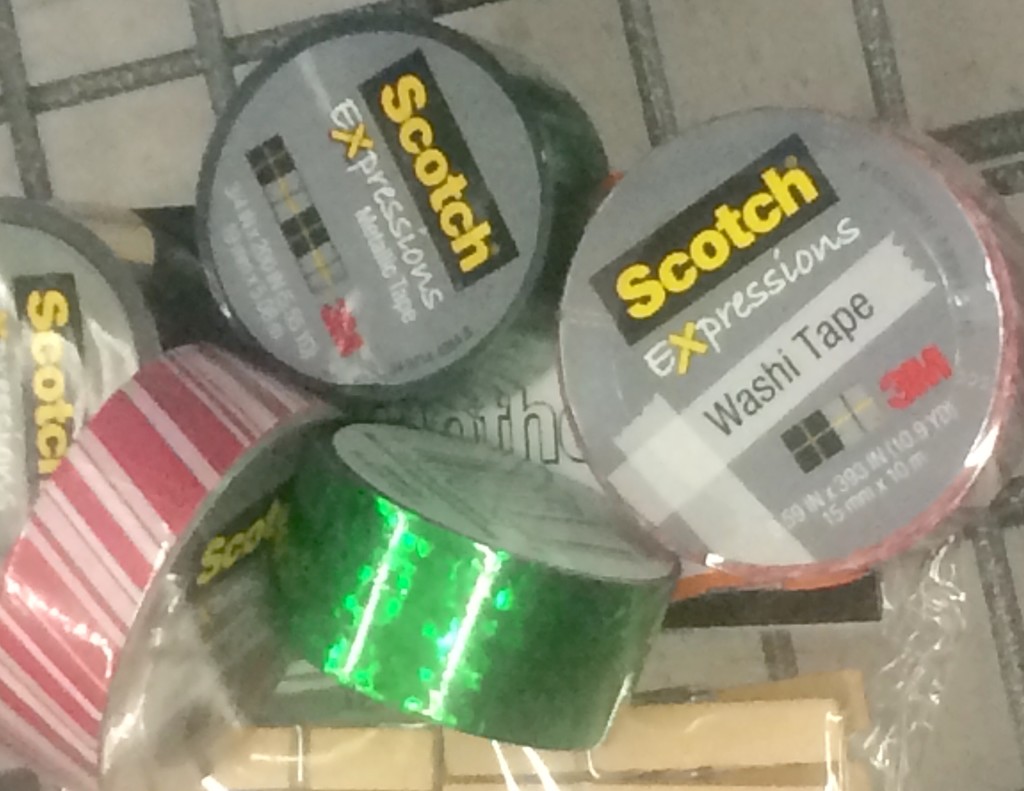
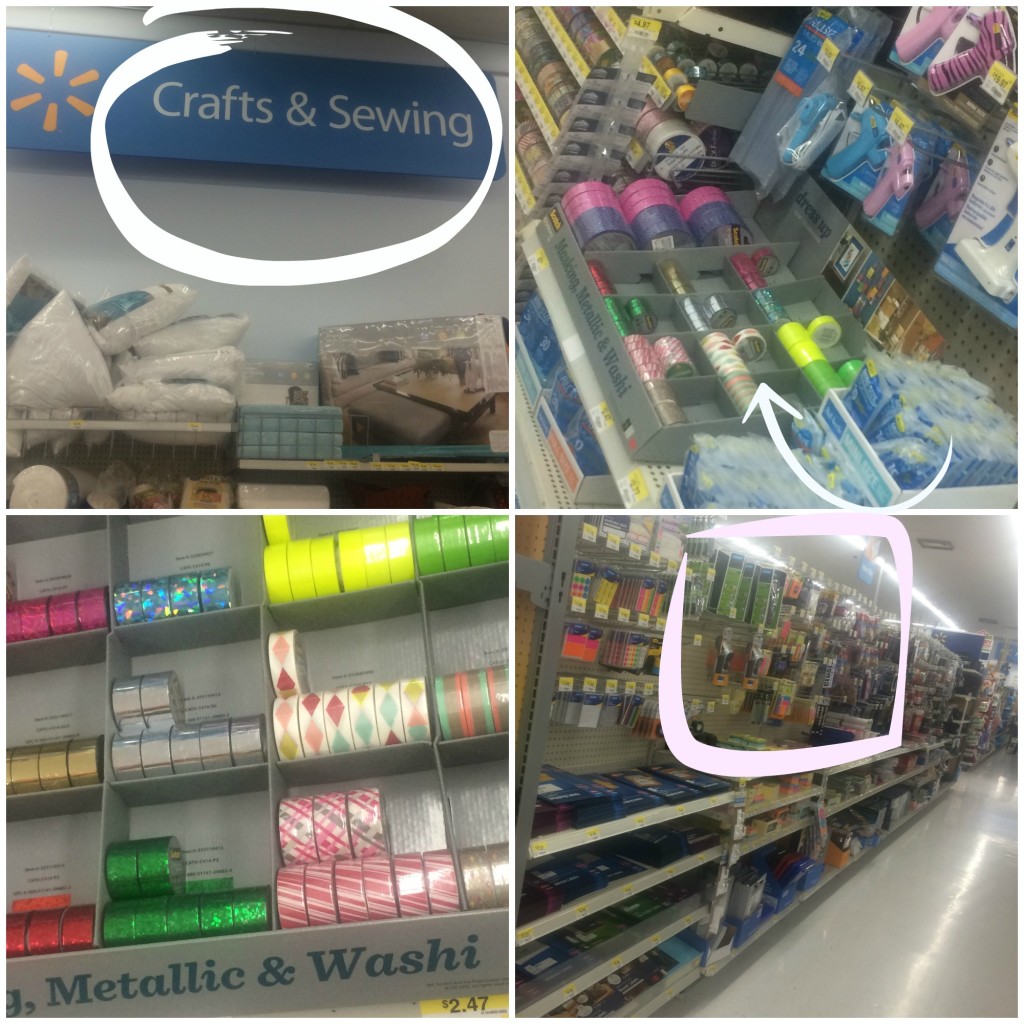
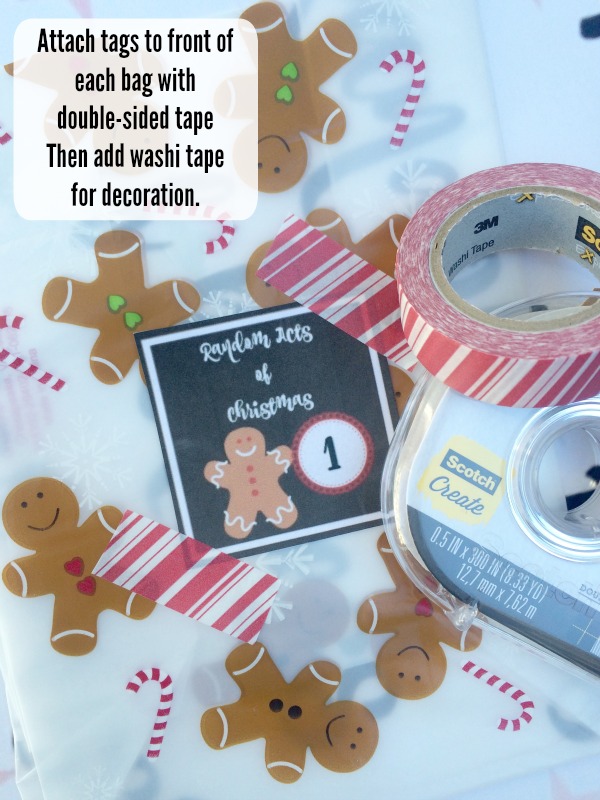
This year, during the holiday season, I decided to put together a little activity using the Random Acts of Kindness concept and some fun Scotch® Brand craft supplies I found at Walmart. One of my most favorite crafting items of all is washi tape! Can you tell? random-acts-of-christmas-washi-tapeWalmart carries a fun collection of  Scotch® Expressions Tapes which come in a variety of colors and fun patterns and are perfect to use on your handmade holiday creations. I found these rolls of washi tape in the Crafts & Sewing section at my Walmart.

random-acts-of-christmas-supplies

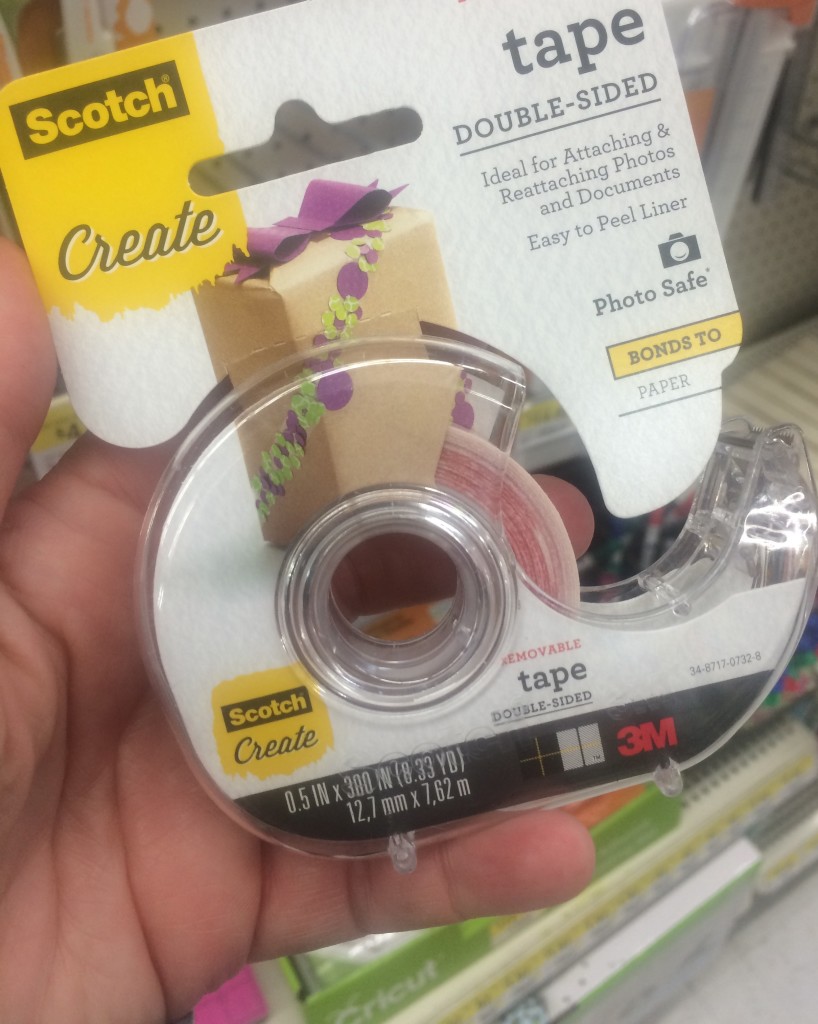
random-acts-of-christmas-double-sided-tapeI also picked up some Scotch® Create Double-Sided Tape to help me with the project, which was over by the office supplies. The Scotch® Create line has everything from masking tape to spray adhesives to use for everyday projects. All of the other supplies you’ll see in this tutorial were also purchased at Walmart.

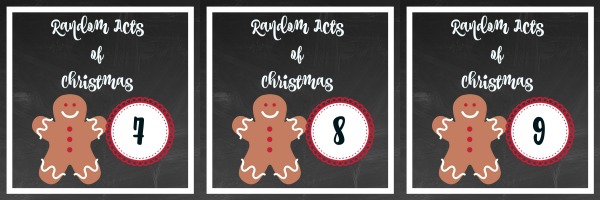
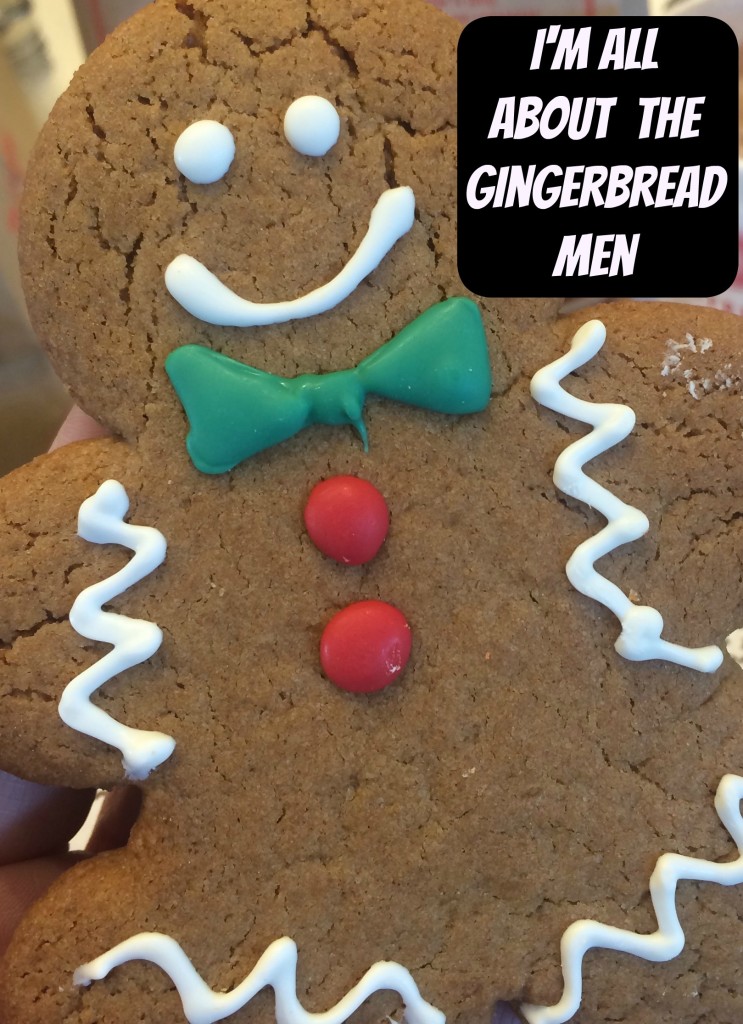
Im-all-about-the-gingerbread-menFor some reason, I’m really drawn to gingerbread men this year so I made a cute printable with a little gingerbread man on it and called it “Random Acts of Christmas“. You can print these out too, further down in the craft instructions.

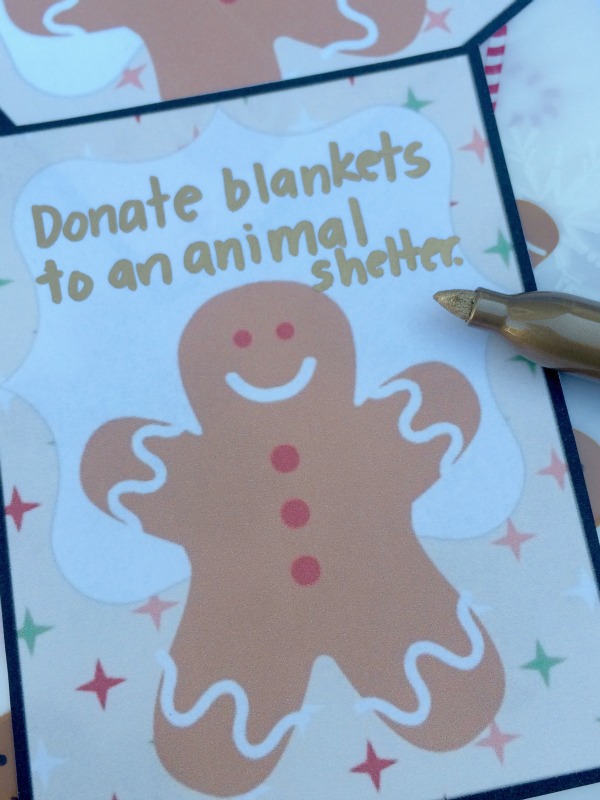
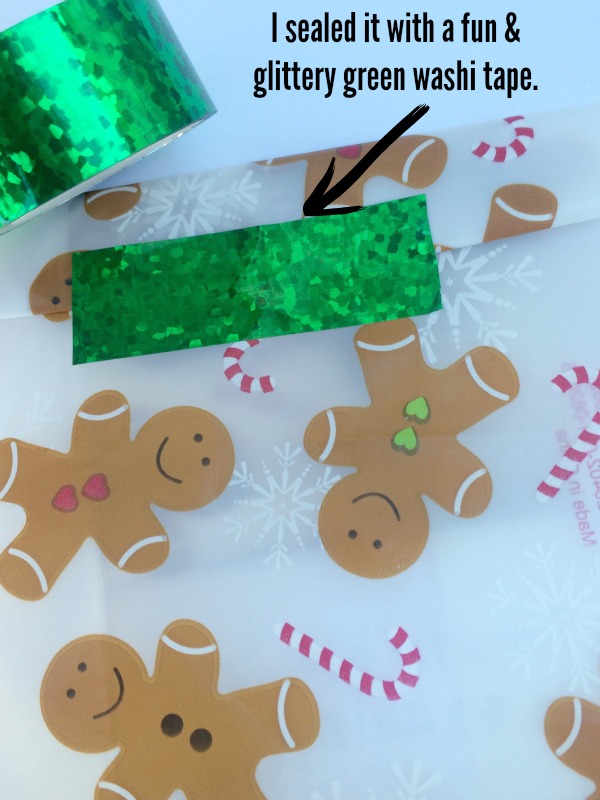
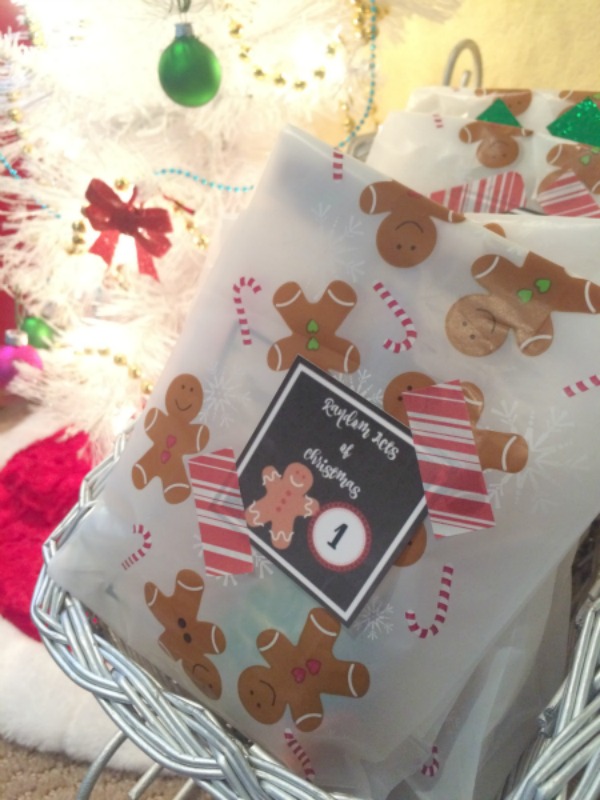
123456789101112I attached each one to the front of a bag, using the washi tape. How cute, does it look? random-acts-of-kindess-bags-outsideI also made a printable note to hand write a Random Act of Kindness on and stick inside each bag. random-acts-of-kindness-gingerbread-small

random-acts-of-kindess-cardsSome ideas of Random Acts of Kindness you could use include:

  • Donate some new, unopened toys (from your closet) at your local fire station.
  • Write a nice letter and mail it to someone.
  • Donate some food to a local food bank or food drive.
  • Donate some spare change or a couple dollars to a “bell ringer” outside of a store. (to a reputable organization)
  • Say something nice to 3 other people today. (Your parents don’t count.)
  • Gather some blankets from your house and donate to an animal shelter or rescue.
  • Find somewhere to donate sweatshirts and jackets that are too small for you.
  • Do something nice to help your parents at home. (without being asked)
  • Drop off some baked goods with a nice note to your doctor or dentist’s office.

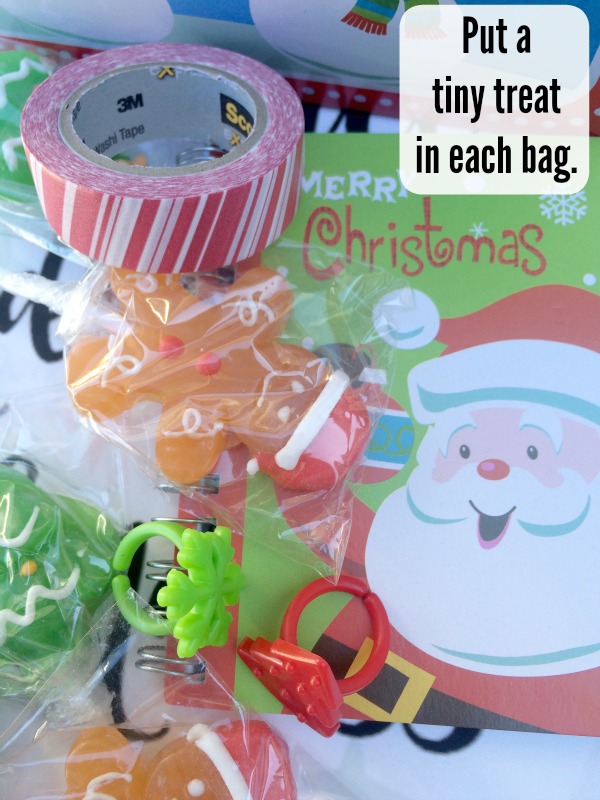
random-acts-of-kindess-tiny-treatsInside of each bag, I put a small treat and sealed it up with more washi tape. random-acts-of-kindess-sealAfter they were all finished, I placed them all together in a cute “sleigh” basket and placed them next to my daughter’s mini Christmas tree. random-acts-of-kindess-sleighI explained the idea behind them, placing the emphasis on the Random Acts of Kindness, rather than receiving a big treat per day. I then told her that she was only allowed to open one a day and not shake or touch the others. She was all smiles and excited to do her first “Random Act of Christmas”. random-acts-of-kindness-make-your-own

Here are the supplies you’ll need to make your own set of “Random Acts of Christmas” bags:

  • 12 small brown lunch bags or treat bags
  • a few rolls of Scotch® Expressions Washi Tape
  • Scotch® Create Double-Sided Tape
  • markers
  • scissors
  • small treats for inside of the bags
  • white cardstock (for printing)
  • 1 “Random Acts of Christmas” for each bag (Click here to print yours.)
  • 1 “Random Act of Kindness” gingerbread man printable for each day (Click here to print yours.)
  • I stuck one inside of each bag, along with some simple treats. As I mentioned, I’m placing a bigger emphasis on the “doing for others” part here, but I also want to give my daughter treats in each bag, just nothing too extravagant.

To assemble your bags:

  1. Print out Random Acts of Christmas tags and Random Acts of Kindness cards on white cardstock. Cut apart.
  2. Use Double-Sided Tape to attach tags to the front of the bag and use fun washi tape on each side for a cute, decorative touch.
  3. Write one Random Act of Kindness on each card and place inside of a bag.
  4. Choose a small treat to put in each bag also.
  5. Seal each bag with washi tape.
  6. Place the bags in a basket somewhere festive.

random-acts-of-kindness-bearsThere’s really nothing like the feel of the holiday season! Decorations everywhere, festive music playing, and people in more of an upbeat mood. Why not add to the joy to the season by getting your kids involved with Random Acts of Kindness, too?

Be sure to check out more amazing craft ideas with Scotch® Brand products. I’ll bet these fun products could help you with a thousand of your craft ideas!

Who are YOU going to BOO This Year? I’m BOO’ing the Teachers! (Plus “Monster” Cookies Recipe) #BOOItForward

This shop has been compensated by Collective Bias, Inc. and its advertiser. All opinions are mine alone. #BOOItForward #CollectiveBias

who-are-you-booing-this-year

I absolutely LOVE this time of year. I can’t say that the weather cools down much here in Southern California but you DO start to see pumpkins and Halloween decorations all around. It’s one of my favorite holidays of the year and I get so excited to kick off the Halloween season by BOO’ing people at the beginning of October.

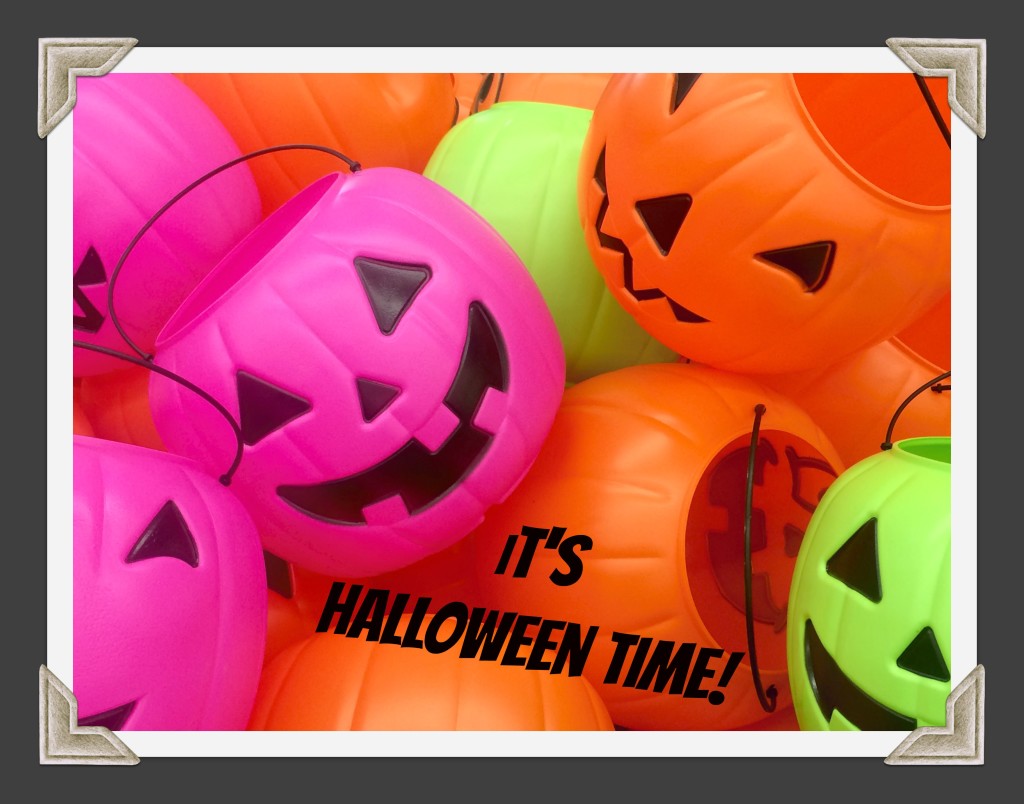
its-halloween-timeIf you aren’t familiar with the modern-day tradition of BOO’ing, it’s really fun and easy to do. You just put together a little anonymous Halloween surprise for someone and deliver it. The surprise usually consists of some type of treats in a cute Halloween bucket, basket, or even gift bag. You also include a BOO sign and instructions so that whoever you BOO, can BOO someone too! (Hey, that rhymes!)

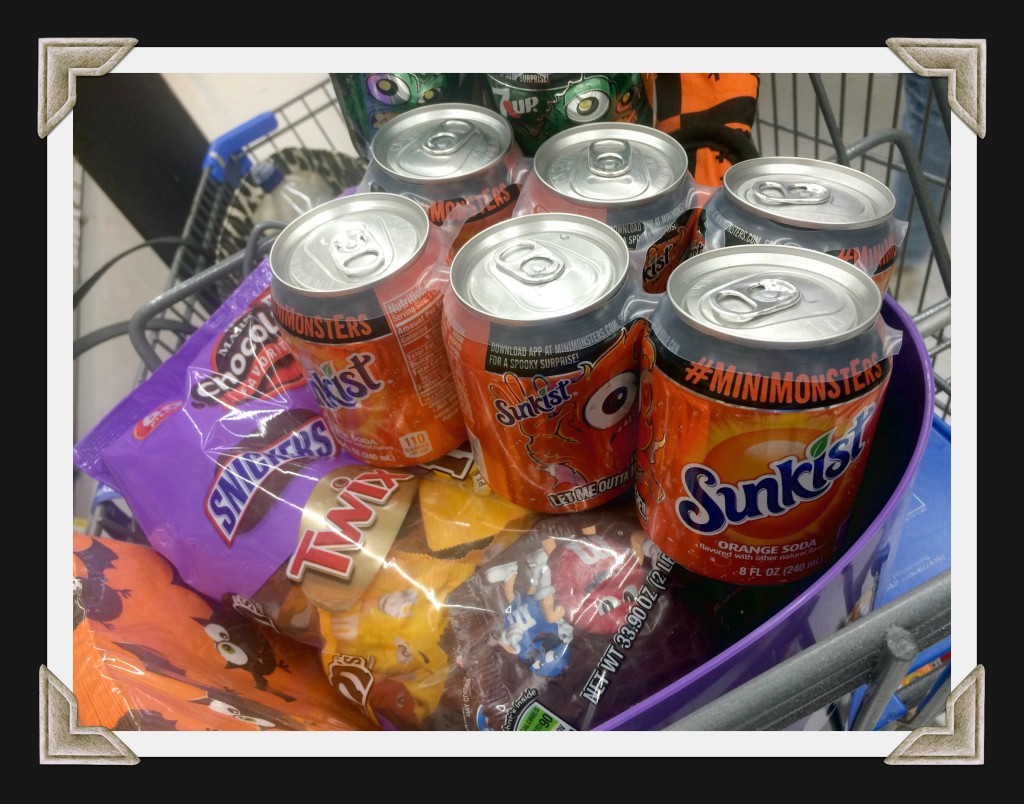
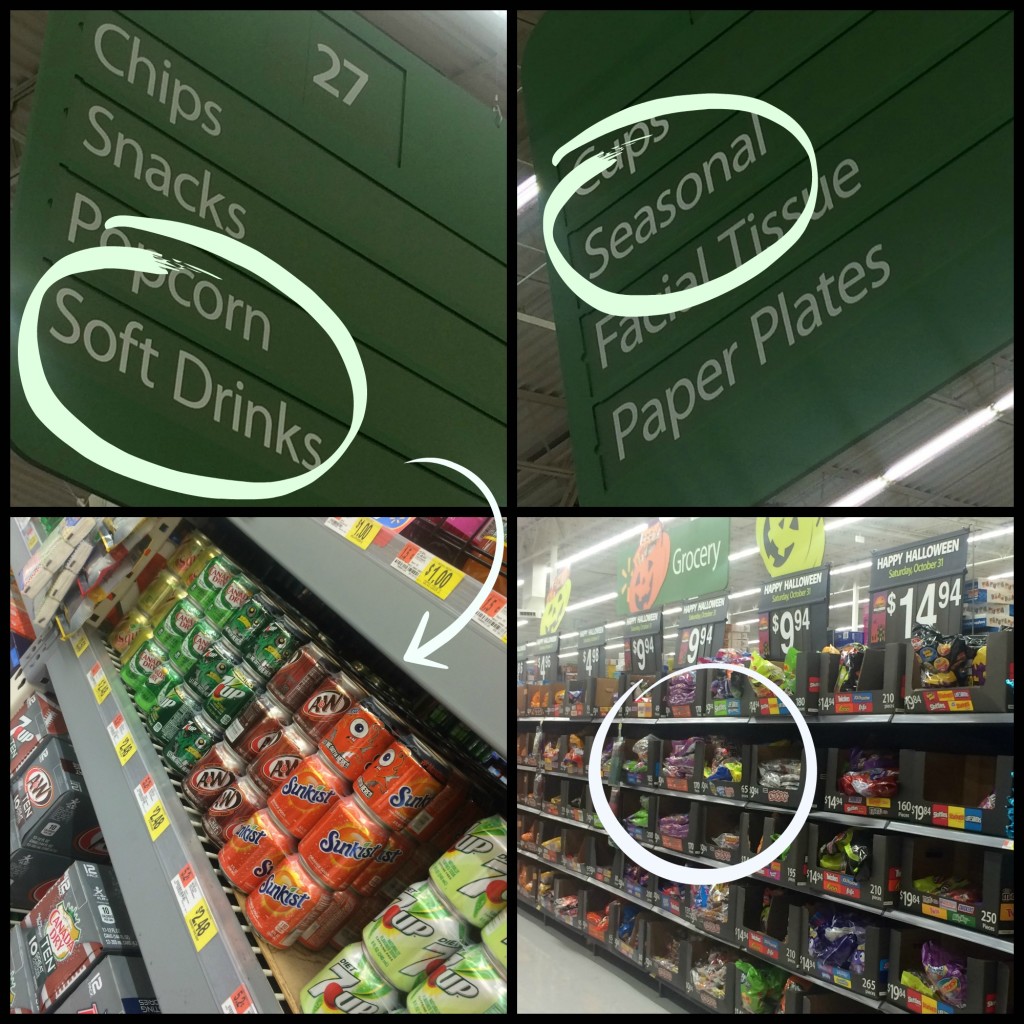
all-I-needI found all of the items I needed for my BOO’ing at Walmart. On the Seasonal aisle, I found giant Mars Chocolate Mix Fun Size bag of assorted candies, including M&M’s®, TWIX®, and SNICKERS®.

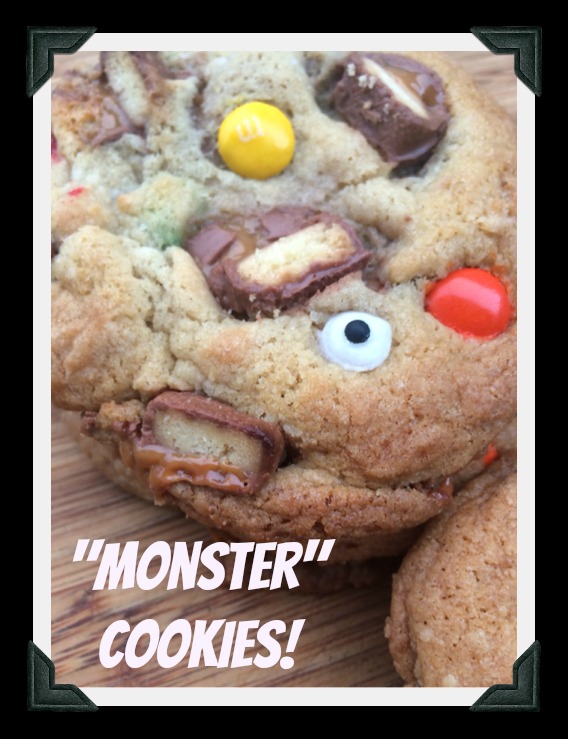
found-at-walmartOn the soft drinks aisle, I grabbed a couple of 6-packs of special Halloween “Mini Monster” cans of Sunkist® and 7UP®. They’re adorable with little monsters on them! l also found the ingredients I needed to make my “Monster” Cookies. (It’s a special Halloween cookie recipe we make every year using M&M’s® and TWIX®).

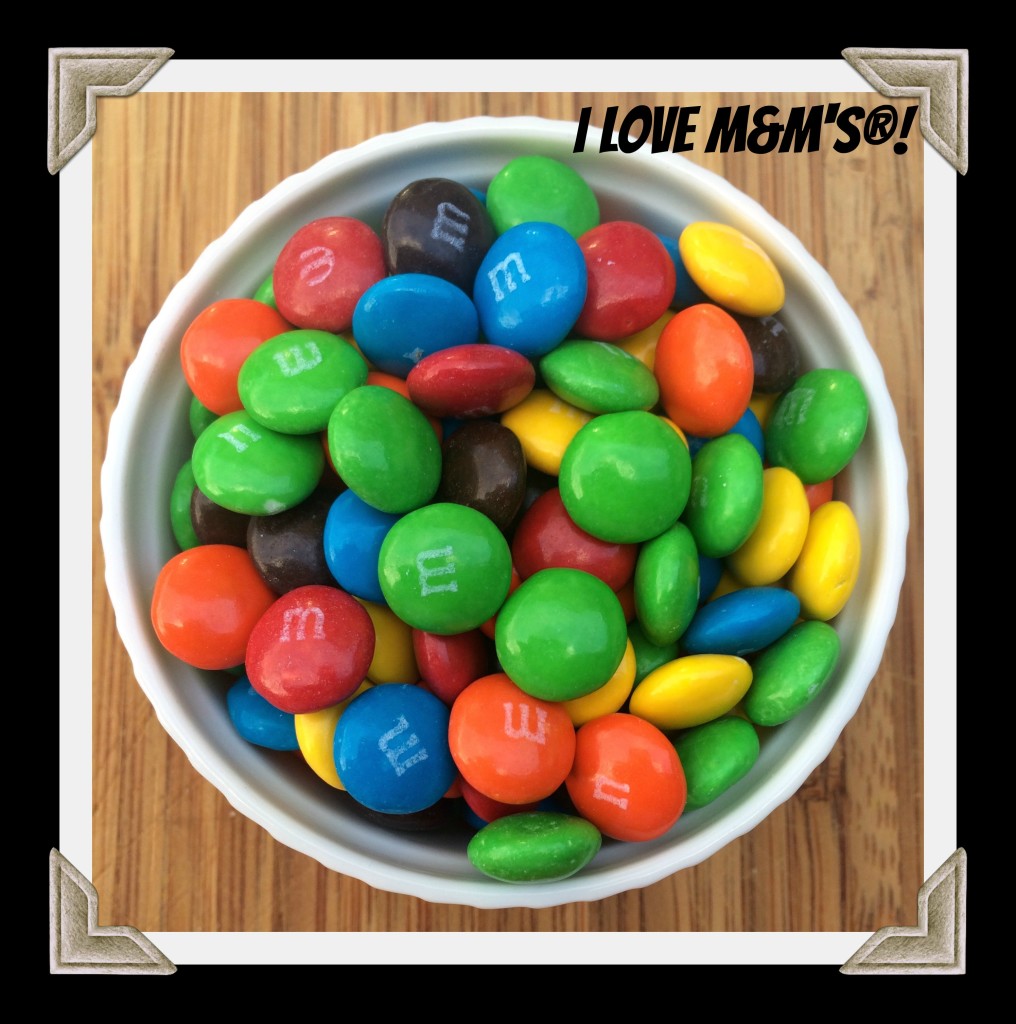
I-love-MandMs

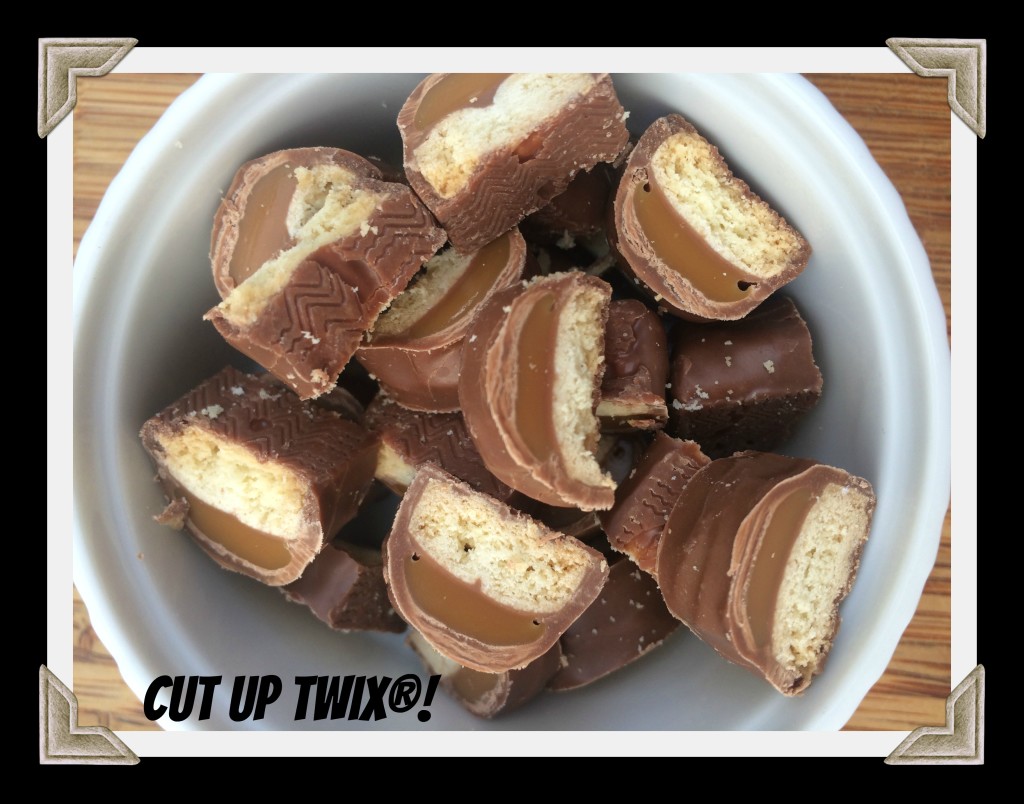
cut-up-TWIXIn past years, we’ve BOO’d neighbors on our street, friends who live close by, and even relatives who live in our same town. This year I think I’ll do some BOO’ing at my school. I teach first grade and I know of some teachers who would appreciate a little BOO surprise on their desk one morning. ( I know I would!) Teachers are really easy to please and love almost anything.

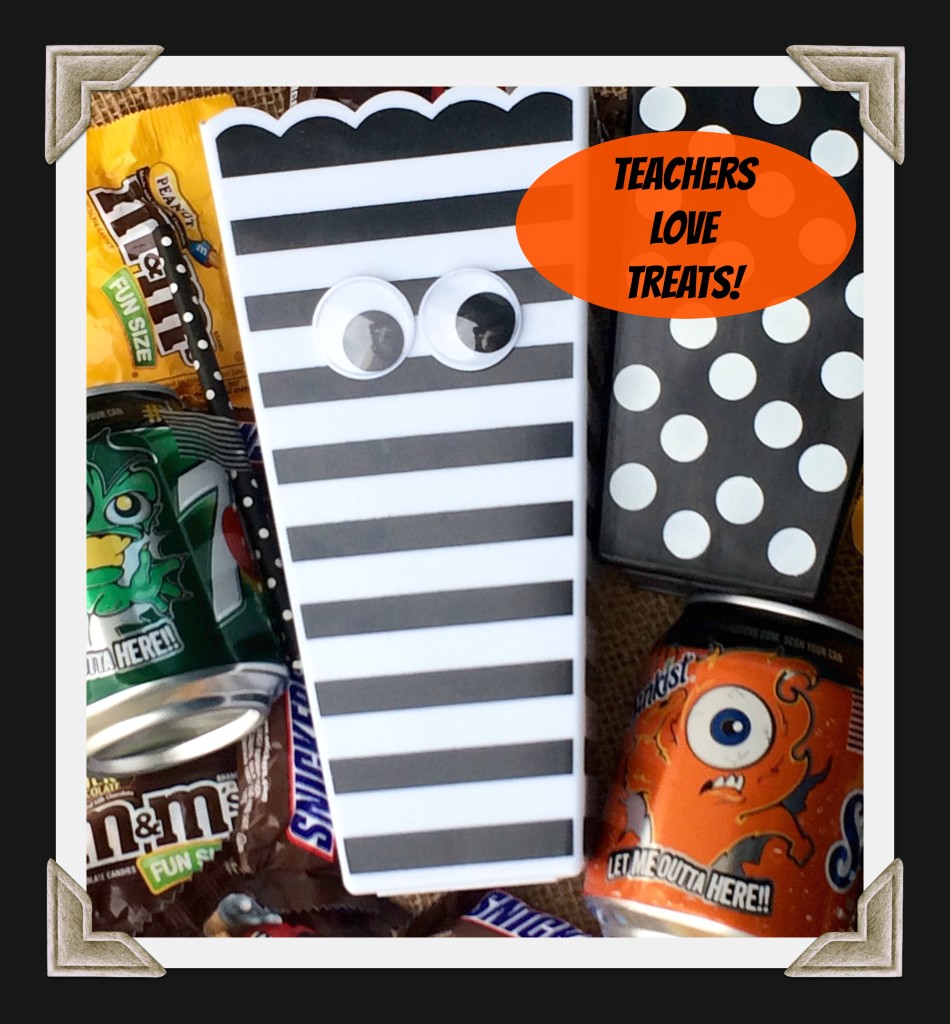
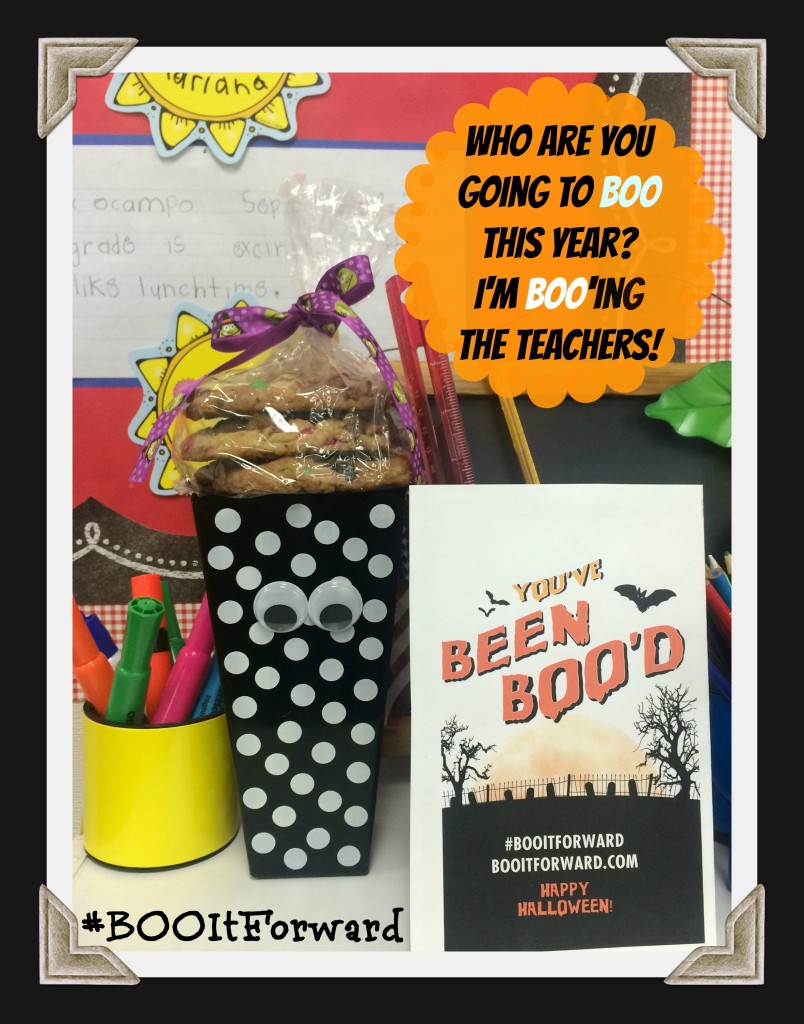
teachers-love-treatsI decided to make little BOO kits with some snacks and mini cans that my teacher friends could enjoy during their break time. I also baked up a fresh batch of my “Monster” Cookies to include in each BOO’ing kit! (see below for recipe)

put-together-a-BOOing-kit

Here are the items I used for my BOO’ing kits: 

  • assorted chocolates from 
  • “Mini Monster” cans of 7UP® & Sunkist®
  • black and white polka dotted paper straws 
  • black and white striped washi tape
  • googly eyes
  • regular tape
  • decorative black and orange plastic patterned popcorn boxes
  • cellophane bags
  • decorative ribbon
  • Mouthwatering “Monster” Cookies monster-cookies

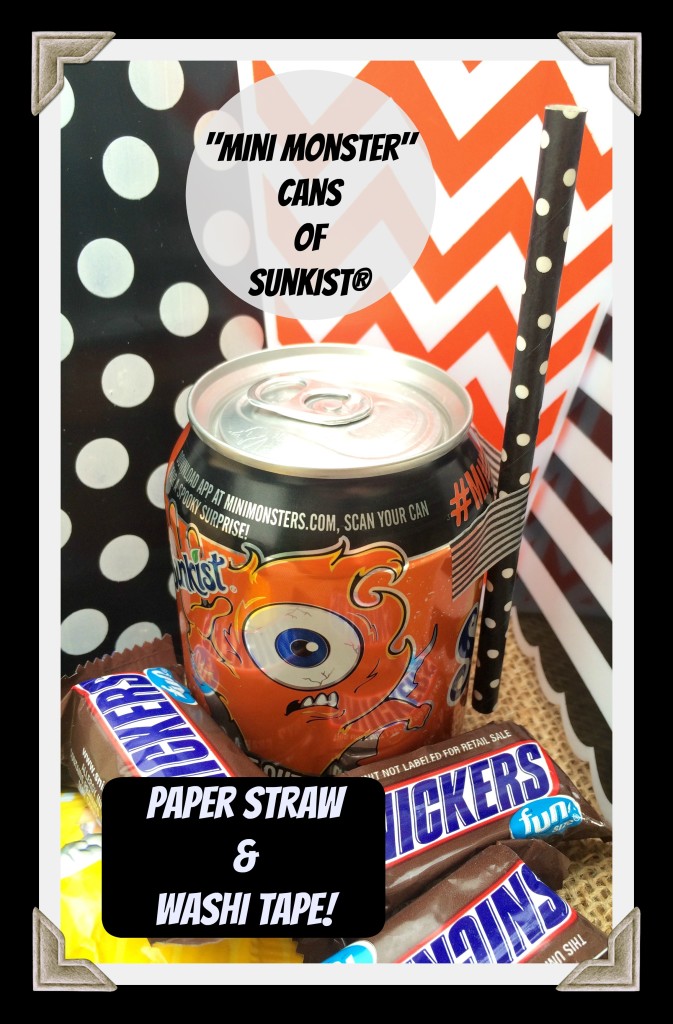
Since I purchased Halloween “mini monster” cans of Sunkist® and 7UP® for my BOO’ing kits, I cut down some cute paper straws a little and used washi tape to attach them to the cans. It makes an adorable presentation.

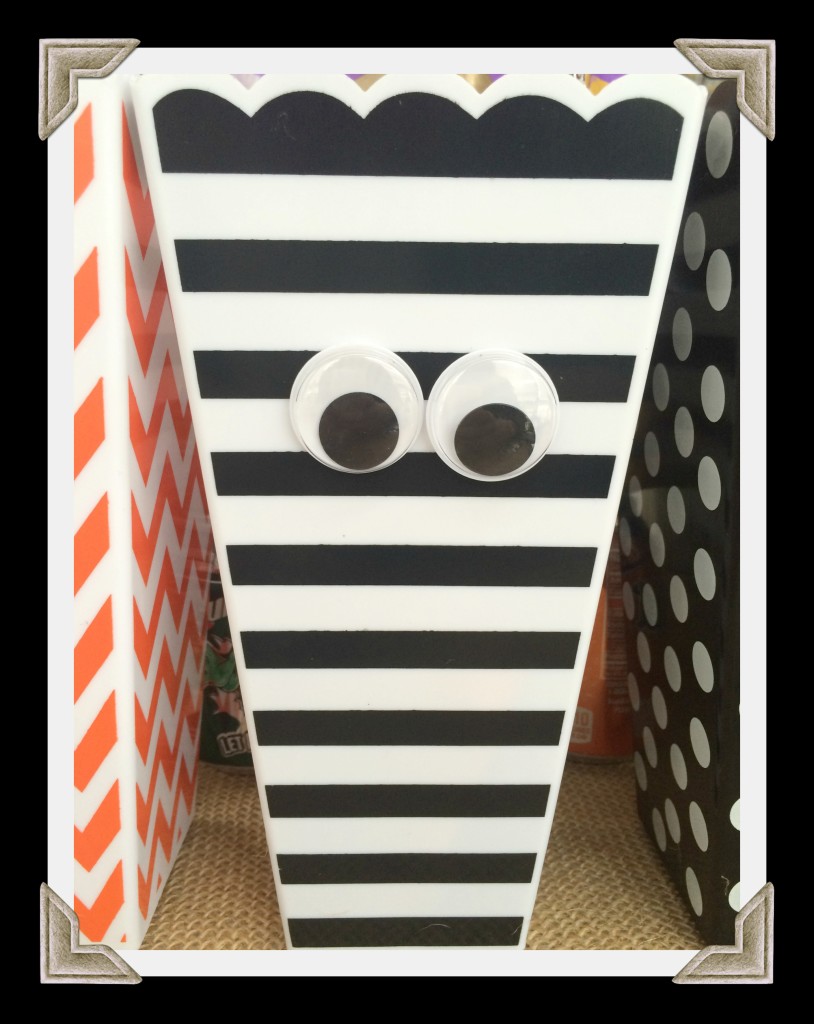
mini-cans-sunkistI also used some big googly eyes on the popcorn boxes to make them look a little cuter. You could use glue or even tape to attach them.

box-with-eyesAfter I baked my cookies and let them cool, I stacked up a few and put them into a cellophane bag and tied it with a festive Halloween ribbon. My “Monster” Cookies are pretty big so only a few fit in each bag.

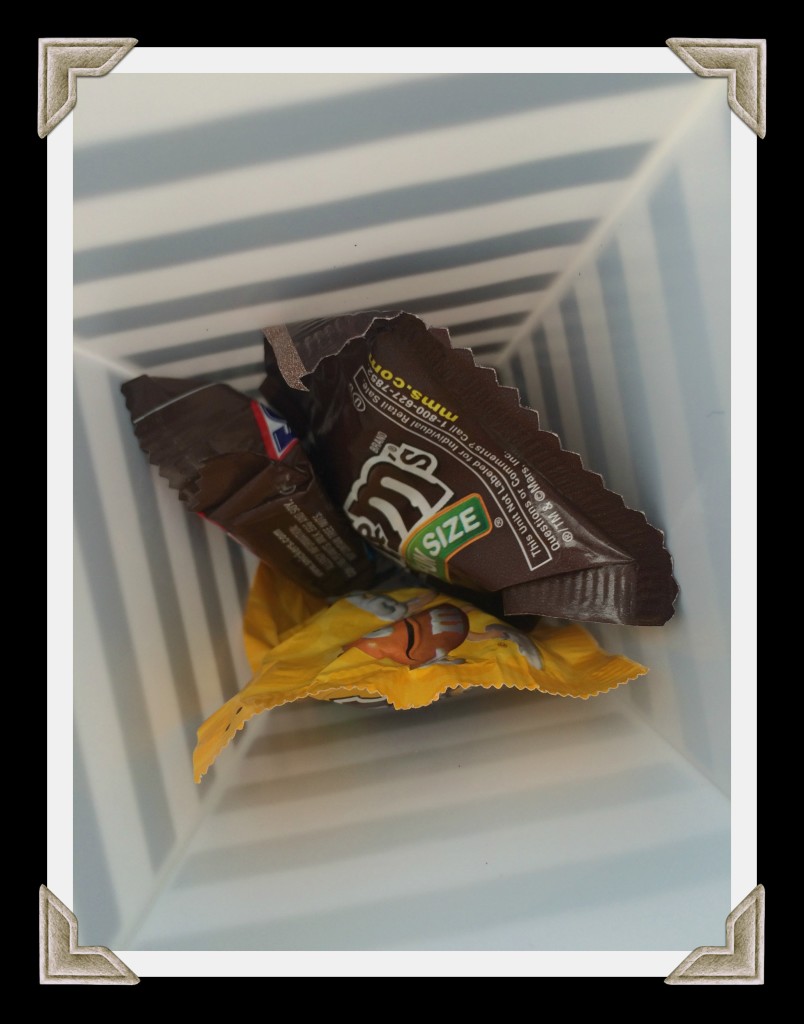
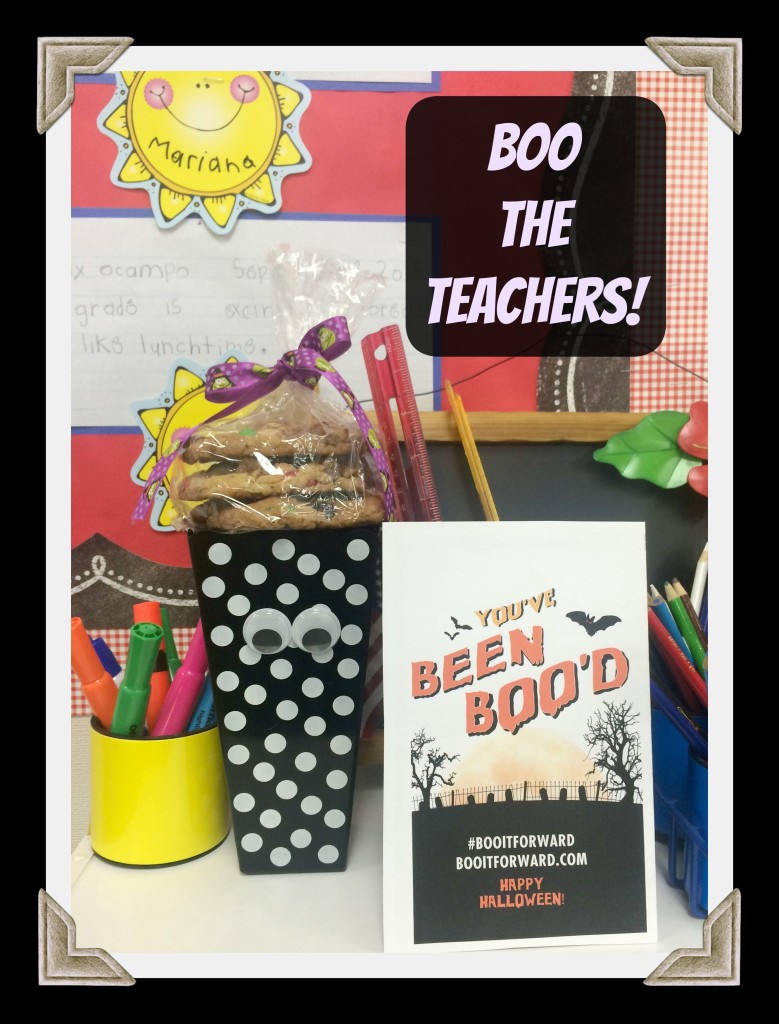
fill-with-candiesIt was fun to put the BOO’ing kits together. First, I filled the bottom of each popcorn box with the candies. Then, I placed a Halloween “Mini Monster” can inside, then I filled it to the top with more candy. I set the tied up cellophane bag of cookies on top of the box (I told you they were giant cookies!) and placed the “We’ve Been BOO’d” printables” next to each surprise on each of the teachers’ desks!

as-giddy-as-a-first-graderI don’t know about you, but I get as giddy as a first grader when it comes to leaving surprises like this! I couldn’t wait for them to discover they’d been BOO’d!

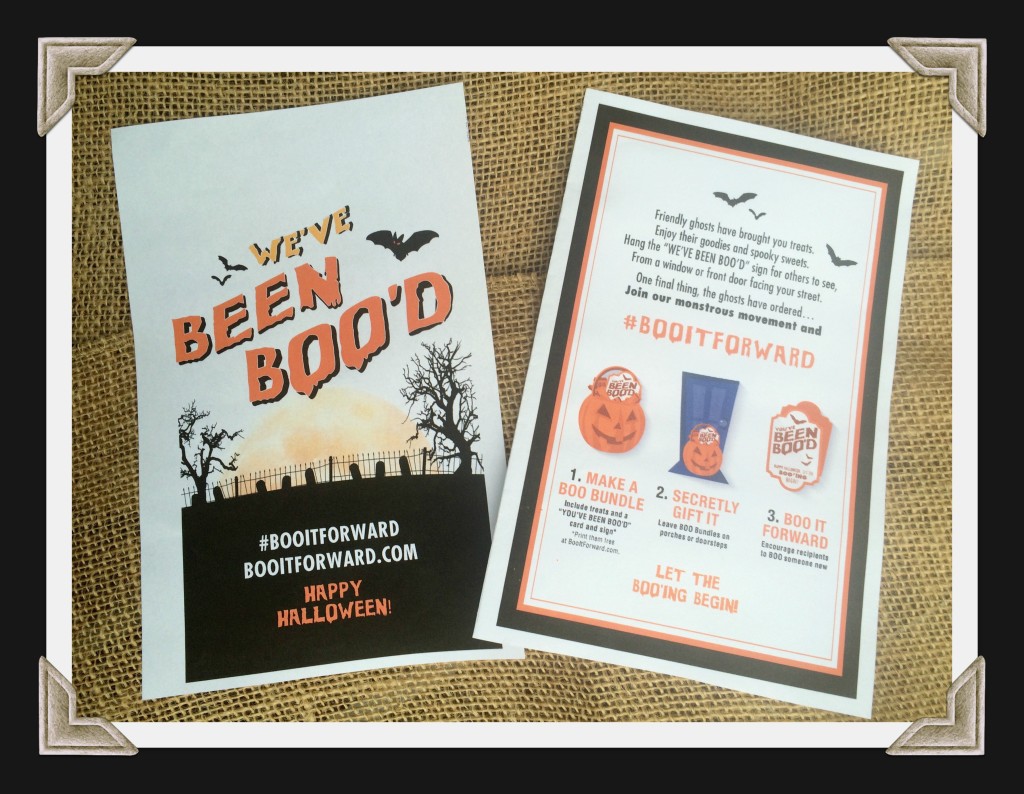
BOO-printableTo make BOO’ing easier, MARS has provided a free “We’ve Been BOO’d” sign that you can print out and use with your BOO’ing kit. Just click here to download yours and print.

After you print out the pages: 

  1. Cut out the “We’ve been BOO’d” sign.
  2. Fold the “You’ve been BOO’d” greeting card (page 2) and tape openings together.
  3. Include the card (and sign if you don’t want to remain anonymous) when you BOO someone! 

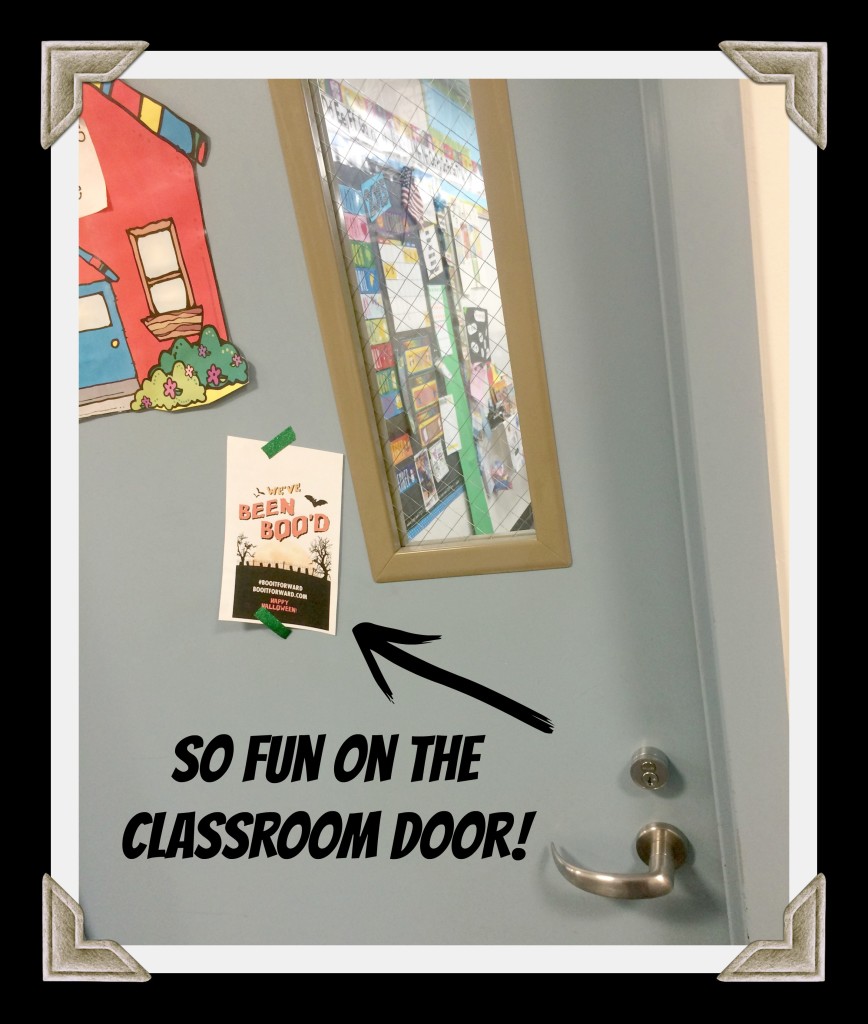
boo-the-teachersLook how cute these turned out! It’s so much fun to BOO at work! Having a “We’ve Been BOO’d” sign on the classroom door is really fun, too!

so-fun-on-the-classroom-door

monster-cookies-signHere’s my recipe for “Monster” Cookies. It’s fairly simple to prepare and the cookies turn out delicious every time.

“Monster” Cookie Ingredients:

  • 2 1/4 cups all-purpose flour
  • 3/4 cup granulated sugar
  • 3/4 cup brown sugar, packed
  • 1 cup (2 sticks) butter, softened
  • 2 large eggs
  • 1 tsp. salt
  • 1 tsp. baking soda
  • 1 tsp. vanilla extract
  • 10-12 Fun Size Twix Bars, chopped
  • 8-10 Fun Size packs of M&M’s®
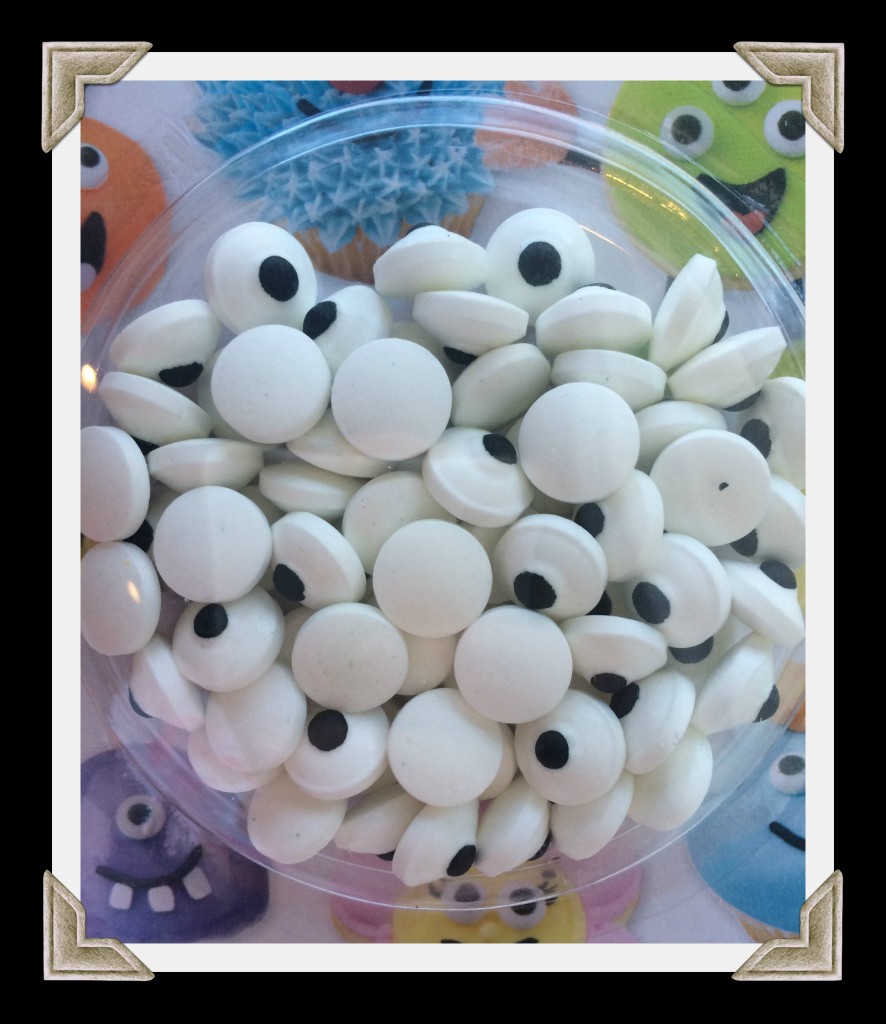
  •  1 package of candy eyeballs monster-eyes

“Monster” Cookie Preparation: 

  1. Preheat the oven to 375 degrees.
  2. Line your baking sheet with parchment paper. (This is my best kept baking secret.)
  3. Chop up approximately 1/2 cup Twix bars and set aside.
  4. Measure out 1/2 cup M&M’s and also set aside.
  5. In a small bowl, combine the flour, baking soda, and salt and set aside.
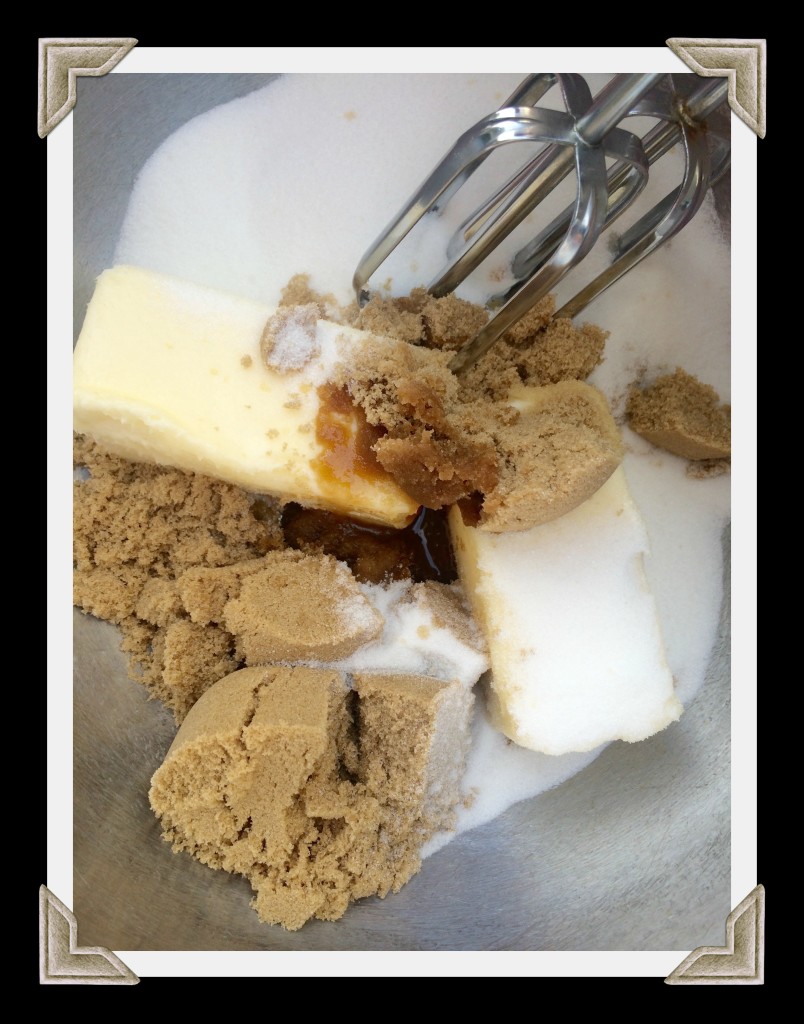
  6. In a large bowl, beat the butter, granulated and brown sugars, and vanilla extract until creamy. Add the eggs, one at a time, beating them in after each one is added. beat-the-ingredients
  7. Beat in the flour mixture gradually.
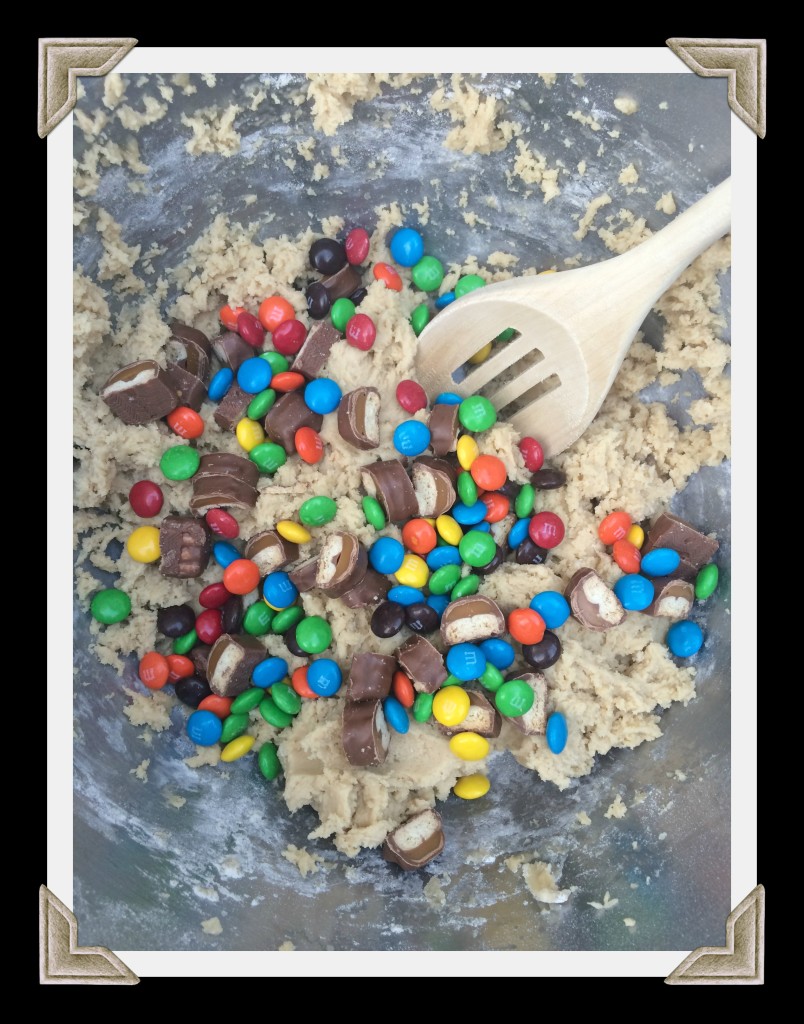
  8. Mix in the Twix and M&Ms with a wooden spoon. add-the-candies
  9. Spoon generous portions of the cookie dough onto the parchment paper-covered baking sheet. (They’re supposed to be pretty giant.)
  10. Bake 5 minutes.
  11. Remove from the oven and add a few more pieces of each candy plus 1-3 candy eyeballs on the top of each cookie. This will help them to bake while staying visible in the cookie.
  12. Bake 3-5 more minutes or until golden brown.
  13. Remove from the oven and allow to cool before serving.

Right now, you can save $2.00 on on ONE (1) 6pk 8oz Cans or TWO (2) 2L and 2 bags of Mars® Candy at Walmart. Click here for coupons. Also, don’t forget to enter the Boo It Forward Sweepstakes! #booitforwardsweepstakes

So are you ready to go out and BOO someone now? I hope I’ve inspired you to “BOO It Forward”! 

now-its-your-turn

Breakfast With Bob the Minion! {Make Your Own Minion Mug Too!}

This shop has been compensated by Collective Bias, Inc. and its advertiser. All opinions are mine alone. #The7thMinion #CollectiveBias

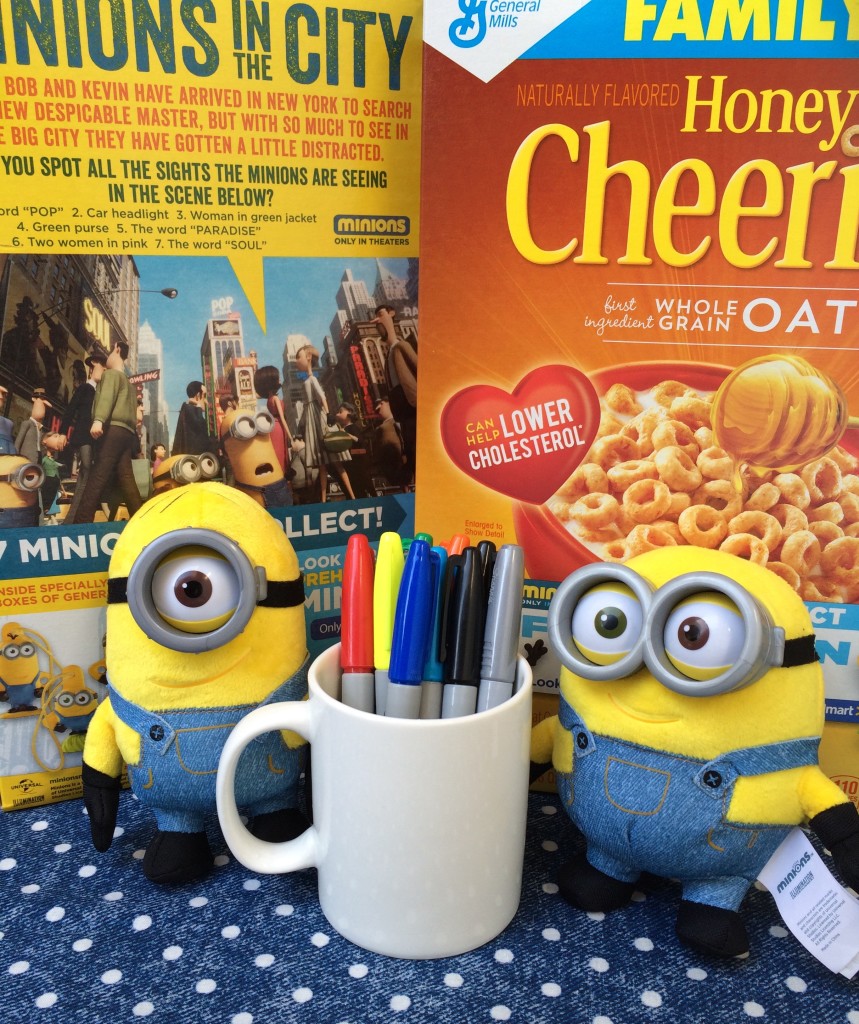
breakfast-with-bob-the-minionI would easily call our home a “Minion-loving” one. We can’t get enough of the Minions and are counting down the days until the release of the new Minions movie on July 10! Have you watched the trailer yet?

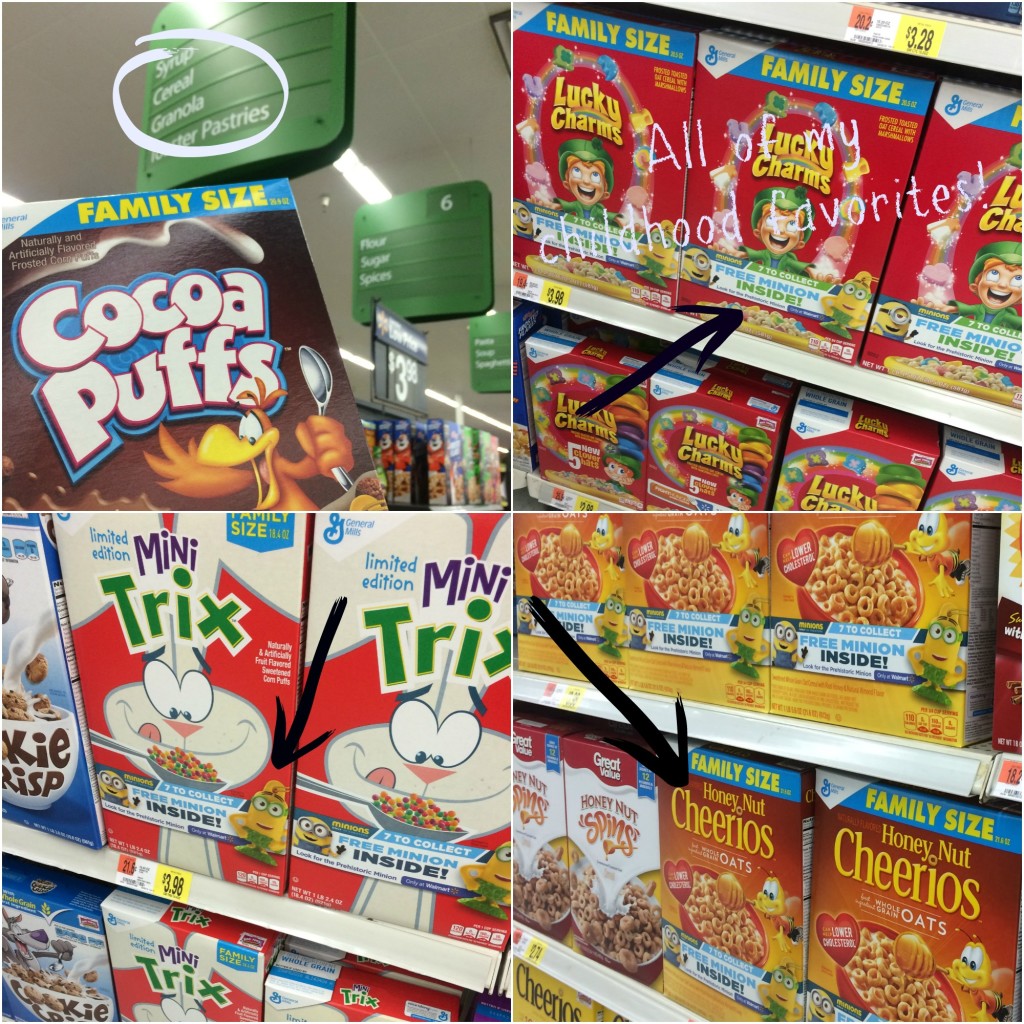
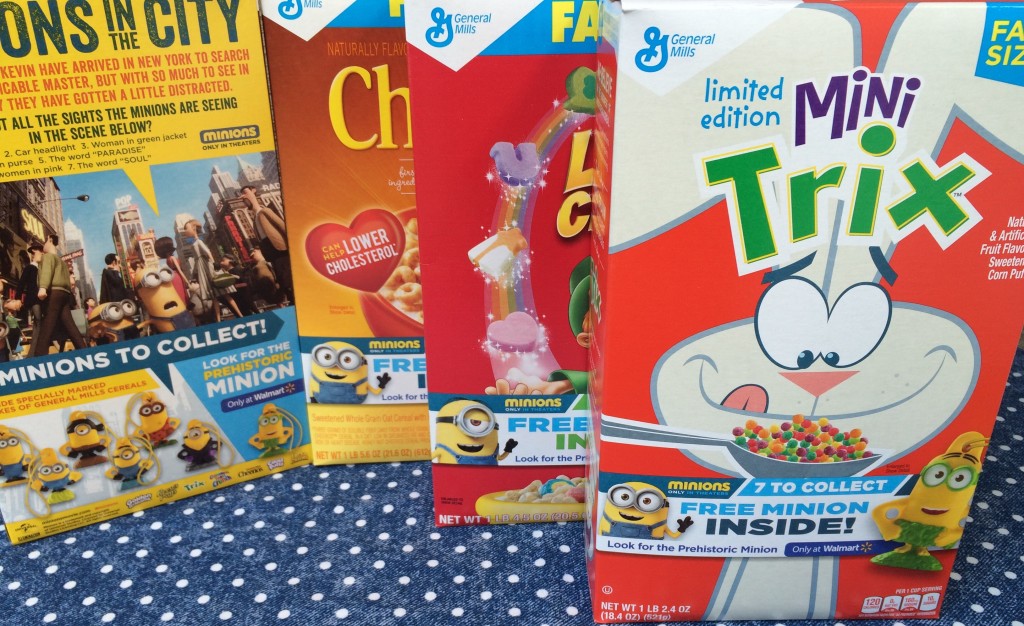
On a recent grocery shopping trip to Walmart, I was ecstatic when I saw a ton of specially marked boxes on the cereal aisle with exclusive Minion “toys” inside! As I walked up and down the aisle, I saw a few of my own childhood favorites featuring these toys inside the boxes

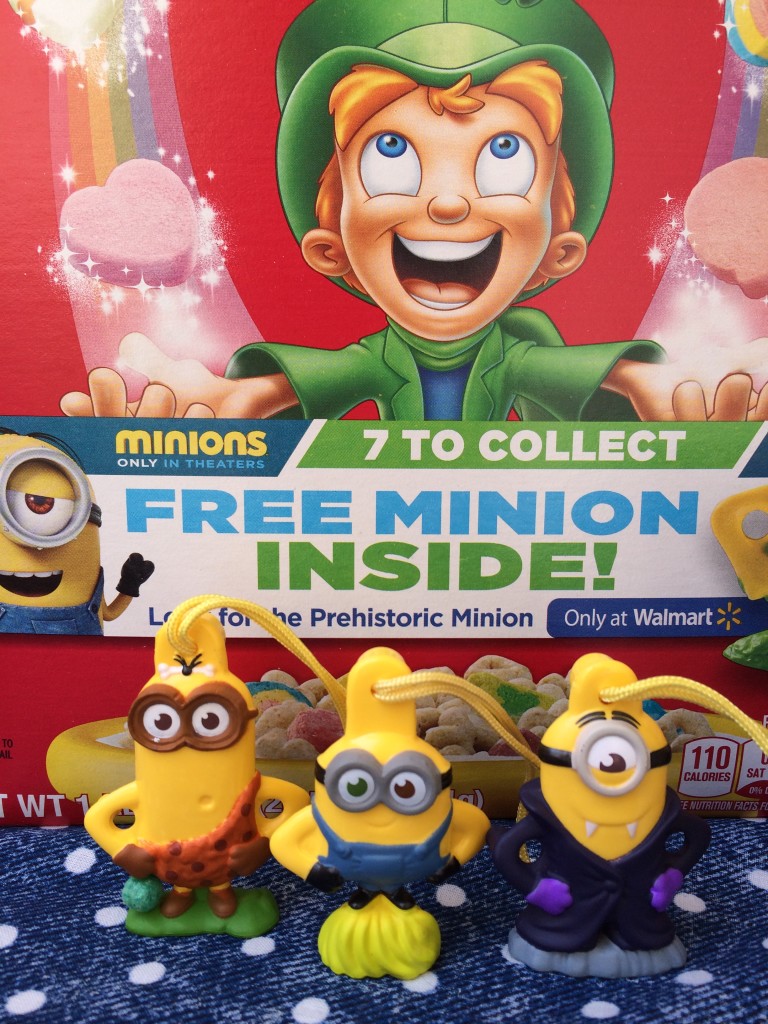
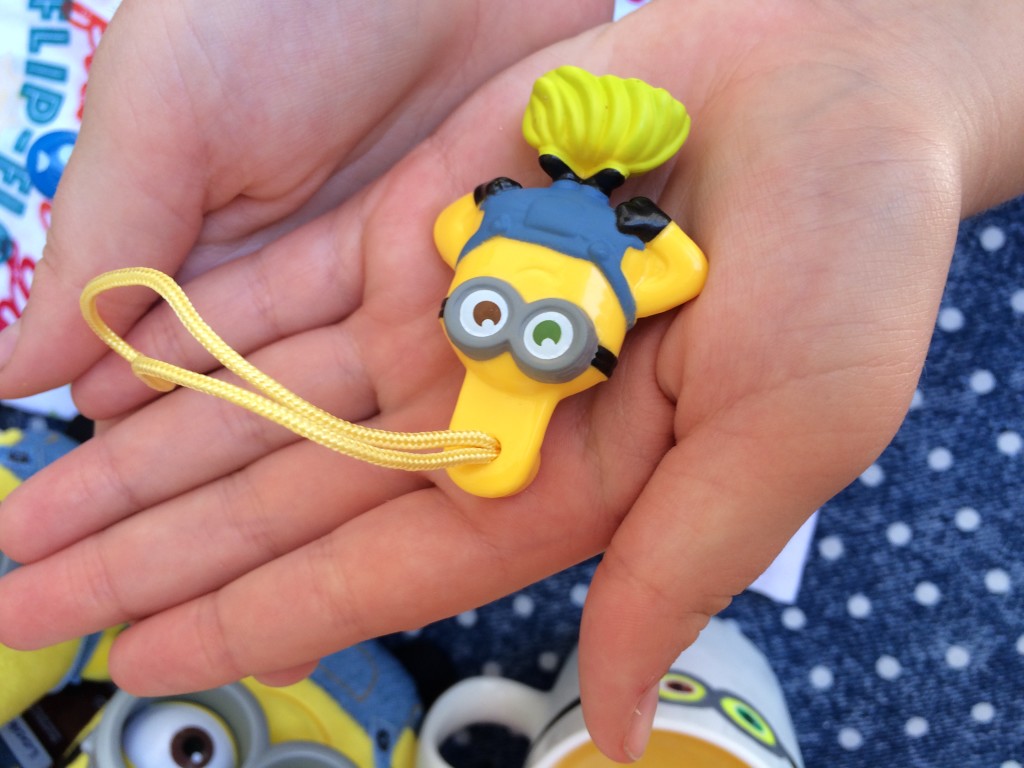
my-childhood-favsThere are 7 minions to collect in all and they’re shown on the back of the cereal box. The 7th Minion is the prehistoric one and is offered exclusively at Walmart in these specially marked Family Size boxes of cereal.

back-of-cereal-boxWalmart has teamed up with General Mills to offer the exclusive Minion toys inside these cereals:

  • Honey Nut Cheerios
  • Cinnamon Toast Crunch
  • Lucky Charms
  • Reese’s Puffs
  • Trix
  • Cocoa Puffs
  • Golden Grahams

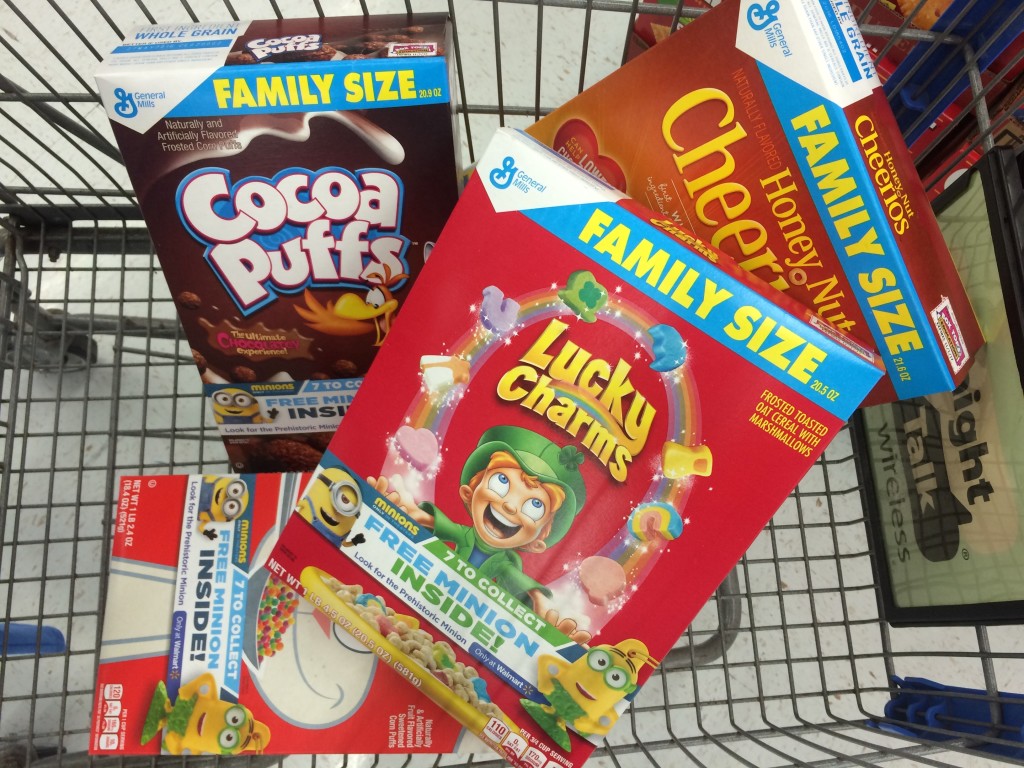
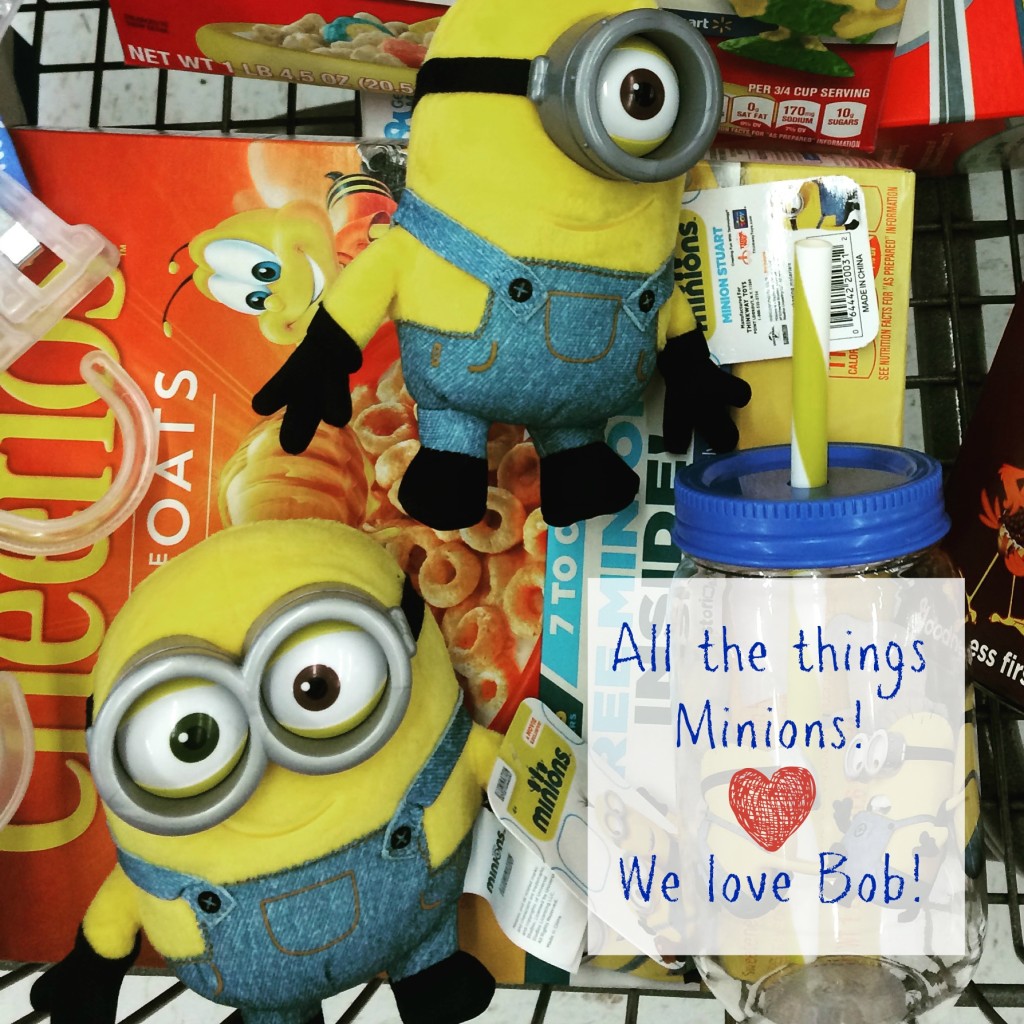
my-full-shopping-cartAs I walked down the aisle, cereal boxes seemed to be flying off the shelves and into my grocery cart!  You may also notice that a couple of Minions ended up in the cart, too. I couldn’t resist. My daughter wasn’t even shopping with me, but I knew she’d love them. Walmart had so much “Minions” merchandise! I really wanted to buy all of it!

all-the-things-minionsI couldn’t wait to get home and show my daughter. I decided to plan a little “Minions breakfast” for the following morning. I wanted it to be a fun start to our summer and a kickoff for our quest to find for the 7th minion.  I think one of the luckiest parts about my daughter being an only child is that she doesn’t have to share the toy in the cereal box!  Seriously, I grew up fighting my younger brother for the toy!

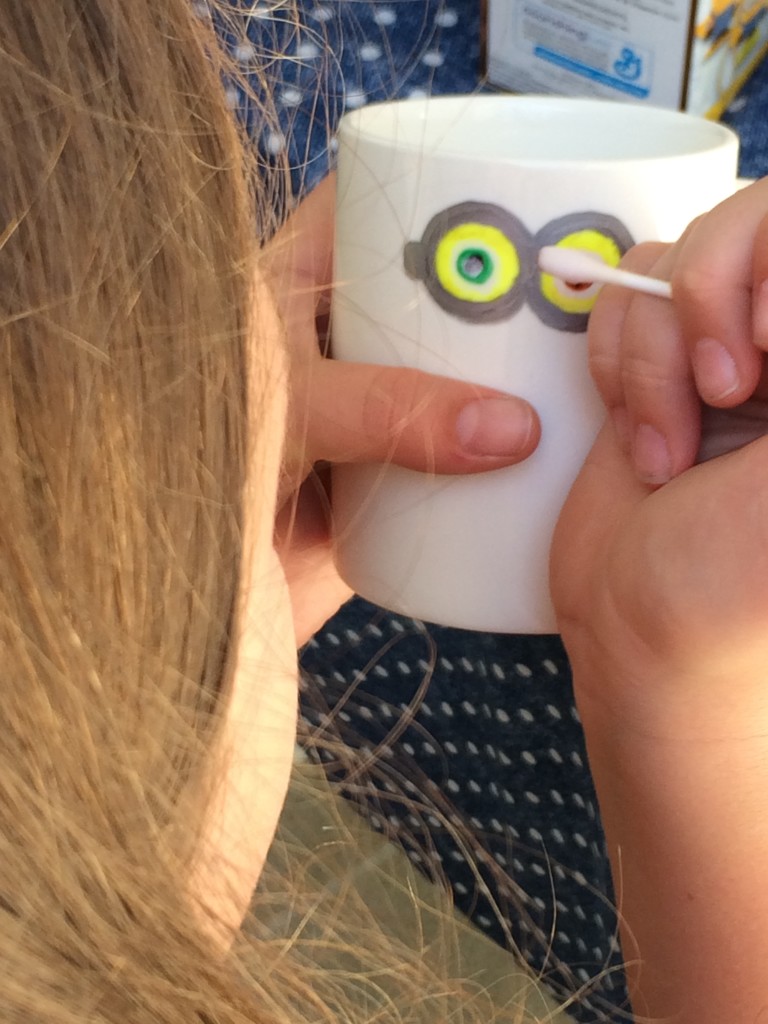
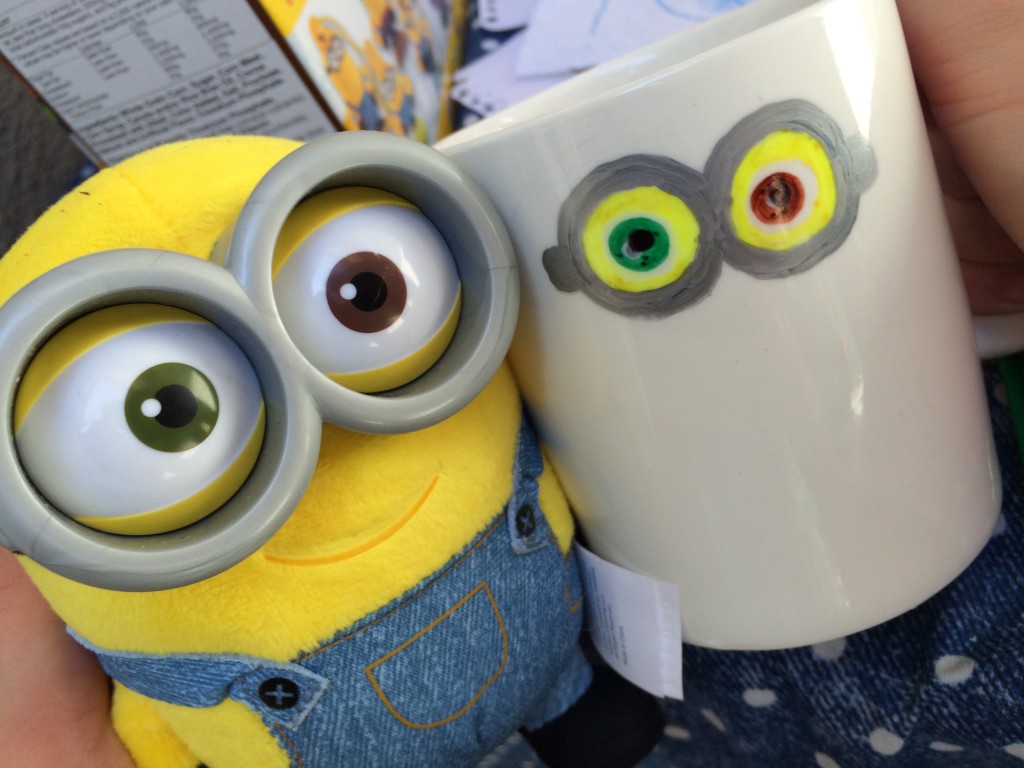
We decided to make a special Minion mug that night as a special edition to our Minion breakfast. Since she loves Bob the Minion and also loves making personalized ceramic mugs, she made a Bob the Minion mug. It’s probably one of the easiest DIYs a kid can do. Have you ever made one?

supplies-for-mugsHere’s what you’ll need to make your own Minion mug:

  • 1 white ceramic coffee mug, prewashed
  • 1 set of permanent markers in a variety of colors
  • plain white paper (for practicing)
  • nail polish remover (for mistakes)
  • some Q-tips
  • 1 roll of paper towels
  • 1 cookie sheet
  • some Minions or pictures of Minions to look at for inspiration

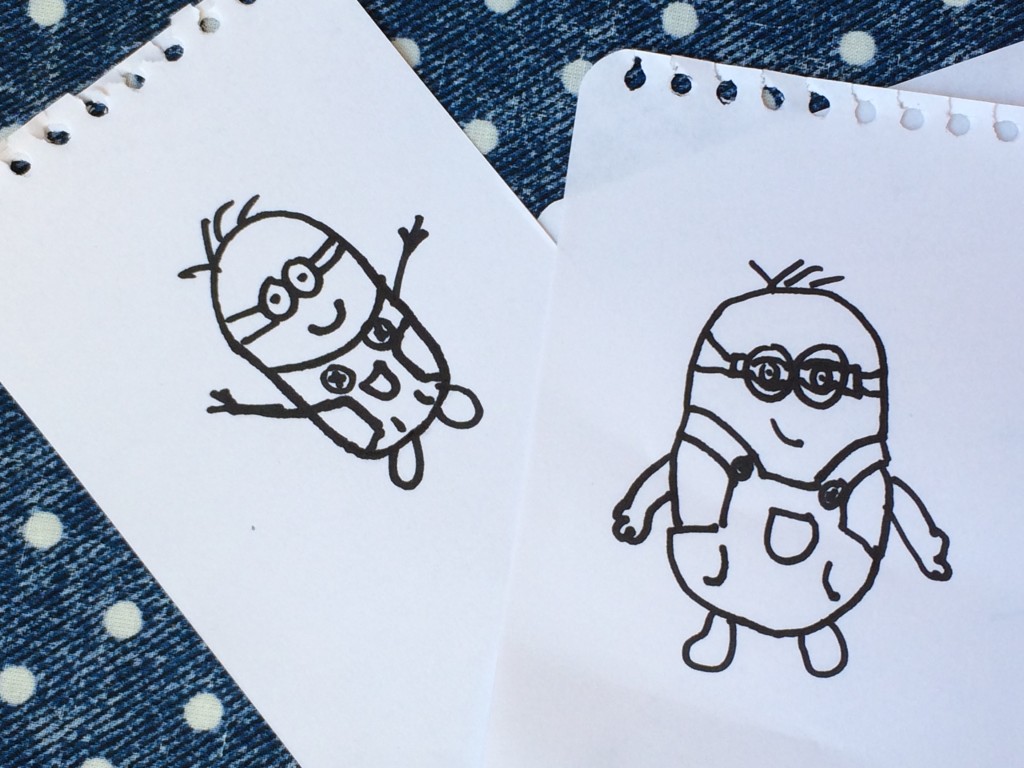
practice drawingsInstructions for making your Minion mug

  1. Start with a clean, dry mug.
  2. Draw your design, using the permanent markers. If necessary, practice drawing your images first on white paper. Mistakes can be easily “erased” (prior to baking) using a baby wipe. Dry thoroughly with a paper towel prior to resuming the drawing with pens. 
  3. When you’re finished drawing and decorating, place your mug upside-down on a cookie sheet. (not pictured)
  4. Bake in the oven at 350 degrees for 30 minutes.
  5. Allow your mug to cool all the way down before washing or using. Your cup should always be handwashed and not placed in the dishwasher.
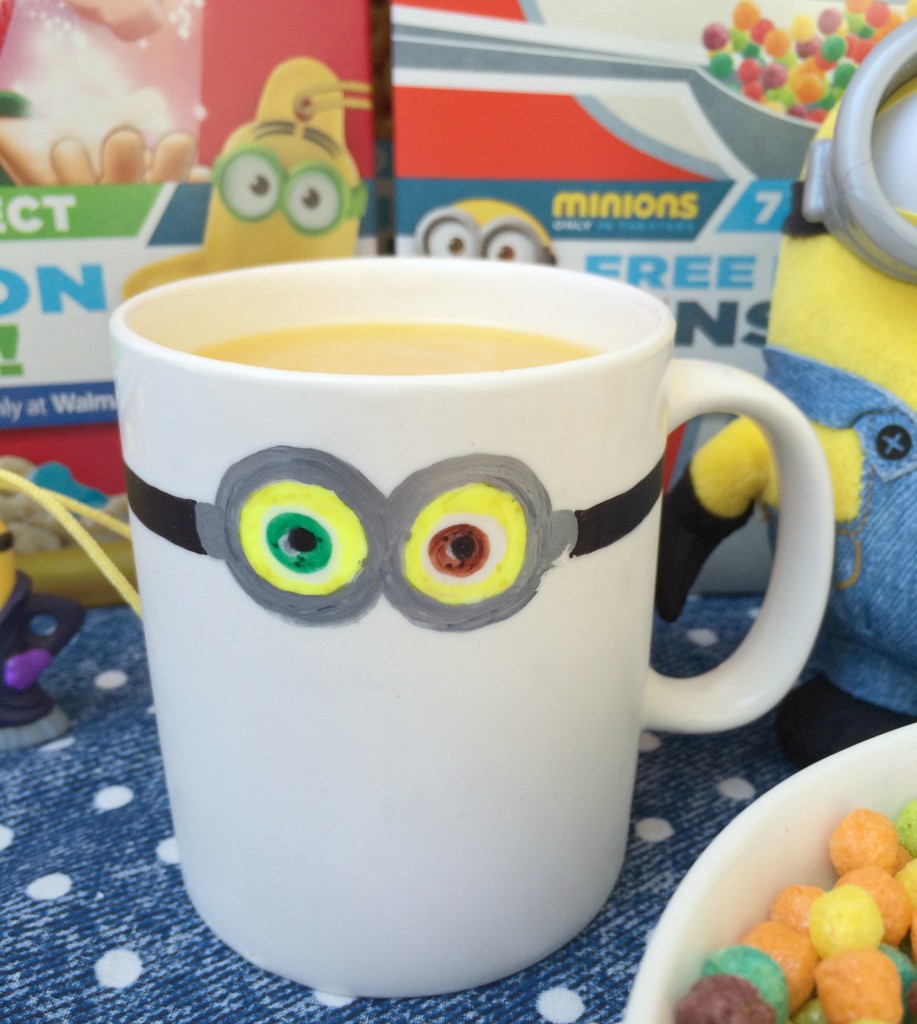
its-bobHow cute did her mug turn out? I can’t take credit for it. My daughter did it all on her own! It’s Bob! Can’t you tell?

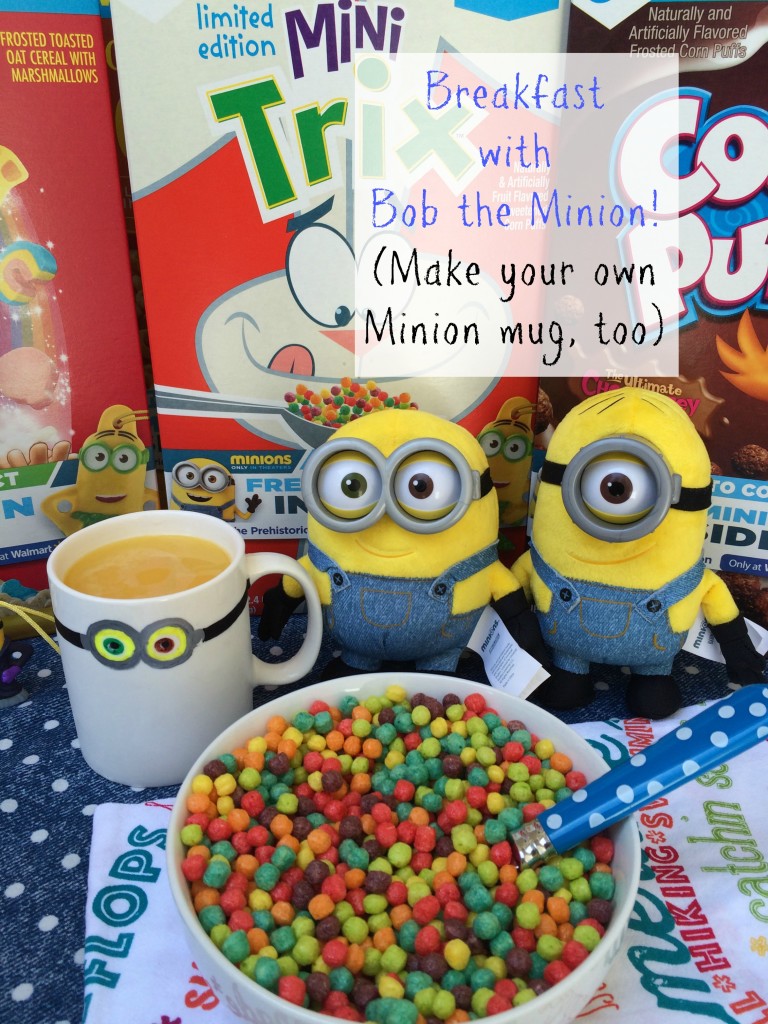
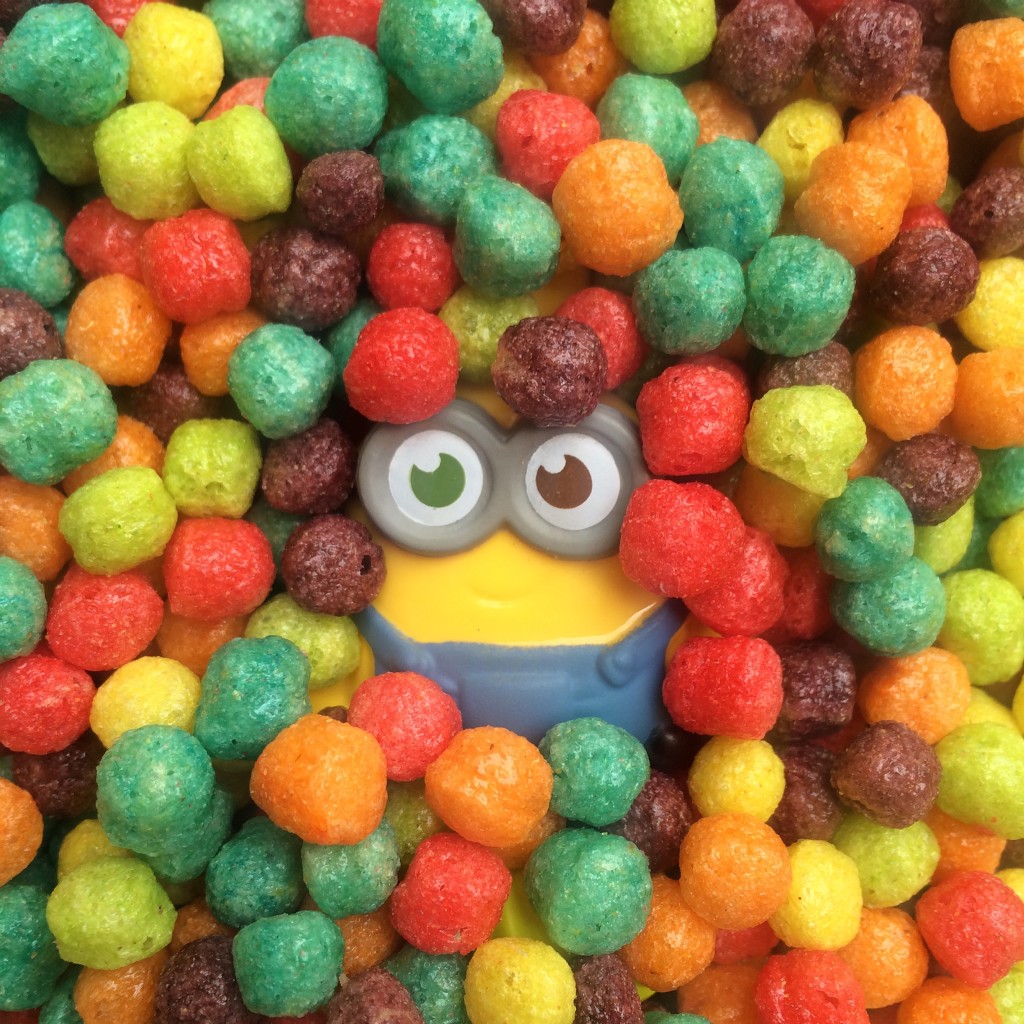
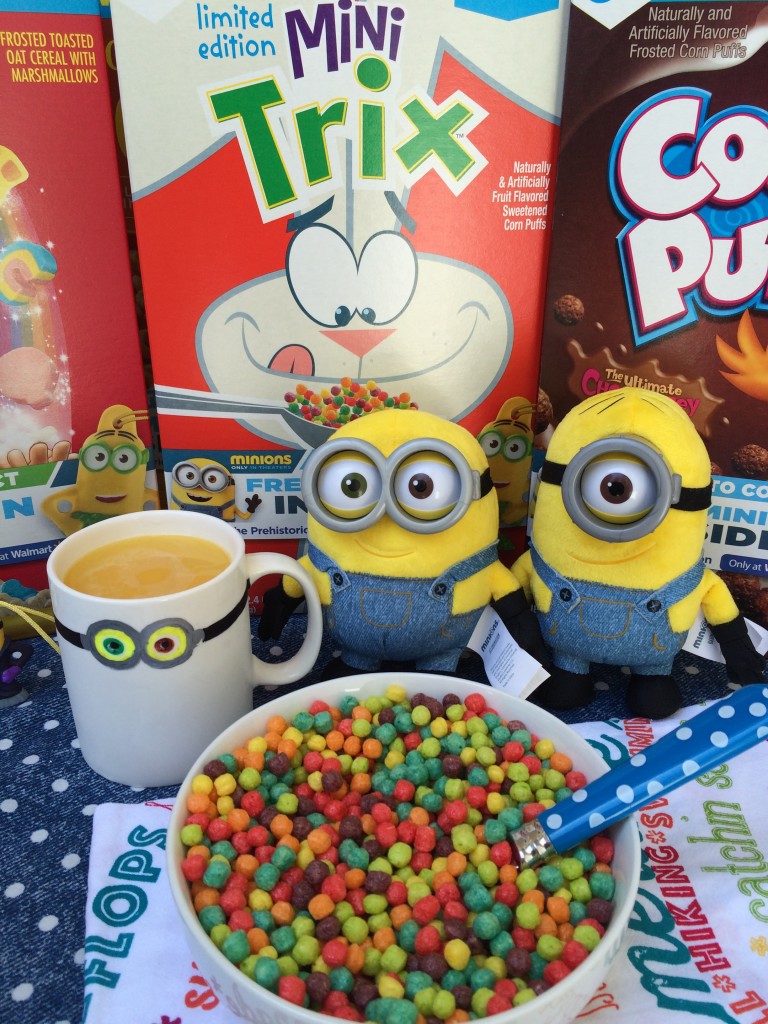
practically-twinsWe set up the breakfast table, including the new mug, and Bob and joined my daughter for some Trix. You have to be careful when inviting a Minion to breakfast! Sometimes they misunderstand the invite! Oh Bob!

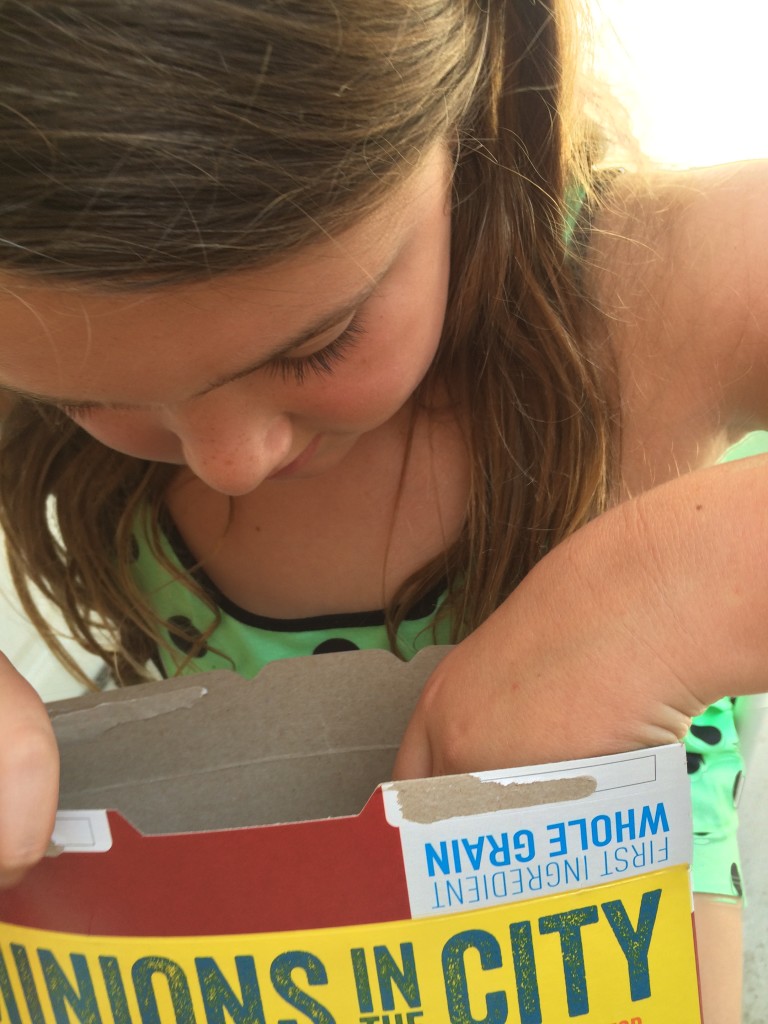
oh-bobbreakfast-with-bob-the-minion Before pouring milk into her cereal, my daughter was ready to open each box and hunt for the 7th Minion. She got 4 cute ones, including Bob (her favorite) but didn’t get the 7th Minion! It was a good start though.

We’re determined to collect all 7, especially that 7th Minion, so it looks like we’ll be making a couple more trips back to Walmart for more cereal. My daughter also added “Find the 7th Minion” to her summer bucket list!

its-bobDo you have a favorite Minion? If so, which one is it? We love all of the Minions!

Let’s Get This Summer Started With SNICKERS® Ice Cream Bars & Summer Bucket List Journals!

This shop has been compensated by Collective Bias, Inc. and its advertiser. All opinions are mine alone. #ShareFunshine #CollectiveBias

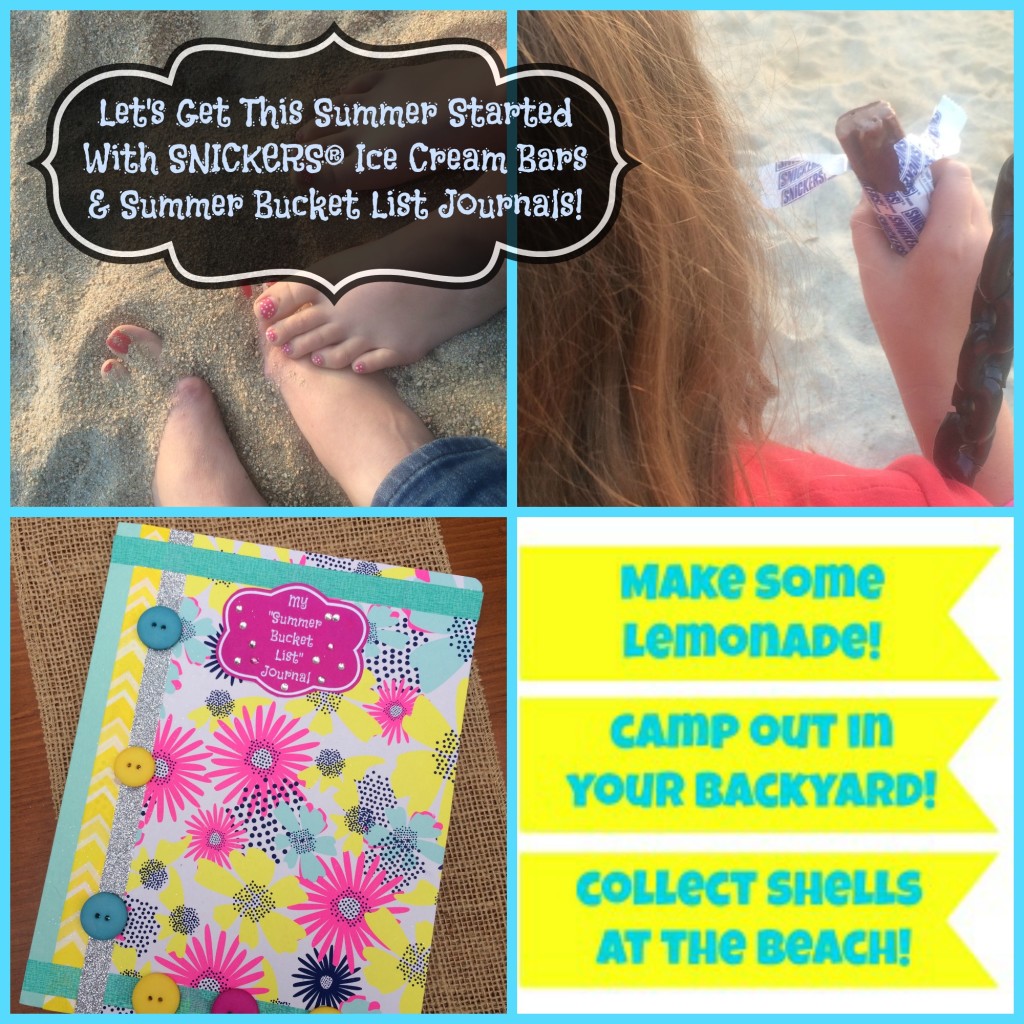
lets-get-this-summer-started-nowI am so ecstatic for the arrival of summer! A few of my most favorite things about summer include wearing flip flops every day, watching summer sunsets, and most of all, slowing down the pace of life to be able to focus on creating new family memories. We just have so much more time to do things that don’t have a place in our lives during the regular school year.

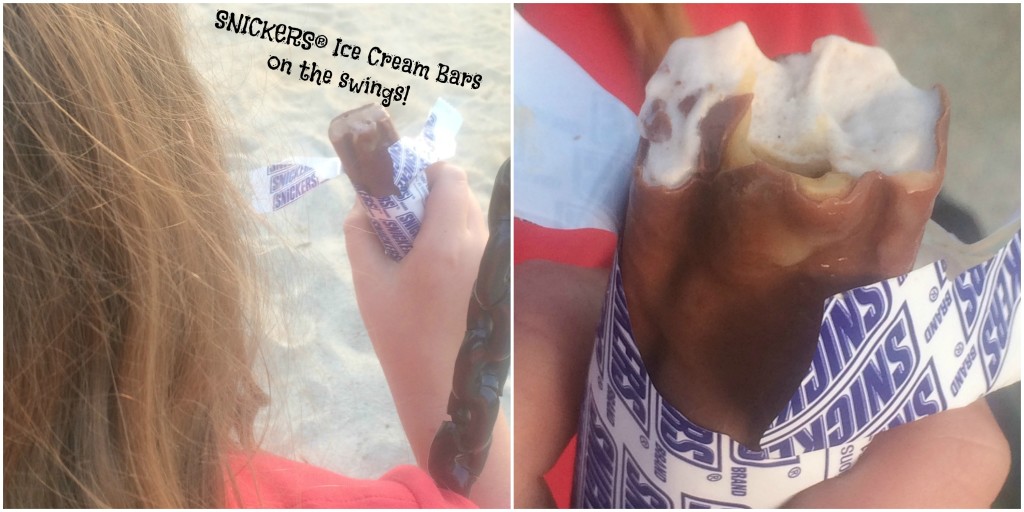
jumping-for-joyOur first stop on the way home after the first day of school was at the park. My daughter LOVES to go to the little park by our house. Since it was a pretty warm day, I surprised her by bringing some SNICKERS® Ice Cream Bars in the cooler for us to enjoy while we were there.

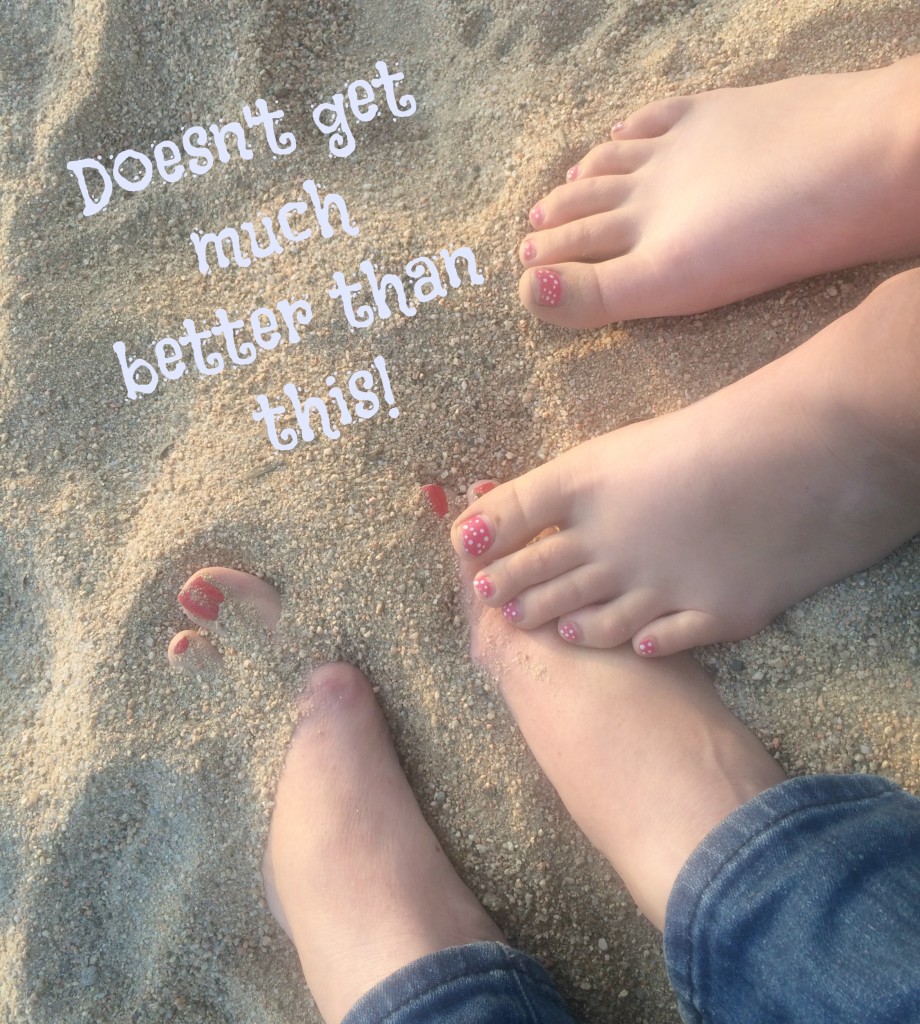
on-the-swingsWe spent about an hour there and enjoyed our ice cream on the swings. The frozen version of this delicious candy bar is yummy and a definite summer “must-have”!  Sitting there with my daughter, putting our feet in the sand, made me realize how important it is to enjoy this time together and try to hang onto these childhood years of hers for as long as possible. 

doesnt-get-much-betterMy daughter and I have this annual tradition of creating a “Summer Bucket List” together. It’s like our summer goal-setting session. Our time at the park got me thinking that this year, since she’s getting older, we should do something a little bit different for our “Summer Bucket List”. Instead of just making a list, I thought it would be more age-appropriate to have her keep a “Summer Bucket List” Journal instead. I also wanted to make the occasion more of a party and include some of her friends. What better reason to celebrate the beginning of summer, right?

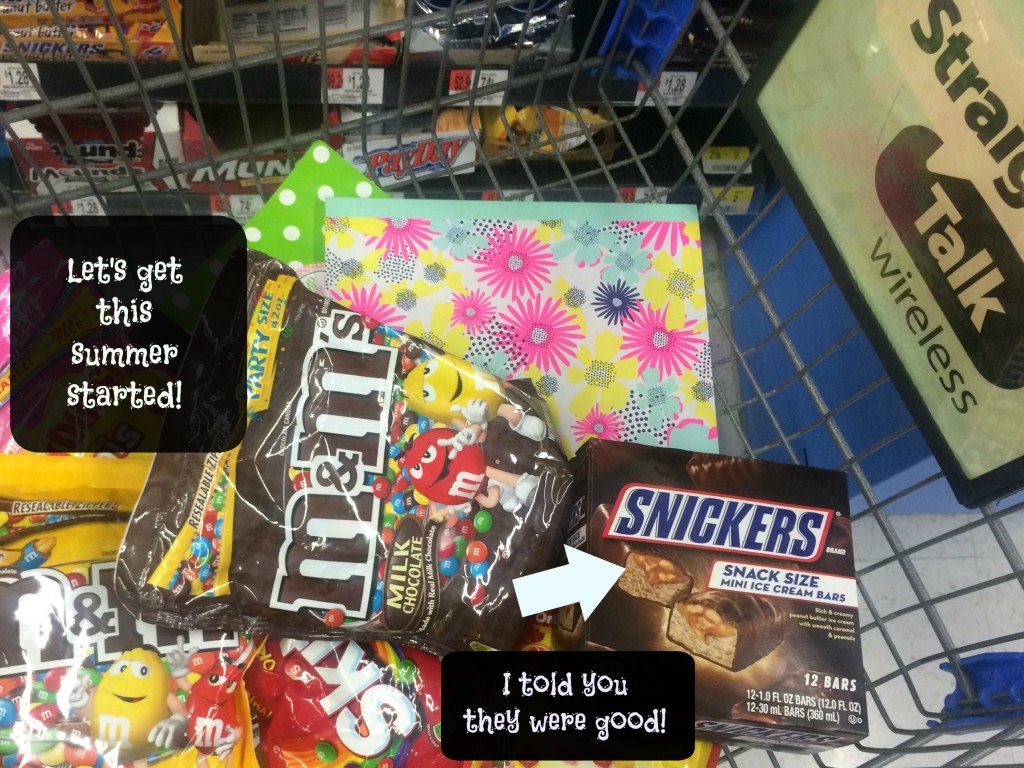
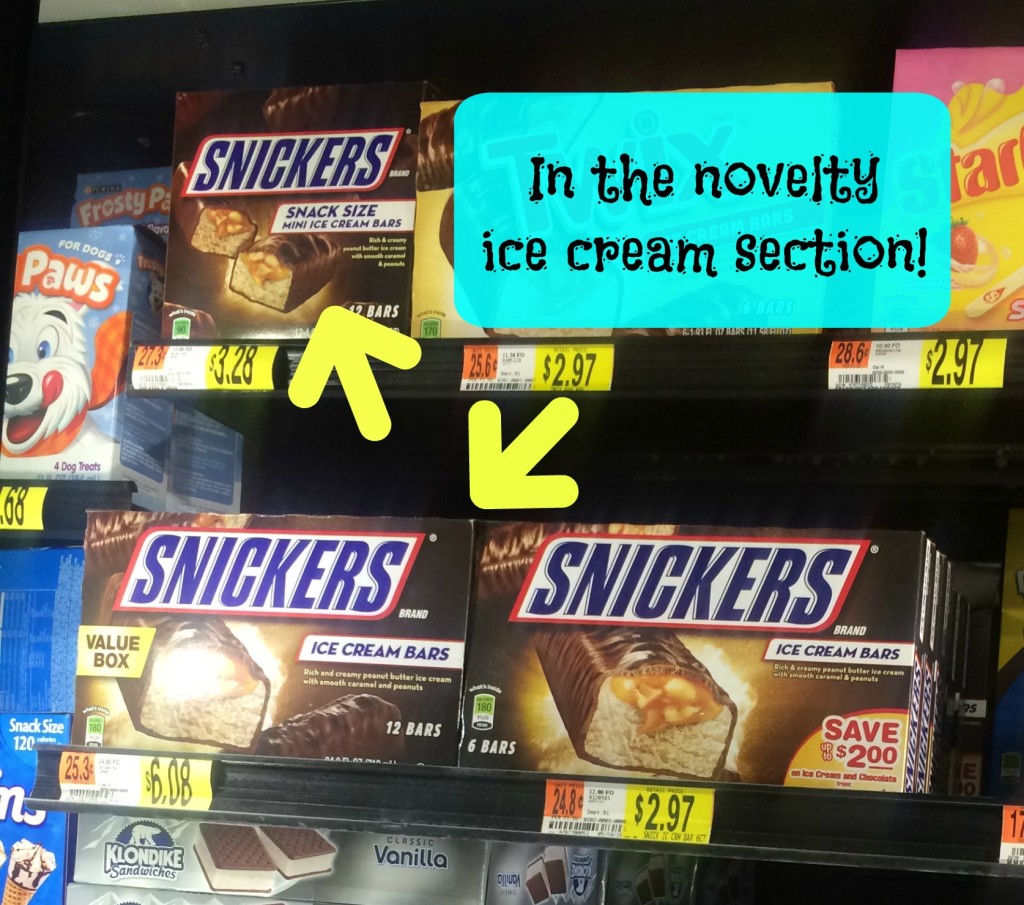
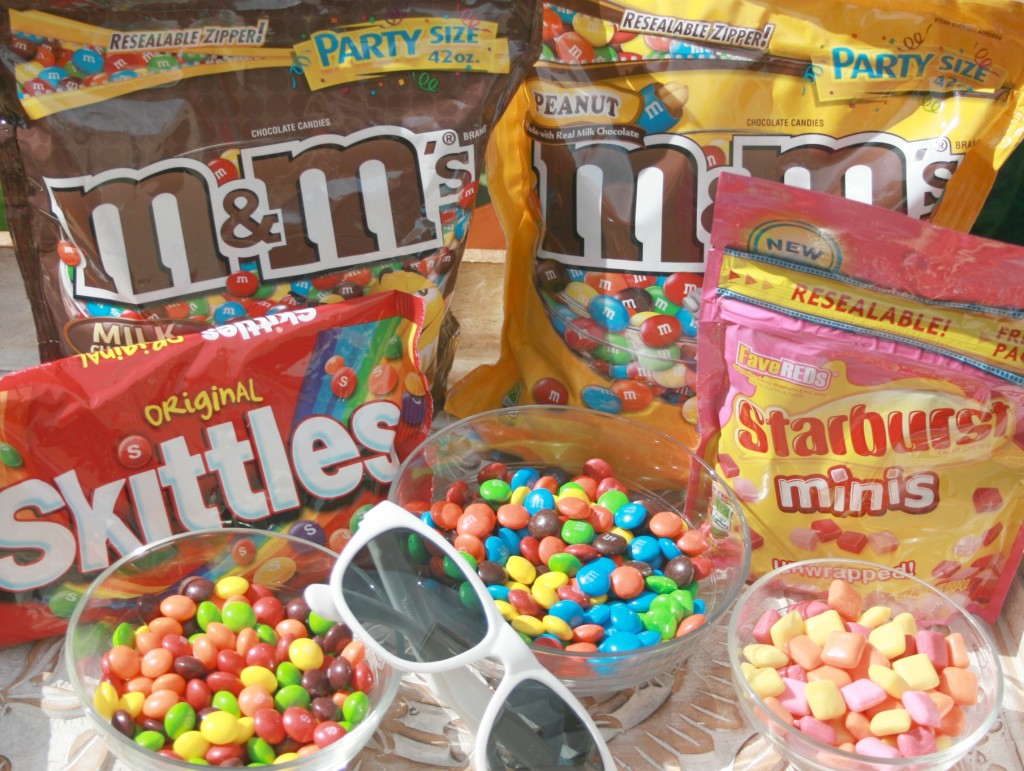
walmart-cartI ran to Walmart and bought everything we needed for our little get-together, including more of the Snickers Ice Cream Bars (I told you we loved them!), M&M’s® (Plain and Peanut), Skittles®, and Starburst® Minis Unwrapped. I found them on the novelty ice cream and candy aisles, in the grocery section.

novelty-ice-cream-section

the-candy-aisle

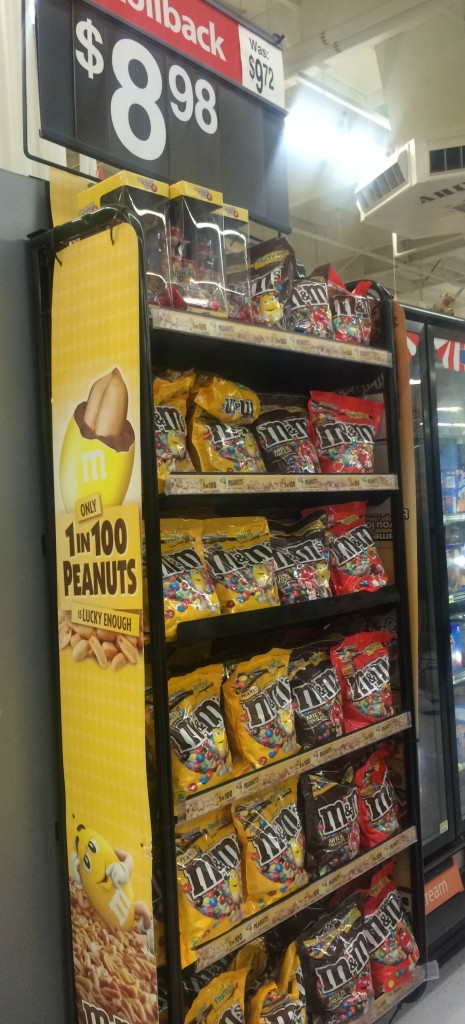
endcapThe M&M’s® were also on an endcap.  Right now you can also enter Walmart’s Share a Little Funshine Sweepstakes daily by clicking here. All of these party items are so easy to just set out on a tray so the girls can snack while they make their “Summer Bucket List” journals. 

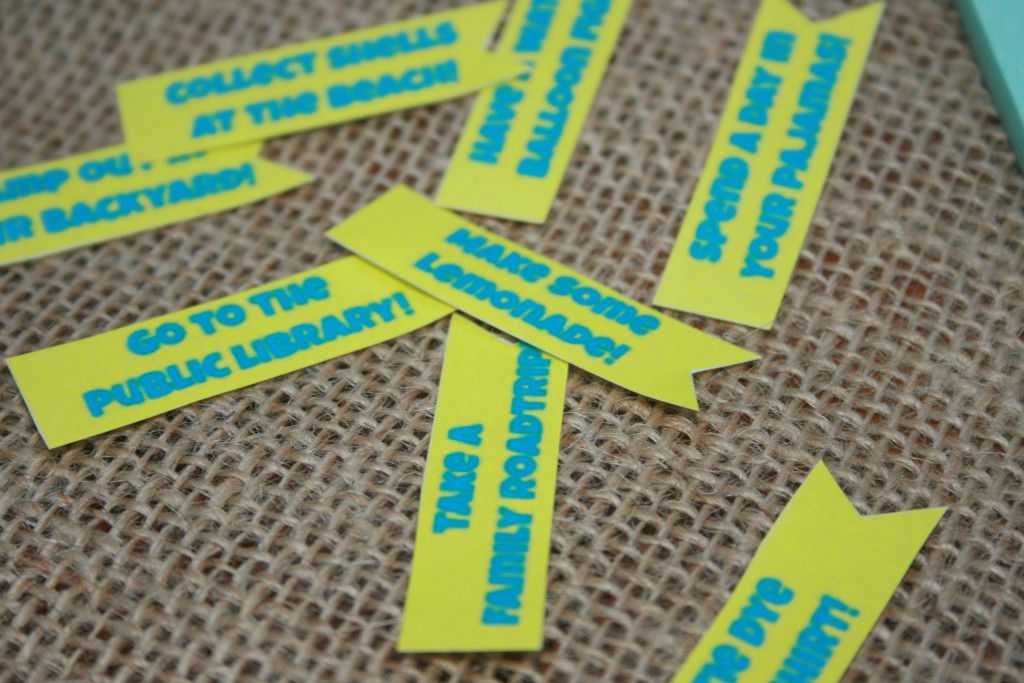
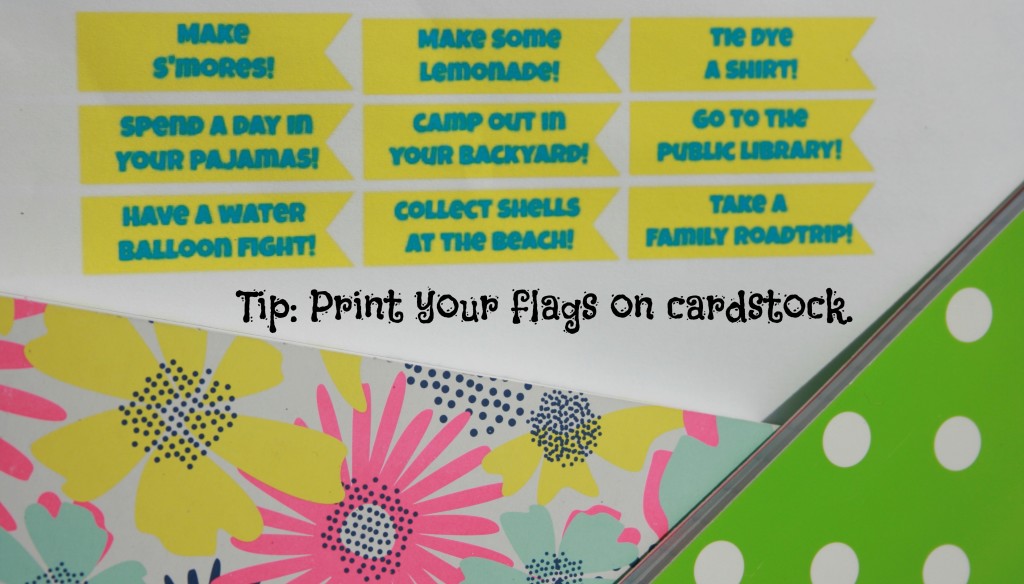
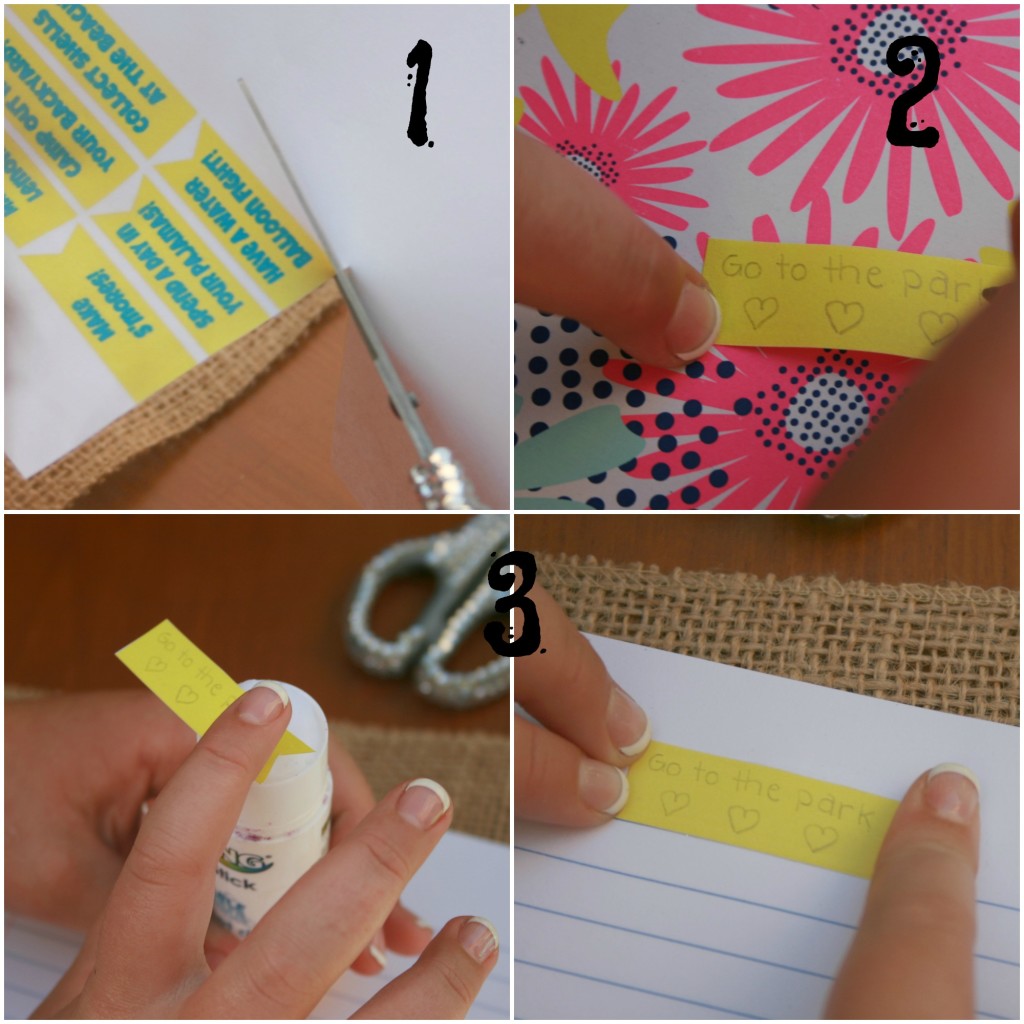
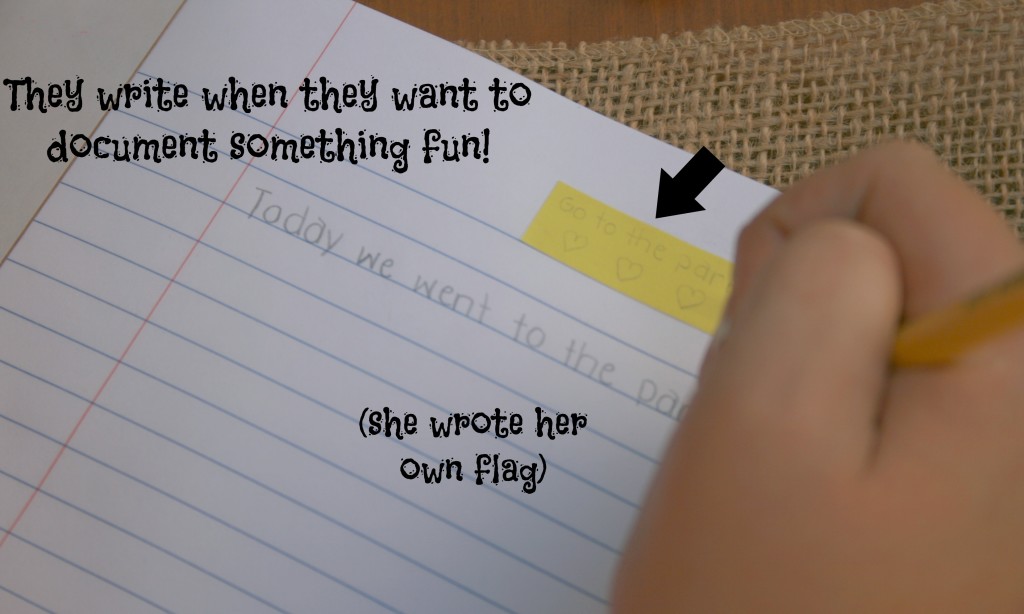
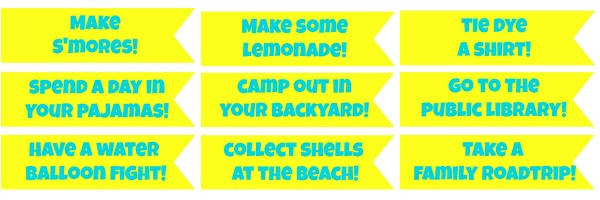
ready-for-summerSince my daughter and her friends are going into 5th grade next year, I figured this would be a great way to document their summer in a more detailed way, with some writing and illustrations or even photos on each page. It’s always good to jot down a list of things you’re hoping to do in the summer, even trying to pick some that you haven’t done before. I took 9 of our bucket list items and made them into little printable flags that can be glued into the pages of the journal. (You’ll be able to download these a little further down, as well as a set of plain flags that can be written on.)

printable-flagssupplies needed

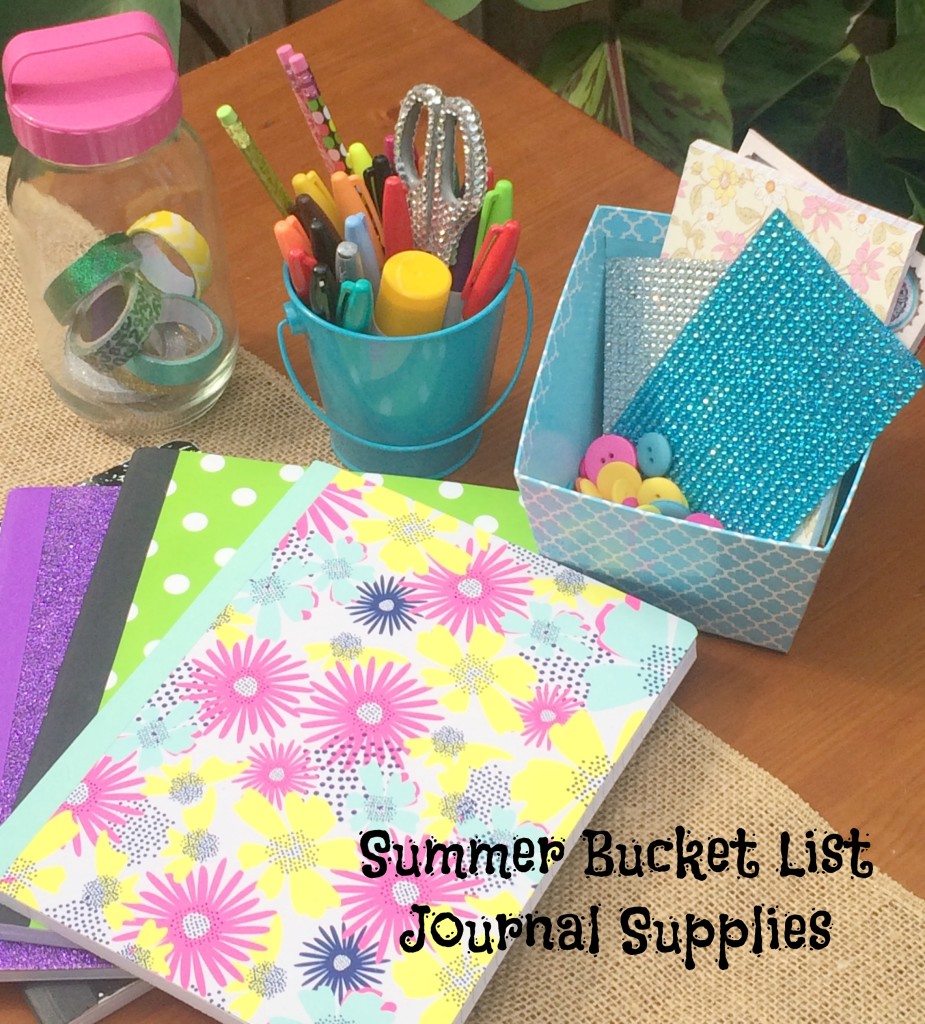
  • (1) Journal or composition book for each person (I found really cute ones with designs on the covers)
  • printable “Summer Bucket List” flags (I print on cardstock)
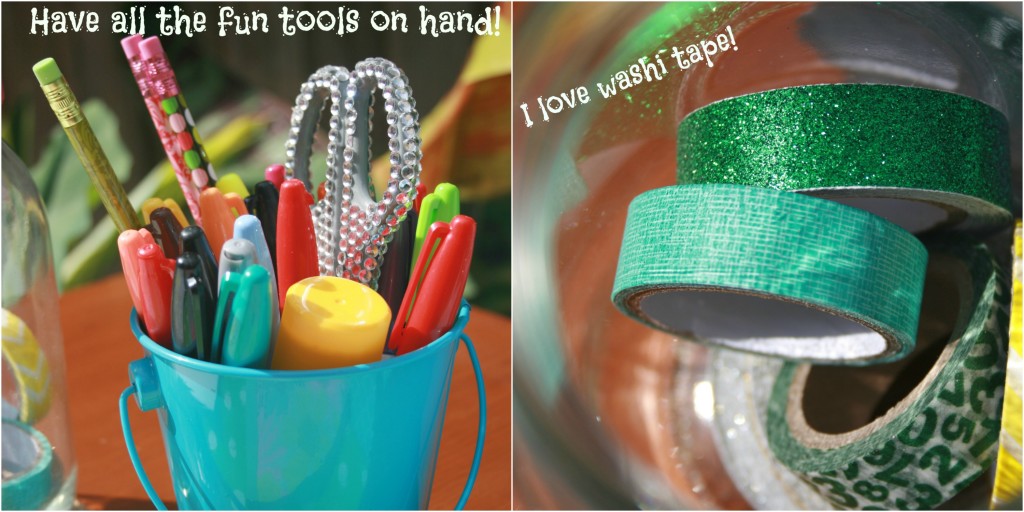
  • washi tape in a variety of colors and patterns
  • glue sticks and a hot glue gun (for use by an adult)
  • regular tape
  • colorful buttons and adhesive rhinestones
  • permanent markers in different colors
  • scissors

journal-supplies

print-on-cardstock

supplies-collageinstructions

  1. This year I found journals with different prints on them. You can also cover a traditional composition book with scrapbook paper. (not shown)
  2. Cut out both printed and plain flags.
  3. Write a “Summer Bucket List” item on each plain flag.
  4. Using a glue stick, put on flag on each page of the journal. (You can either do this all up front or as you complete each item throughout summer)
  5. Write about each wonderful event in the journal to preserve the memory. You can also illustrate or insert a photo of the activity, on each page.
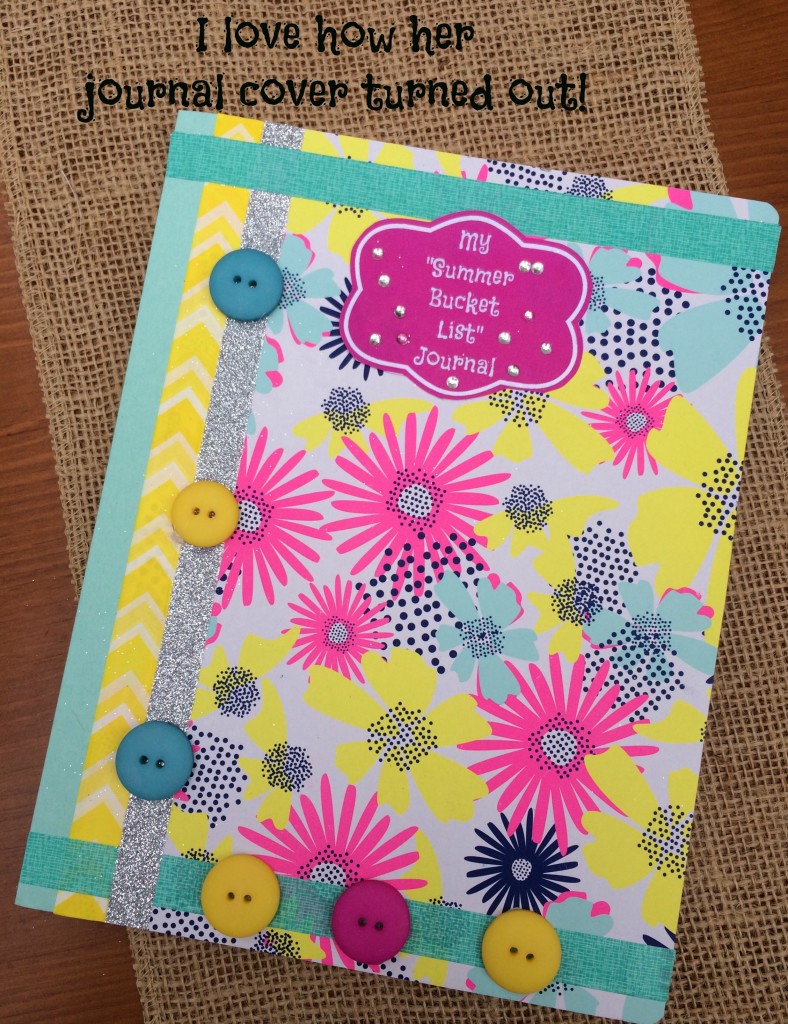
  6. For the cover of the journal, you can either leave it plain or decorate it. I set out washi tape, buttons, adhesive rhinestones, etc. for the girls to decorate their covers but it’s up to you.

first-steps

documentAs I mentioned earlier, I’ve made the “Summer Bucket List” flags in both printed and plain versions that you can download to make your own journals. I highly recommend printing them on cardstock. It just holds up better.

bucket-list-flags

This is where you can download the printedflags and the plainflags to use with your own journals!

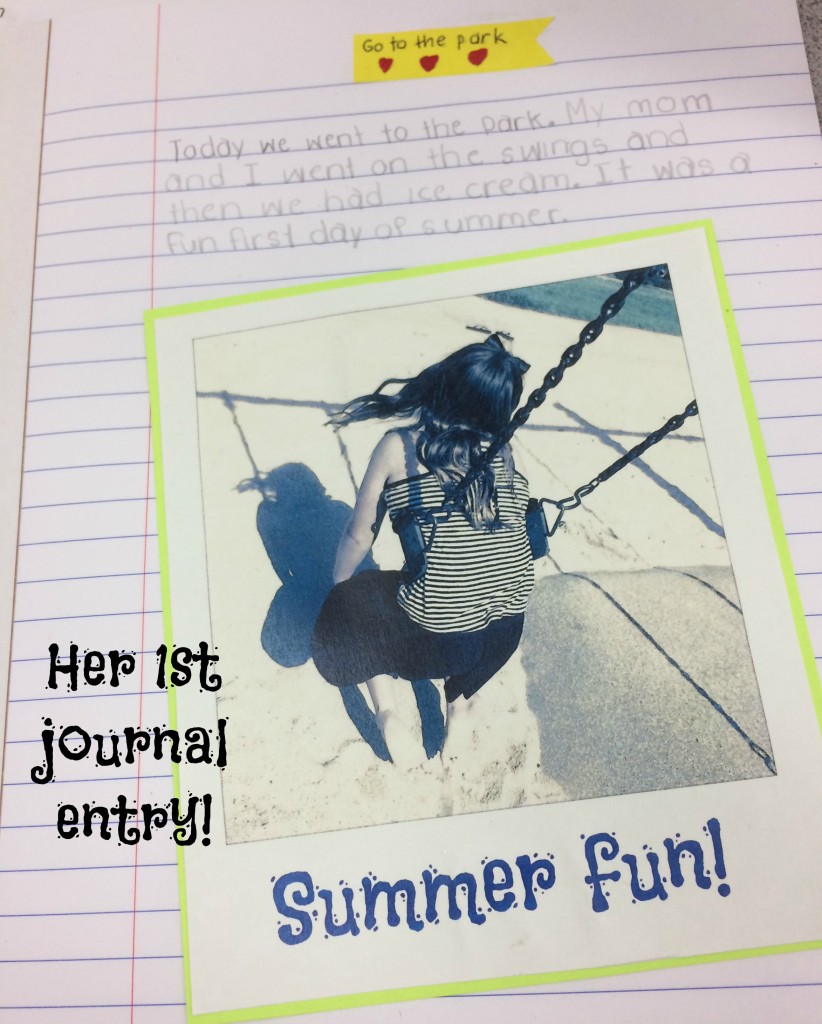
journal-cover-titledLook how cute her cover turned out! I helped glue on the buttons with my hot glue gun. I also love her first journal entry of the summer. We just printed out a picture to go with it and glued it on the page. I cannot wait to read my daughter’s  journal at the end of summer. I just know it’s going to be filled with a lot of fun memories. For now, I’m ready to get this summer started though!

first-entry

Do YOU have any special beginning-of-summer traditions with your child(ren)? What are YOUR big plans for the summer?

Share a Little Funshine Sweepstakeshttps://gleam.io/b02dt/share-a-little-funshine-swe…” rel=”nofollow”>Share a Little Funshine Sweepstakeshttps://js.gleam.io/e.js” async=”true”>

Don’t forget to go and enter the Share a Little Fun Sweepstakes above! Also, for more fun, download the Blippar app from your Apple or Android store to scan your package and receive exclusive content.

A Pixie-Dusted Playdate to Celebrate the New “Tinker Bell and the Legend of the NeverBeast” Movie! An Afternoon of Girls, Curls, Fairy Catchers & Fun!

This shop has been compensated by Collective Bias, Inc. and its advertiser. All opinions are mine alone. #TinkandNeverBeast #CollectiveBias

Pixie-dusted-playdate

In our home,  just the mere mention of a new Tinker Bell movie coming out on DVD creates a level of excitement that’s off the charts! It could be our love for Disney movies. It could be my own personal connection with Peter Pan (since I’m “Wendy”). It could be that I believe in fairies! Whatever the case, we were ecstatic when we heard that “Tinker Bell and the Legend of NeverBeast” was coming on DVD and in celebration, I decided to throw a Pixie-Dusted Playdate for my daughter and a few of her friends, so they could all watch it together.

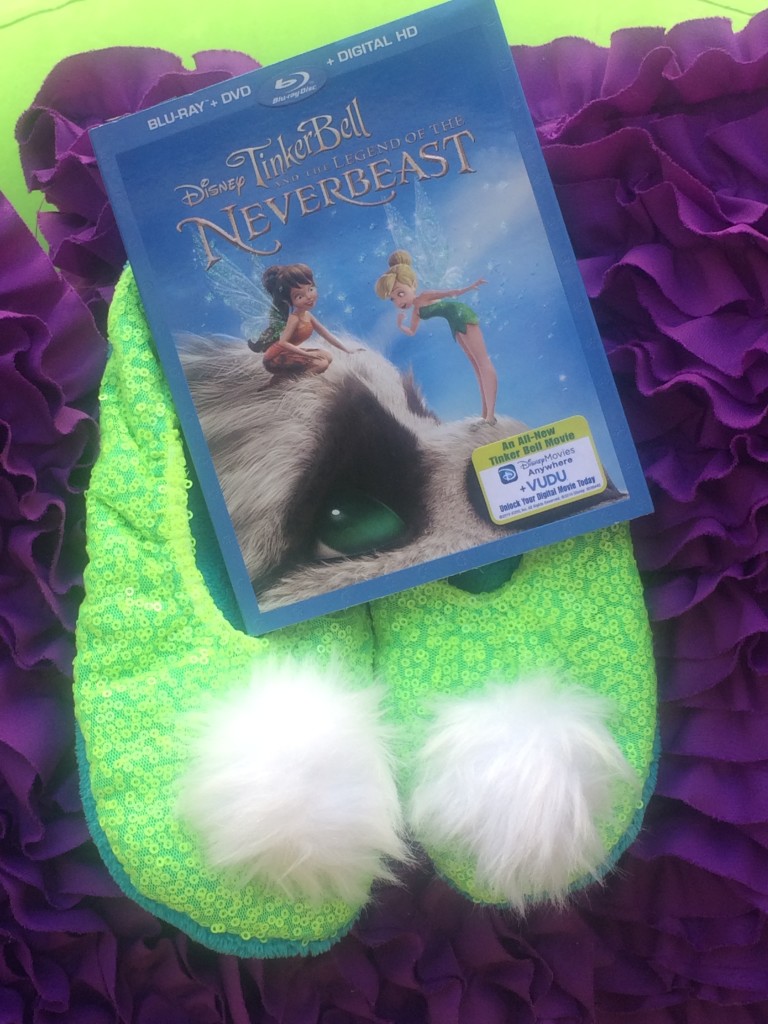
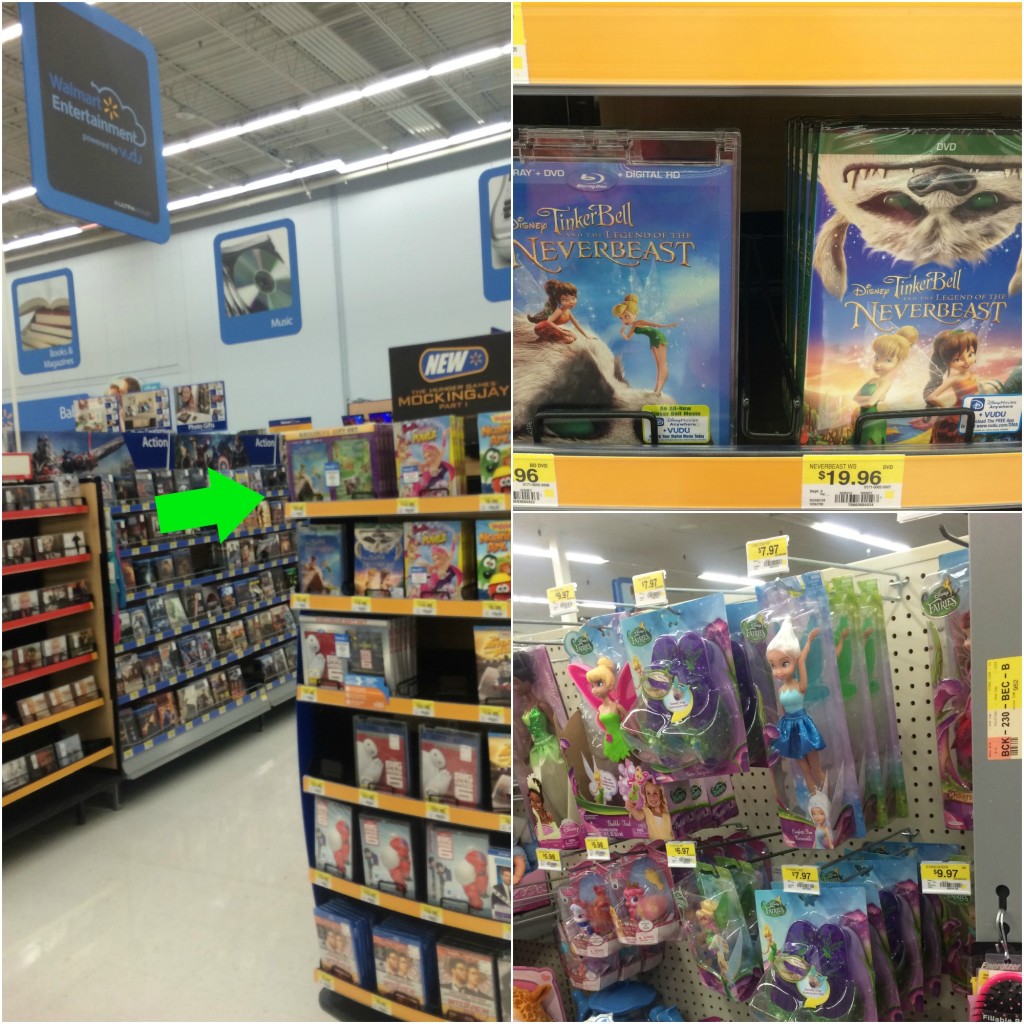
I-do-believeAs soon as March 3 arrived and the DVD released, I practically flew right over to Walmart to grab a copy for us! Oh and these slipper socks were a “need” also!

tinkerbell-and-the-legend-of-the-neverbeast-dvdI fell in love with these sparkly green slipper socks so I bought some pom poms and put them on with my glue gun! How simple is that? It was like Instant Tinker Bell! 

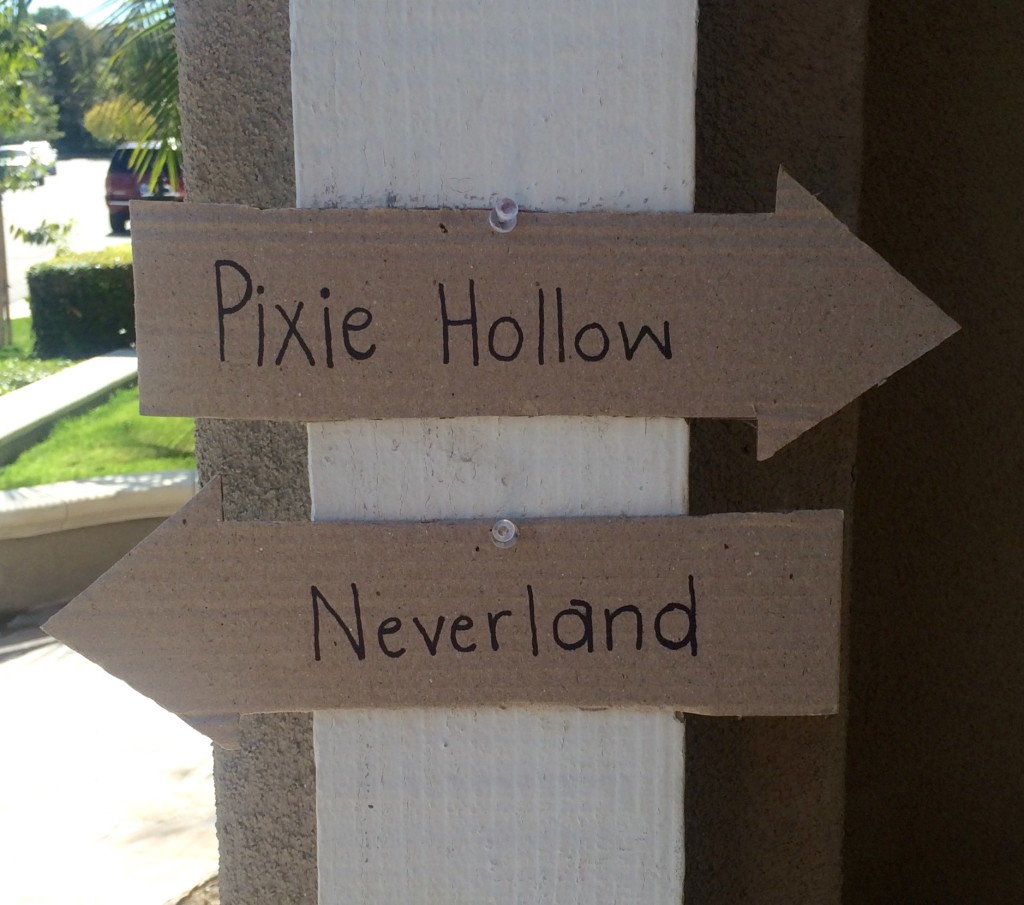
For our Pixie-Dusted Playdate, I wasn’t sure where exactly to begin the planning because I had SO many ideas going through my head, so I hit up Pinterest for ideas and created a Fairy Party board. There are tons and tons of ideas for food, crafts, games and more! I wanted to gear ours toward the pre-tween age since my daughter is 9 and her friends are 9-11 years old. I know that the girls at that age are still imaginative but I also know that nowadays I am also kind of competing with such things the girls’ iPods, cell phones, and their Instagram accounts. I just wanted to have some fun things for them to do that would keep their attention and interest and not be “too young” for them. So, I had an idea. I gave up my (usual) total control of planning this playdate alone and let my daughter help! I asked her to brainstorm some ideas she thought her friends would be most interested in doing. She was so helpful and was there to assist with the set up, gathering things we needed and making samples. Look how cute these simple signs turned out that she made, too!

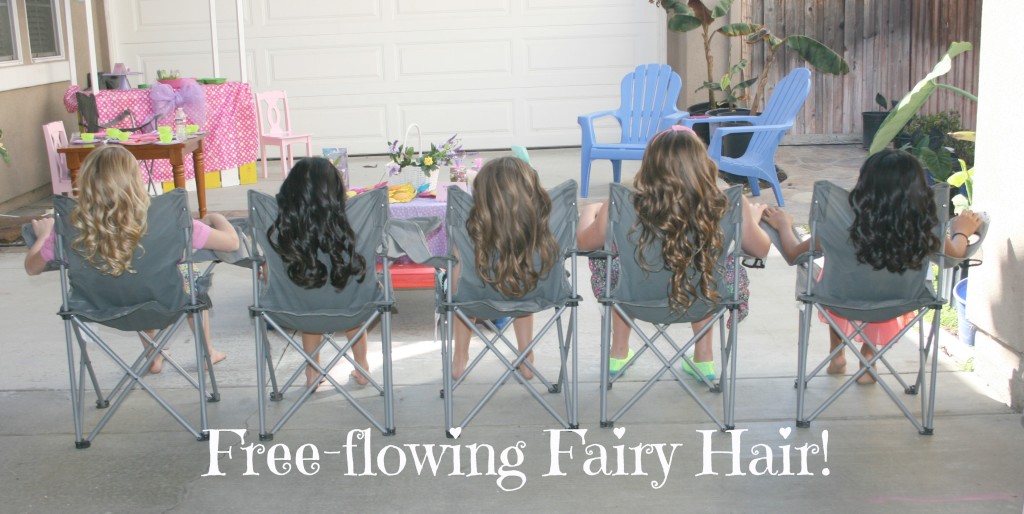
neverland-and-pixie-hollow-signsI asked the guests to arrive at our Pixie-Dusted Playdate dressed “springy” attire. As a special surprise, I hired a hair stylist to do the girls’ hair. I know they love that sort of thing and why not make them feel extra pretty?  I love that Tinker Bell wears a bun but I envisioned my daughter and her friends with more of a free-flowing fairy hair look.  While they took turns getting their hair done by the stylist, the others were working on one of two crafts that we’d planned.

more-fairy-friends

free-flowing-fairy-hair

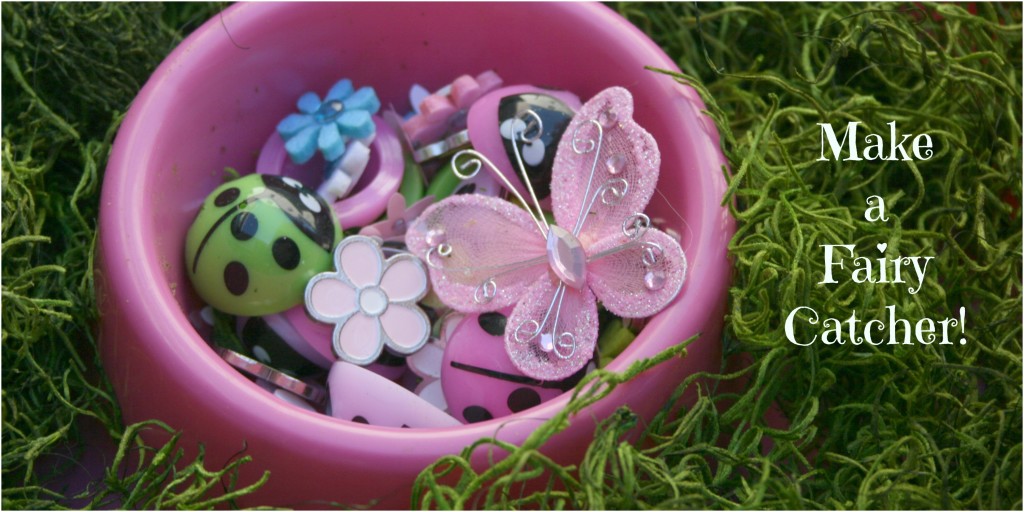
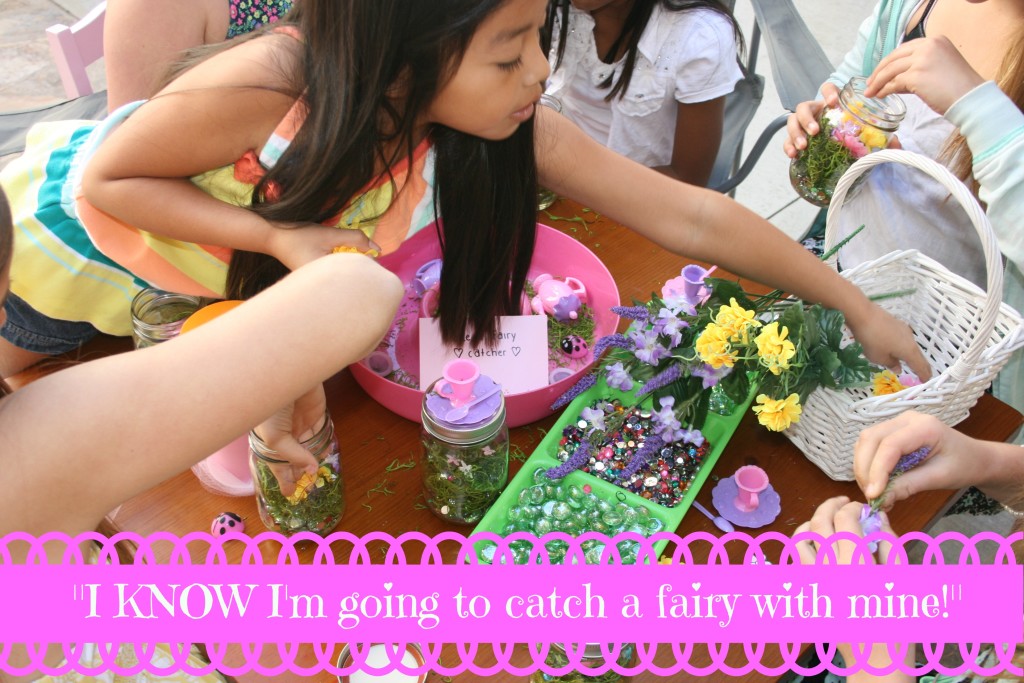
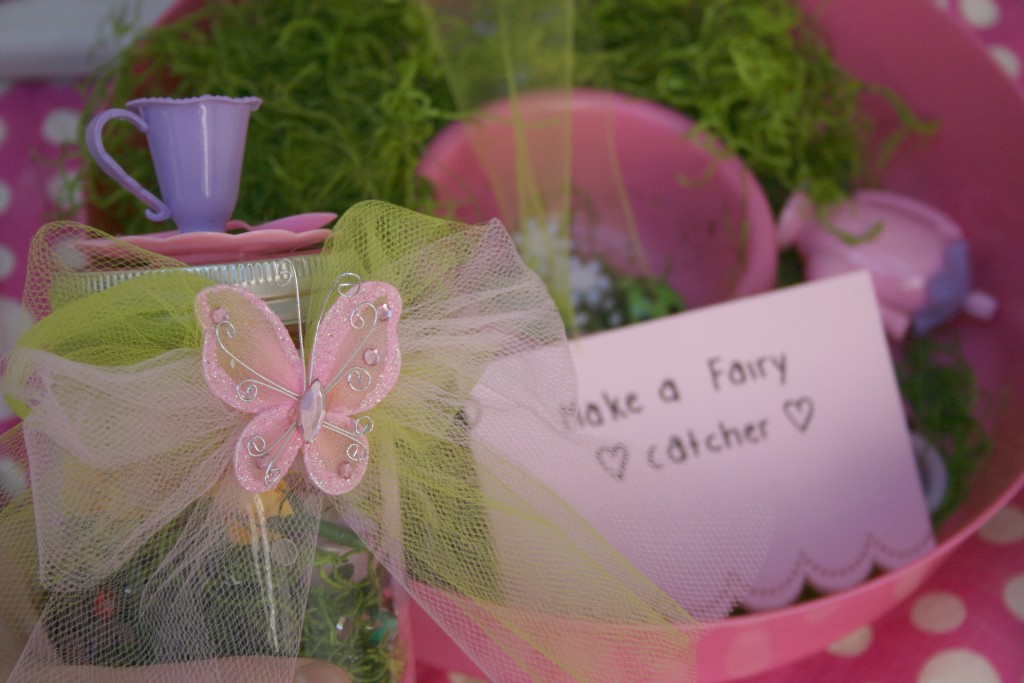
fun-with-craftsmake-a-fairy-catcherOur first craft was “Make a Fairy Catcher”.

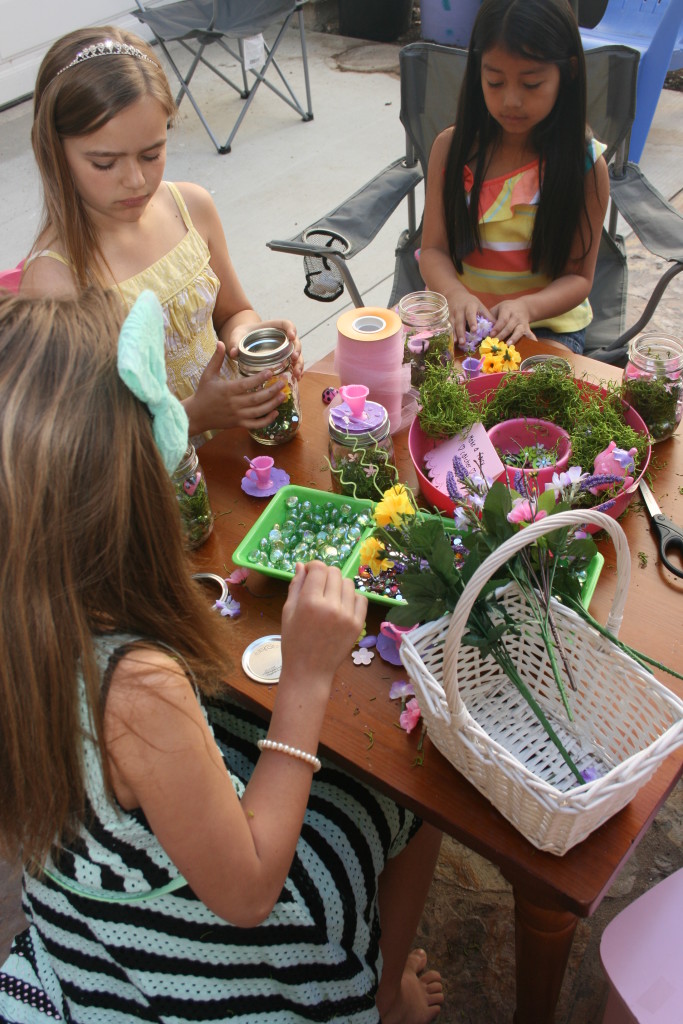
The girls were excited when they saw the area set up and expressed how cute they thought it was which really made me happy to know I’d picked out something age-appropriate. They really took their time to make each one just they way they liked it. Each one was so cute and perfect to catch a fairy with!

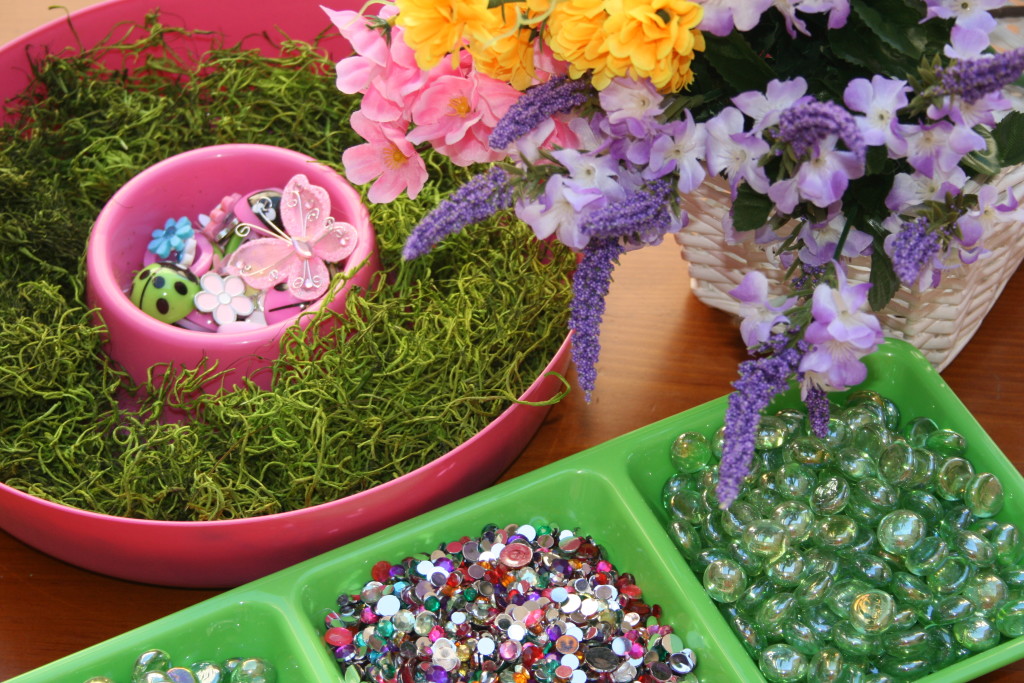
fairy-catcher-goodiesHere’s what you’ll need to make your own “Fairy Catchers”:

  • Mason jars with tops, 1 per guest
  • “Magic” stones
  • Spanish moss
  • a variety of silk flowers
  • multi-colored “Magical” gems
  • small trinkets, such as ladybugs, butterflies, and paper flowers, to put inside
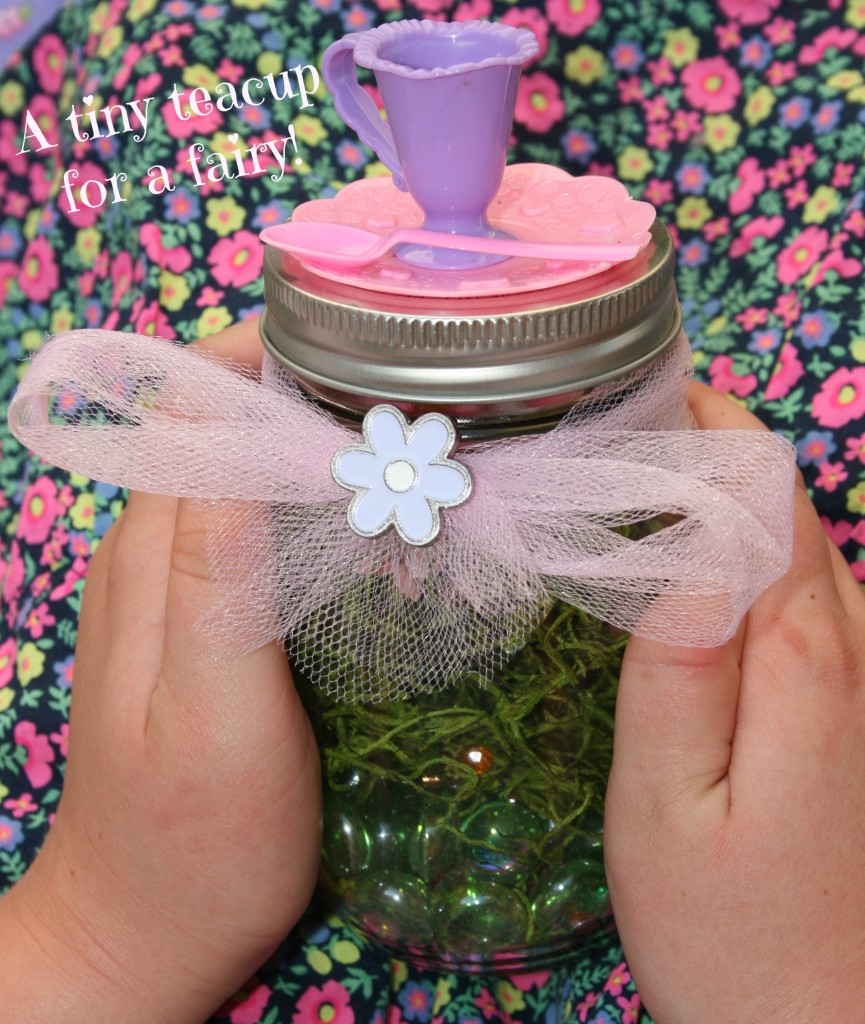
  • teeny, tiny teacups for the lid of the Mason jar
  • a few different colors of tulle
  • a hot glue gun

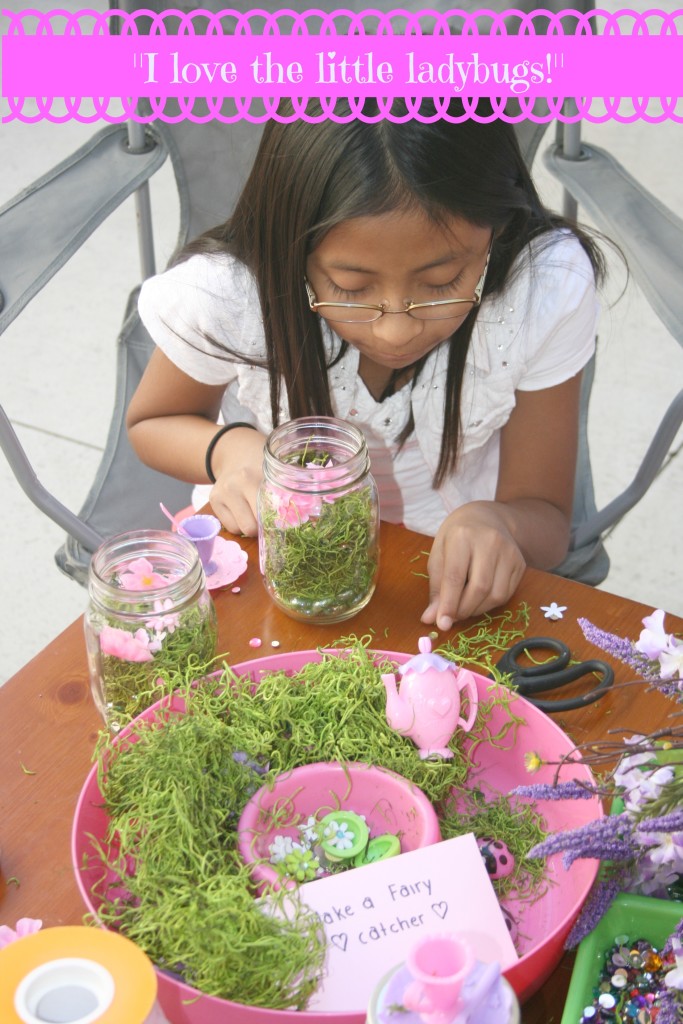
I-love-the-little-ladybugsInstructions for “Fairy Catchers”:

  1. Choose a Mason jar and have the guest write their name on the bottom of the jar with a permanent marker.
  2. Remove the lid from the jar and put some “magic” stones in the bottom of the jar.
  3. Place some Spanish moss on top of the “magic” stones and fill to your liking.
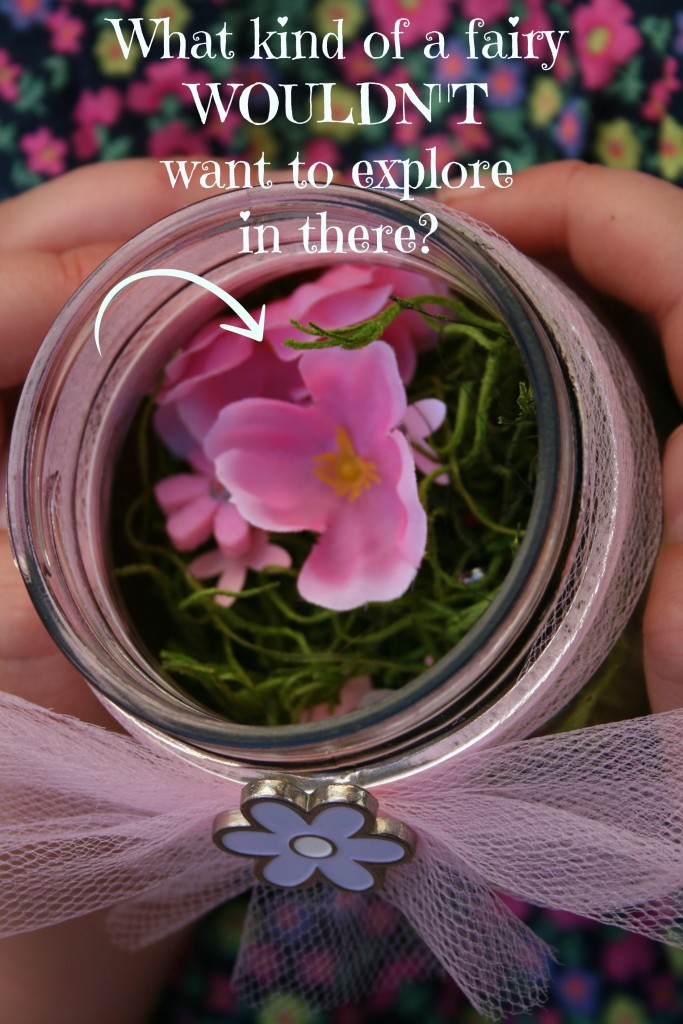
  4. Cut some silk flowers off of the stick and add to the jar. Using multiple colors makes it even prettier!
  5. Grab a handful of “Magical” gems and toss inside.
  6. Add some small trinkets, such as ladybugs, butterflies, or paper flowers, to your catcher, as well.
  7. Glue a small teacup to the top of the Mason Jar, using a hot glue gun. (Parents should help with this part.)
  8. After the glue is dry, replace the lid onto the Mason Jar, until you’re ready to use it.
  9. Choose some tulle to wrap around your jar, tie a bow with it, use a little bit of hot glue to secure it to the glass, and finish off with an embellishment of your choice. (We used metal flowers.)
  10. Now your “Fairy Catcher” is ready to use.

creating-their-own-fairy-catchers

I-know-Im-going-to-catch-one

butterfly

a-tiny-teacup

what-kind-of-a-fairyI loved the way that each girl’s fairy catcher turned out. I also loved the little conversations going on while they were working on them.

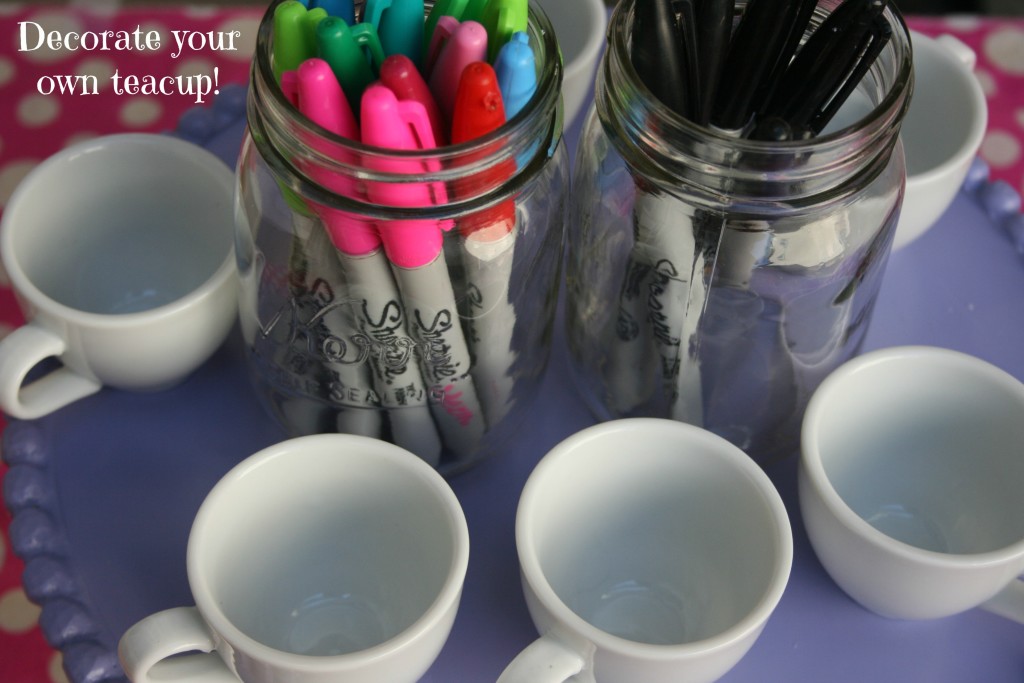
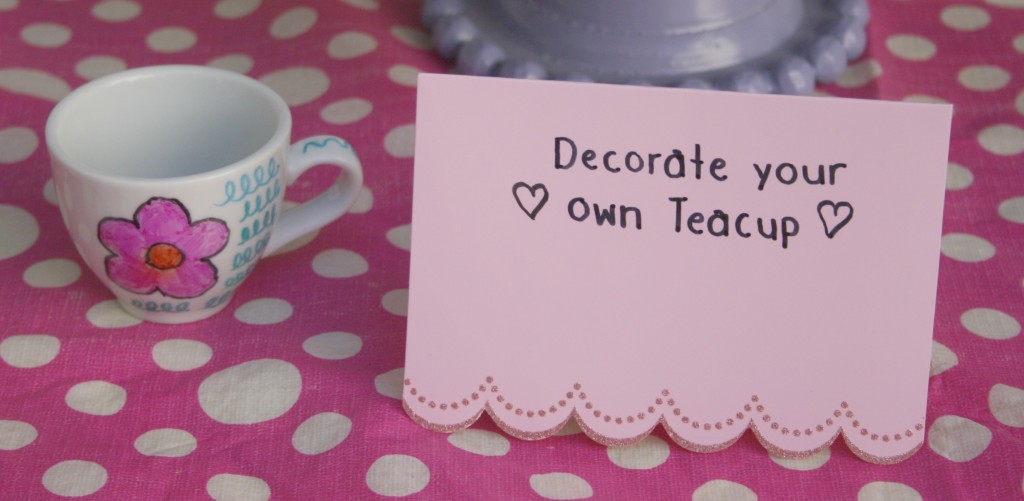
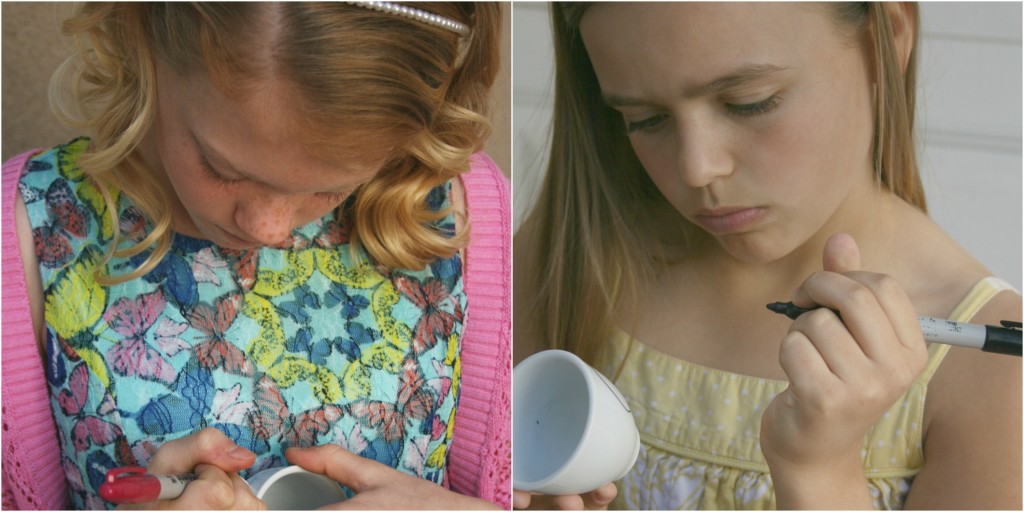
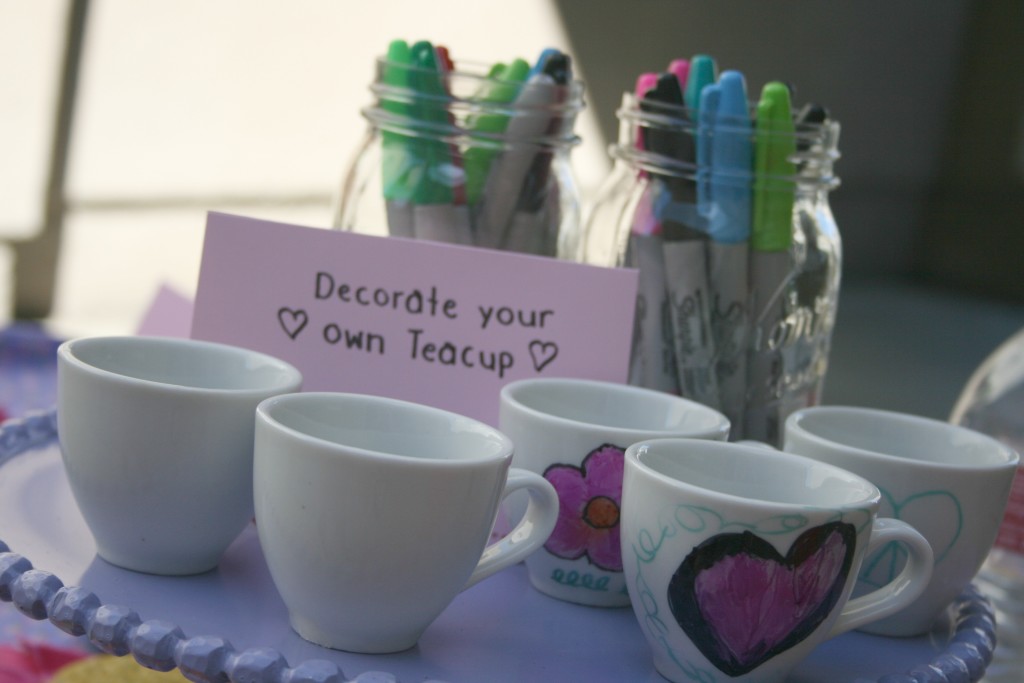
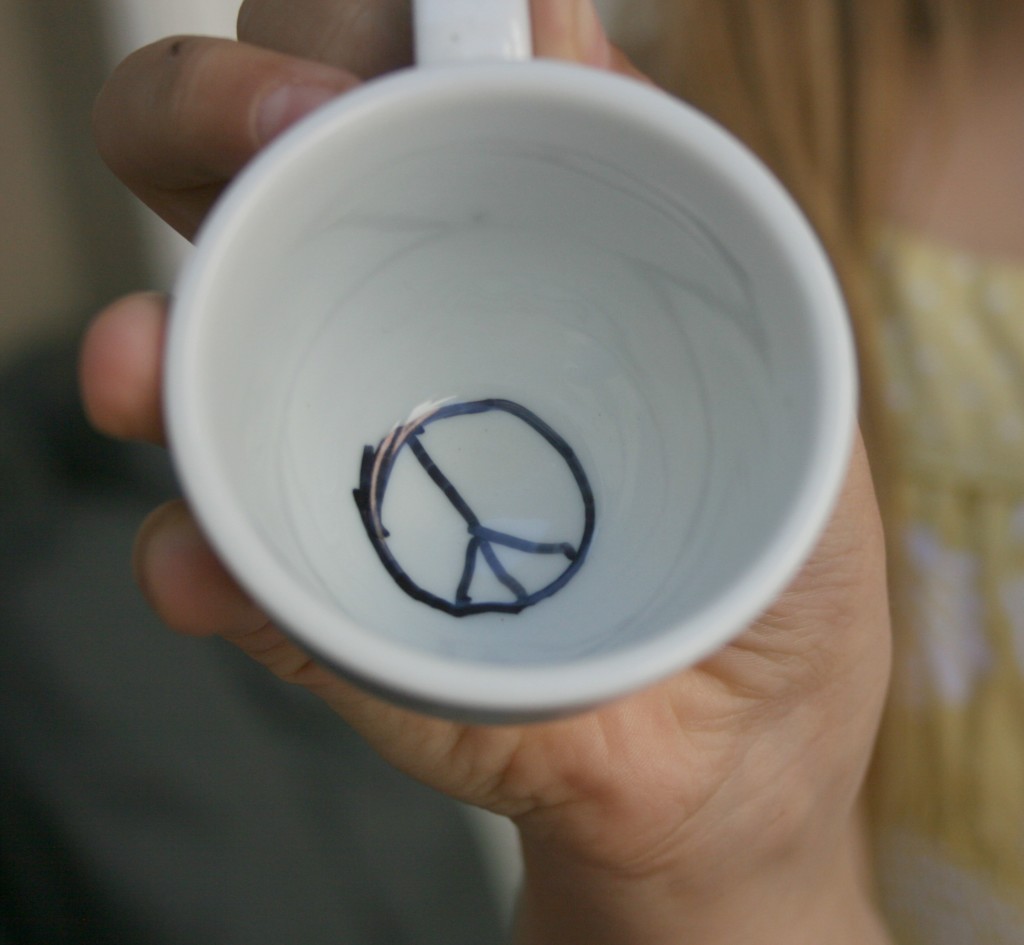
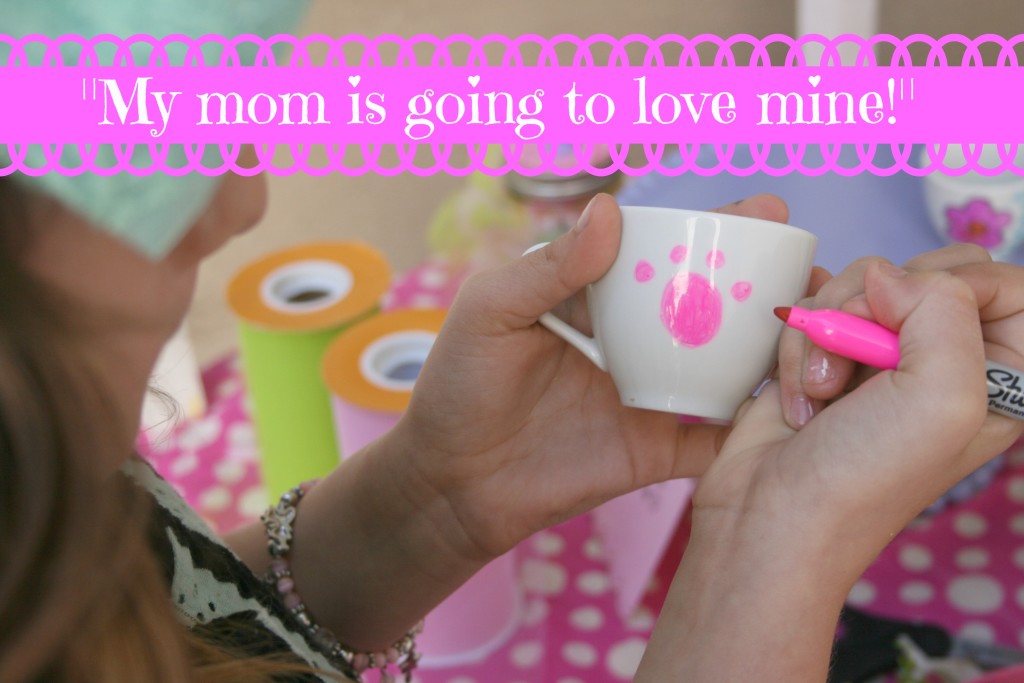
decorate-1Our 2nd craft was also something that my daughter came up with. It was a “Decorate Your Own Teacup” craft. It was so simple to set up and the girls needed no help with this. (other than me baking the cups in the oven)

Here’s what you’ll need to set up your own “Decorate a teacup” station:

  • 1 white ceramic teacup for each guest, prewashed (coffee mugs would work too)
  • 1 set of permanent markers in a variety of colors
  • 1 package of baby wipes
  • 1 roll of paper towels
  • 1 sample cup for others to see, if your guests are on the younger side.

decorate-your-ownInstructions for decorating the teacups:

  1. Have each guest select a cup to decorate.
  2. Start by having them write their name or initials on the bottom of the cup.
  3. Encourage them to make their designs colorful and decorate all the way around the cup and even inside the cup.
  4. Mistakes can be easily “erased” (prior to baking) using a baby wipe. Dry thoroughly with a paper towel prior to resuming the decorating with pens.
  5. Bake cups on a cookie sheet at 350 degrees for 30 minutes.
  6. Remove cups from oven and allow them to cool down before distributing them to guests.

*Please inform guests that cups should be handwashed and not placed in the dishwasher.

concentrating


cups

inside-of-cup

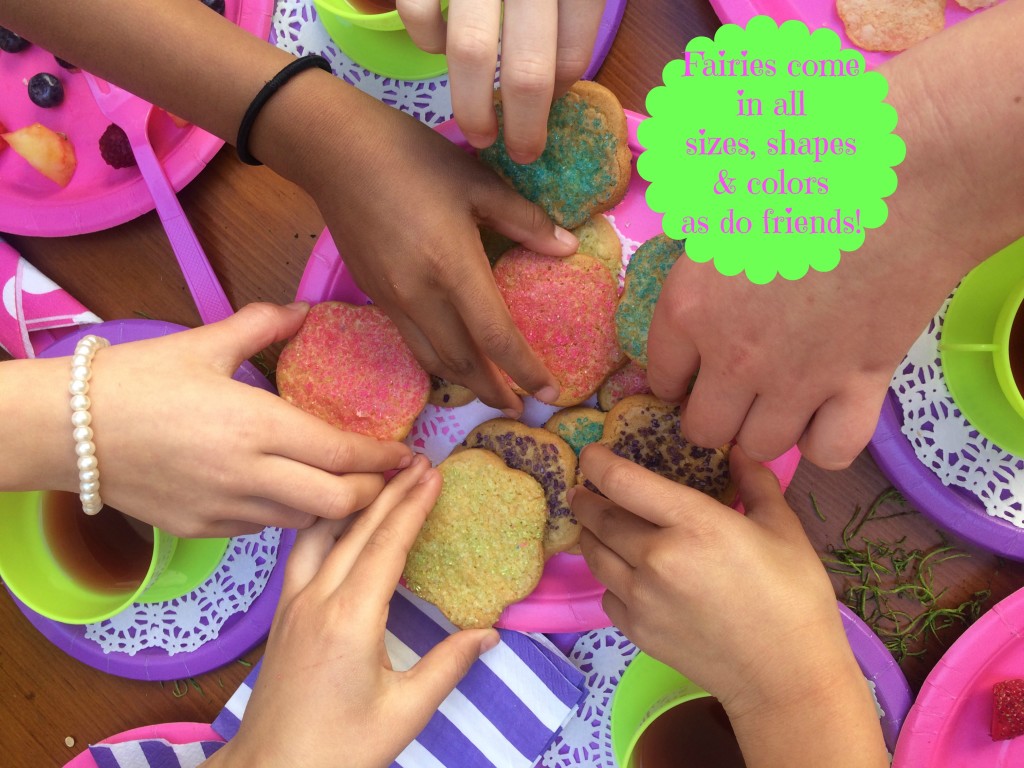
my-mom-is-going-to-love-mineAfter all of the girls were finished having their hair done and they’d all done the crafts, they took a break to have some tea and fairy cookies while they finally got to watch the highly anticipated “Tinker Bell and the Legend of the NeverBeast” movie. There were giggles and there were tears, but overall, they loved it!

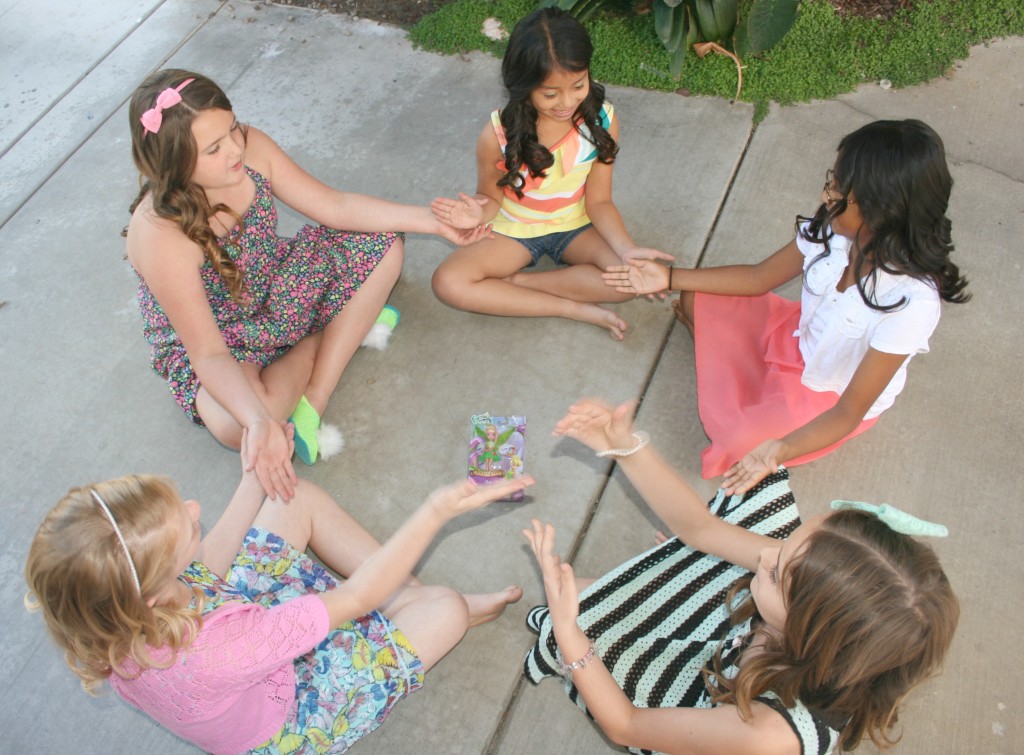
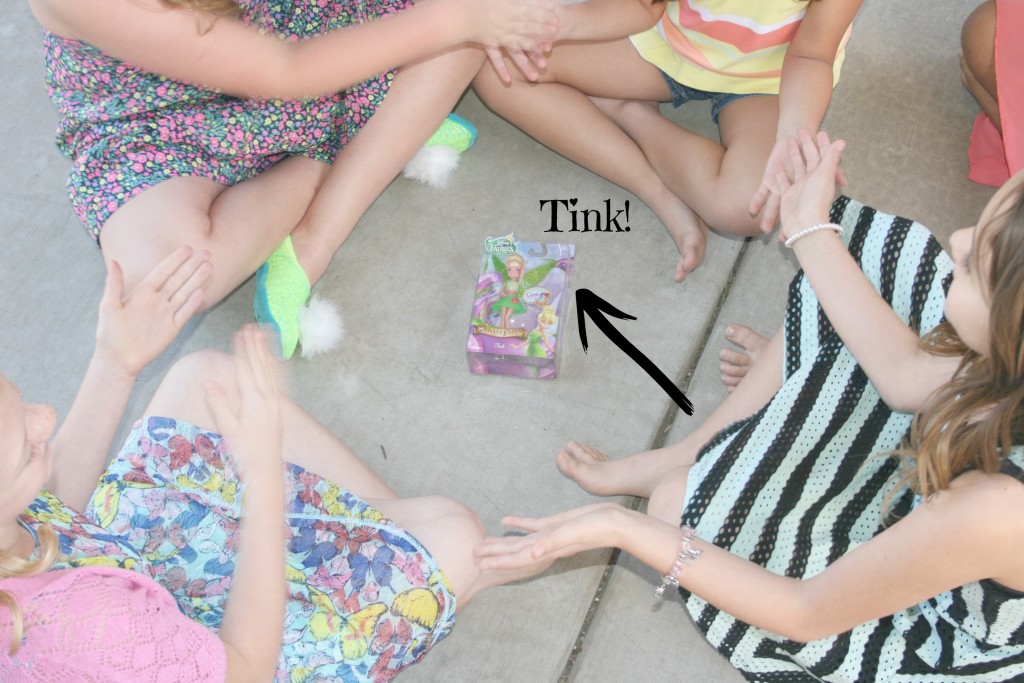
fairies-comeAfter the movie was over, the girls sat down outside together in a circle to play “Down By the Bank”! Before each round began, they’d place a fairy prize in the middle that was up for grabs! I don’t know if they realized that I’d purchased a fairy for each girl or not because regardless, they were going to each be going home with one!

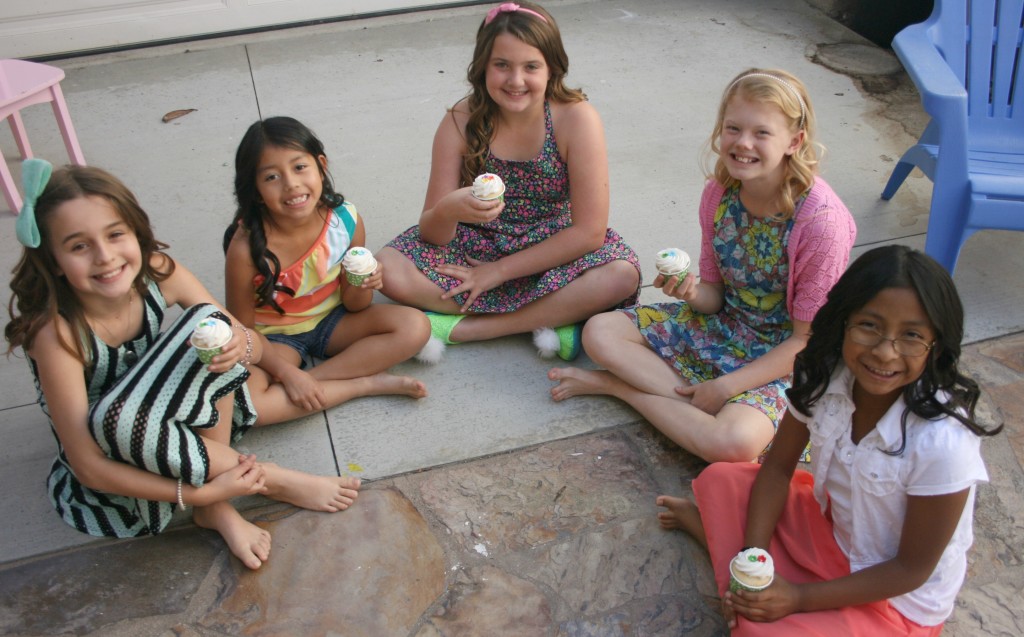
downtink-prizeAfter they played a few rounds, it was time for cupcakes! We like to save the best for last! During our party planning, my daughter was the one who planned what kind of cupcakes to serve. I ordered a dozen simple, white cake/white frosting cupcakes from the store bakery and she topped them with a few fondant flowers, and stuck them into a polka dotted cupcake liner all on her own! So simple and inexpensive but they looked elegant!

how-to-transform-cupcakesTransforming plain cupcakes into elegant-looking ones is as easy as 1-2-3! 

cupcakes-all-around

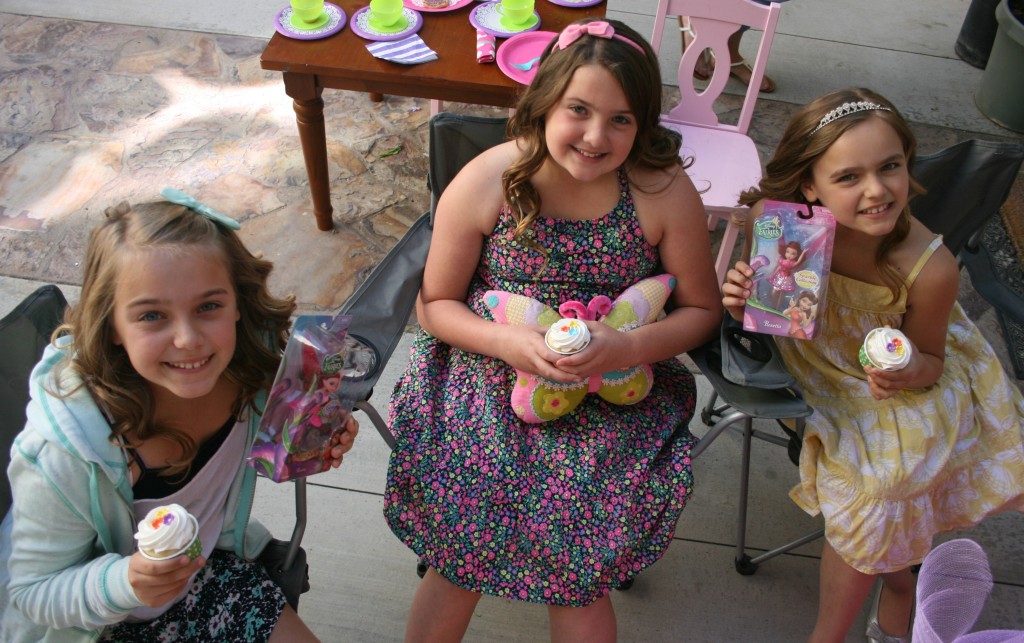
cupcakes-for-3Cupcakes and fairies in hand! I’d say life is good for these girls! 

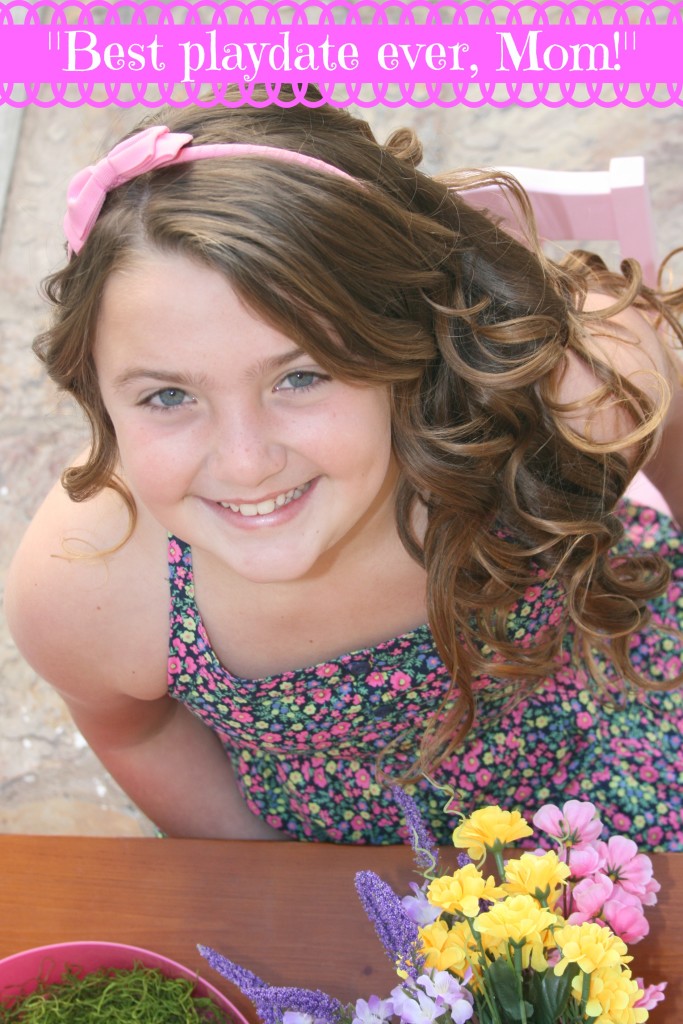
After all of the guests left and we were just sitting down taking a break, I asked my daughter if she had fun at her Pixie-Dusted Playdate that afternoon? I adore her response!

best-playdate-everHave YOU seen “Tinker Bell and the Legend of then NeverBeast” yet? If not, what are you waiting for?

We found the DVD and the adorable fairy dolls at our local Walmart in the entertainment section and in the toy section! We also found everything we needed for our “Pixie-dusted playdate” there! It was a fun afternoon!

walmart-aisles

Kids Can Have Fun in the Kitchen With Foodstirs’ Valentine’s Heart Tart Kit!

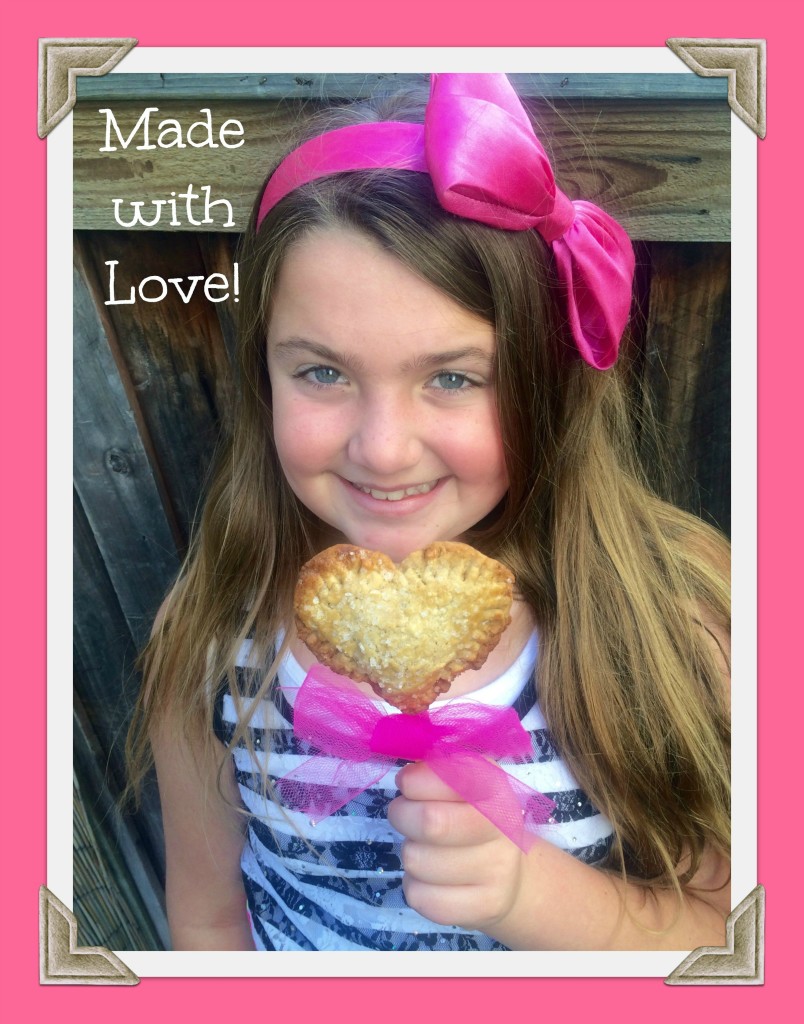
made-with-loveWe recently received an adorable box on our doorstep. It was this awesome Valentine’s Heart Tart Kit from Foodstirs. Have you heard of them? Foodstirs is a creative cooking experience for families that empowers kids to learn how to make homemade food. They offer uniquely designed food crafting kits filled with high-quality ingredients, recipes and specialty tools, delivered to your door. The culinary projects in theirs kits fill curious little chefs with confidence and “know-how” as they use valuable skills such as reading, counting and experimenting to create a tasty treat or meal to share.
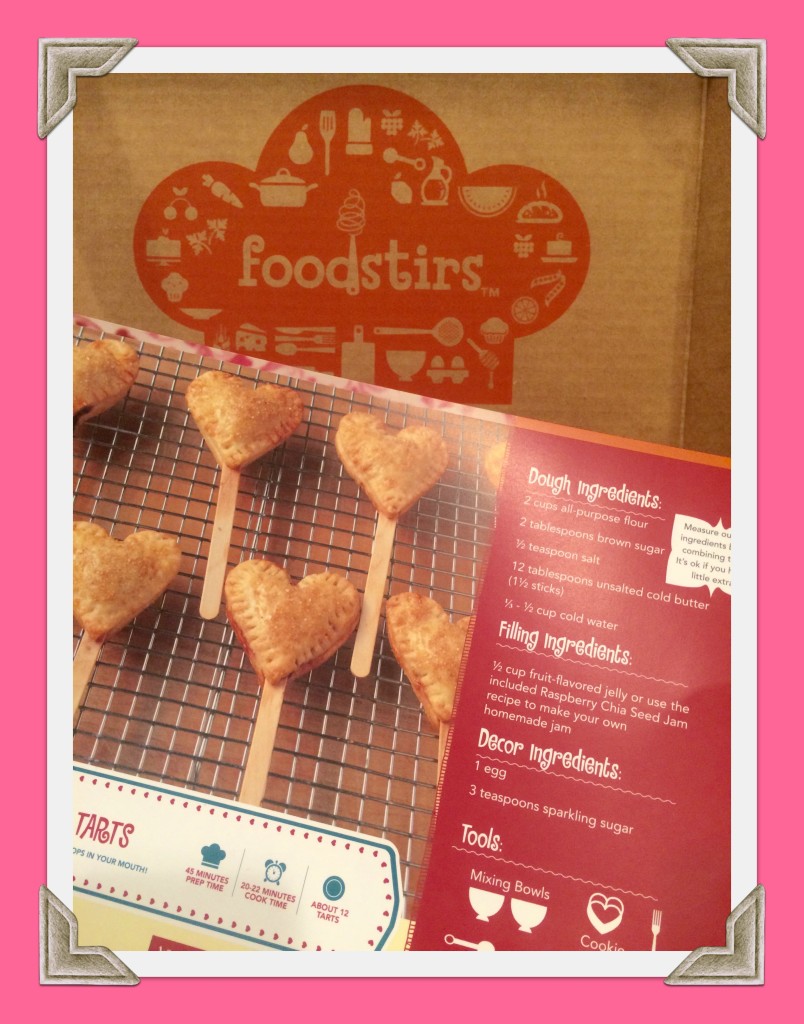
foodstirs-kit I love to spend time in the kitchen with Emily. She’s always been eager to help me during cooking and baking.  I want her to know how to cook. It’s such a valuable life skill. We decided to use the kit to make a batch of early Valentine’s Heart Tarts for some of her friends. The packaging is really cute and the only things you really need to provide are the refrigerated ingredients.

Each Valentine’s Heart Tart Kit contains:

  • Easy-to-follow Heart Tart recipe card (makes 12)
  • Ingredients
  • Heart cookie cutter
  • Popsicle sticks
  • Gift bags
  • Gift tags
  • Twine
  • Turkey and Cheese Tart recipe card
  • Bonus recipe: Homemade Jam!

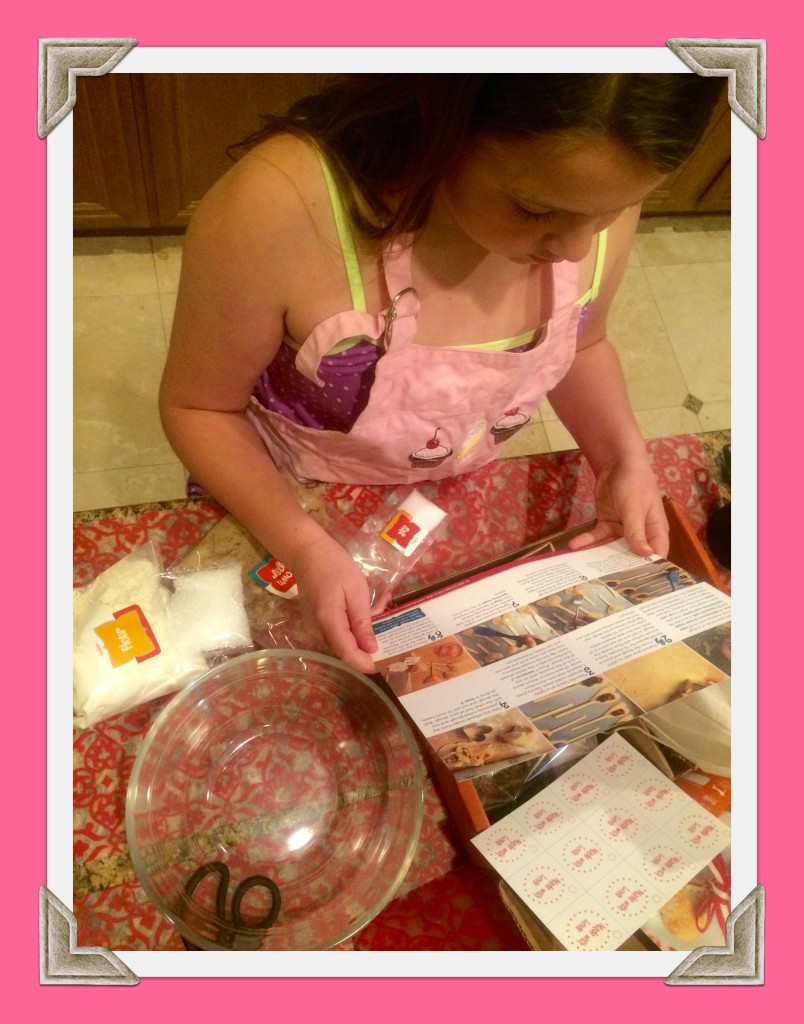
The recipe cards included in each kit have illustrations and lists of what kids need to gather prior to starting their recipe. This is so handy. It’s much easier and more organized when you get all of the things you’re going to need, before starting.

reading-the-directionsI stood by and watched Emily follow the instructions, step by step. She emphasized her plan of doing most of the work for these, all by herself. I just told her I was standing by for emotional support. (I also assisted with cutting the butter into the recipe though)

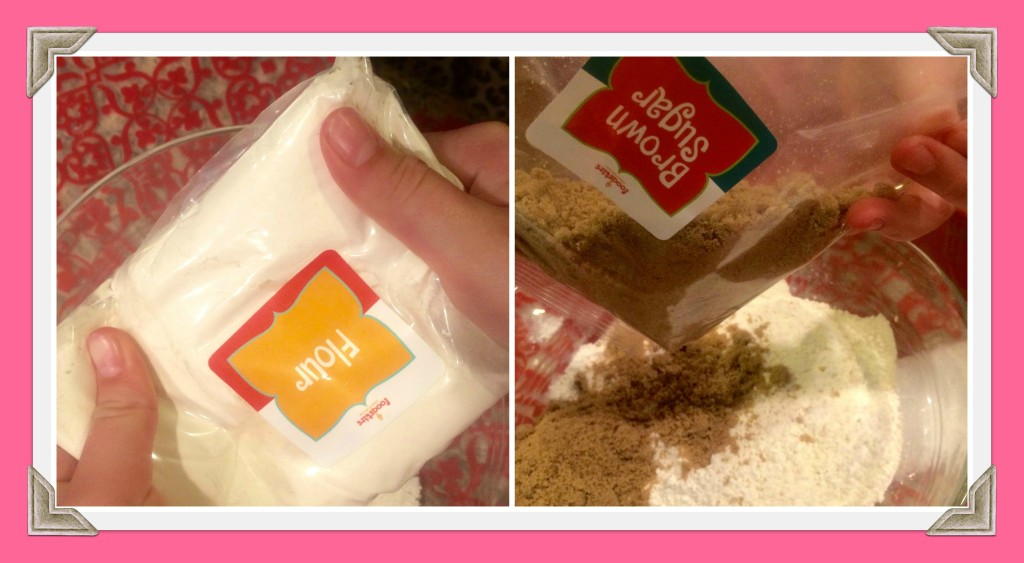
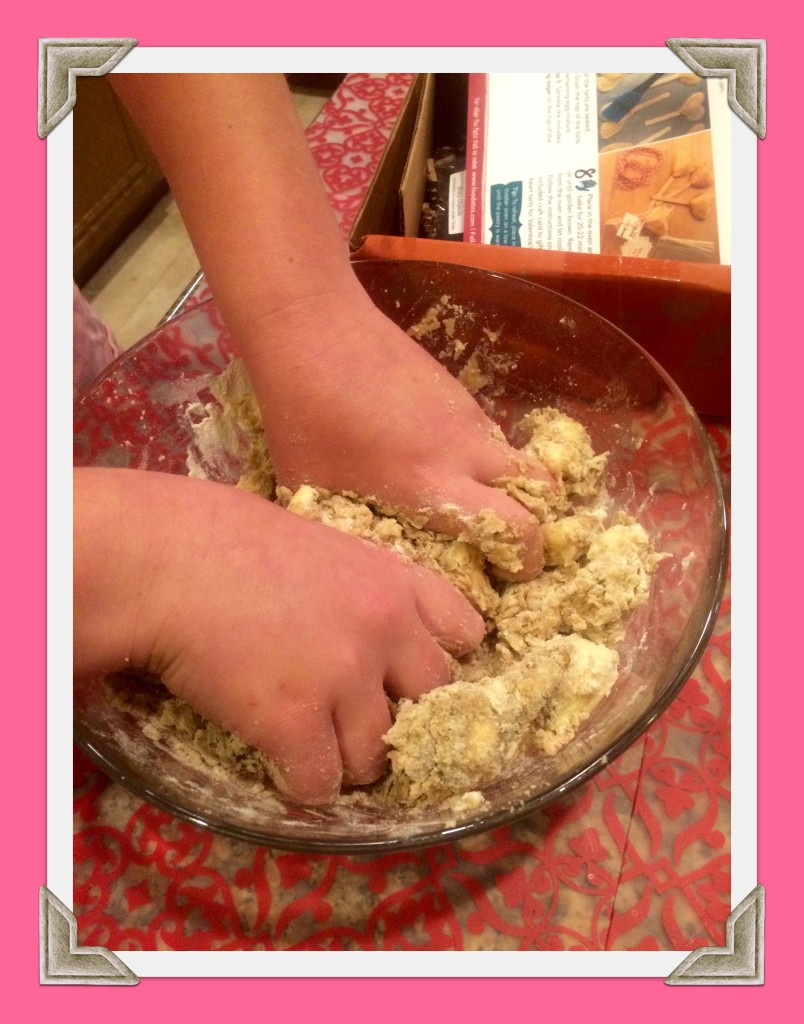
ingredients-collageEverything was really simple to mix together and she loved getting to use her hands in the bowl for mixing.

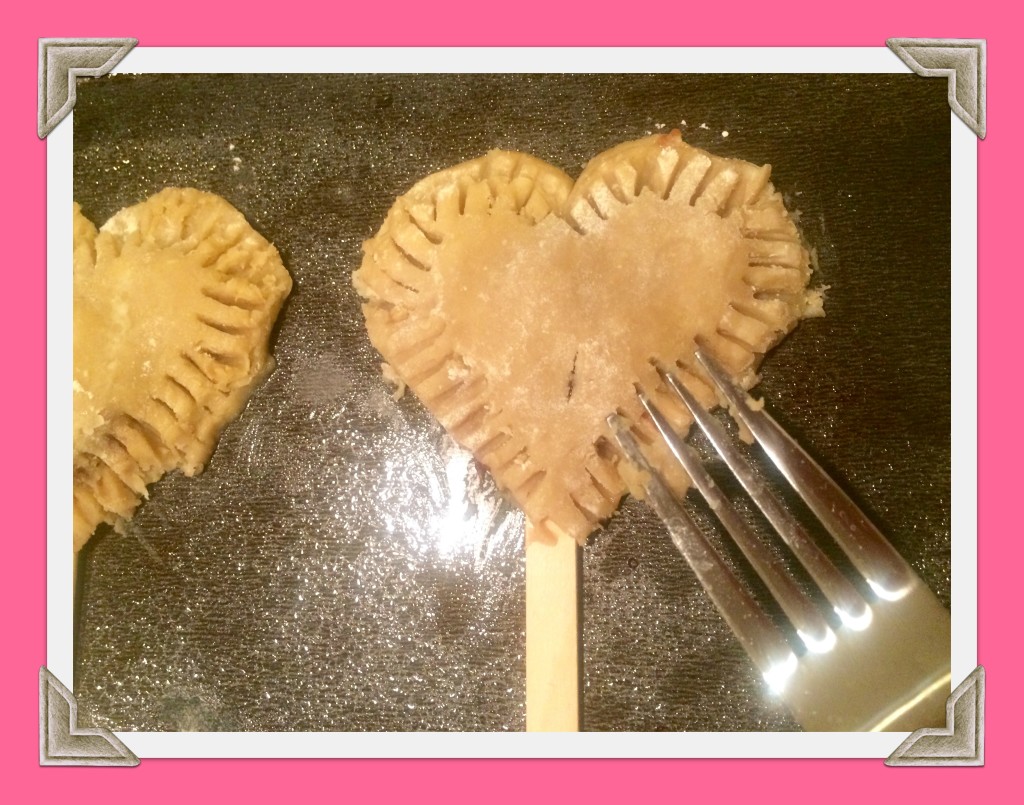
mixing-with-handsAfter taking a short break while the dough chilled in the refrigerator, Emily was excited to finally roll the dough out, cut the hearts, and start to fill them with her favorite strawberry jam! (next time we’re going to try filling them with a chocolate spread) I thought she did a great job scoring on the edges of the tarts with a fork.

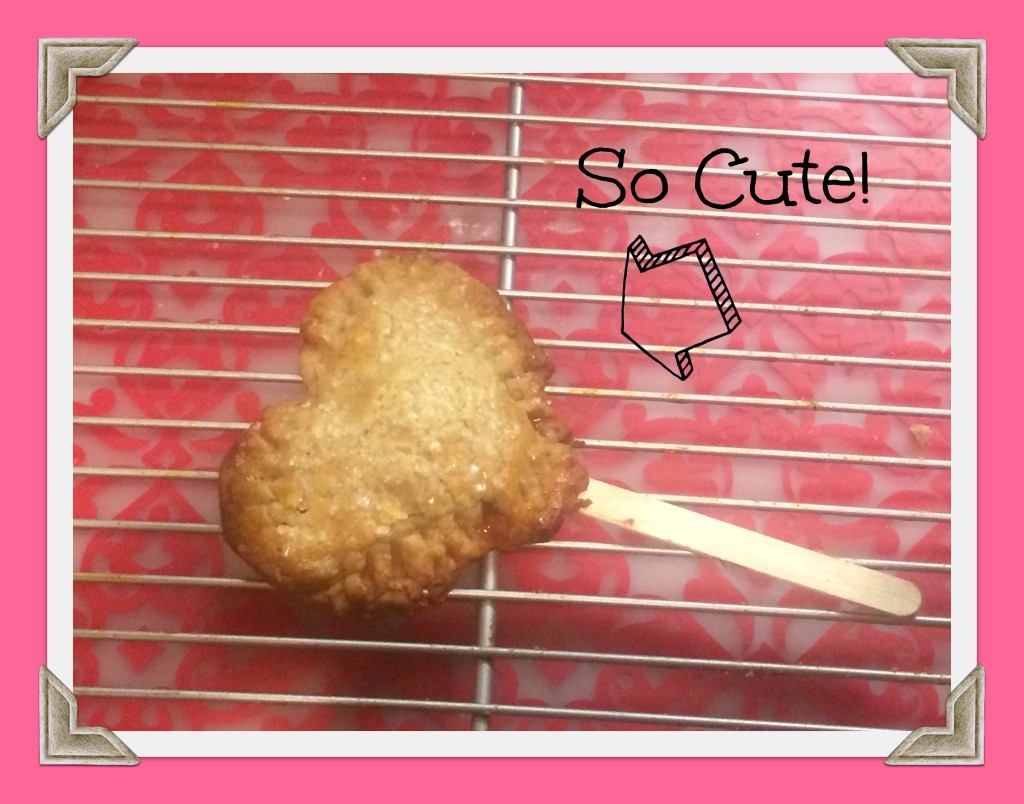
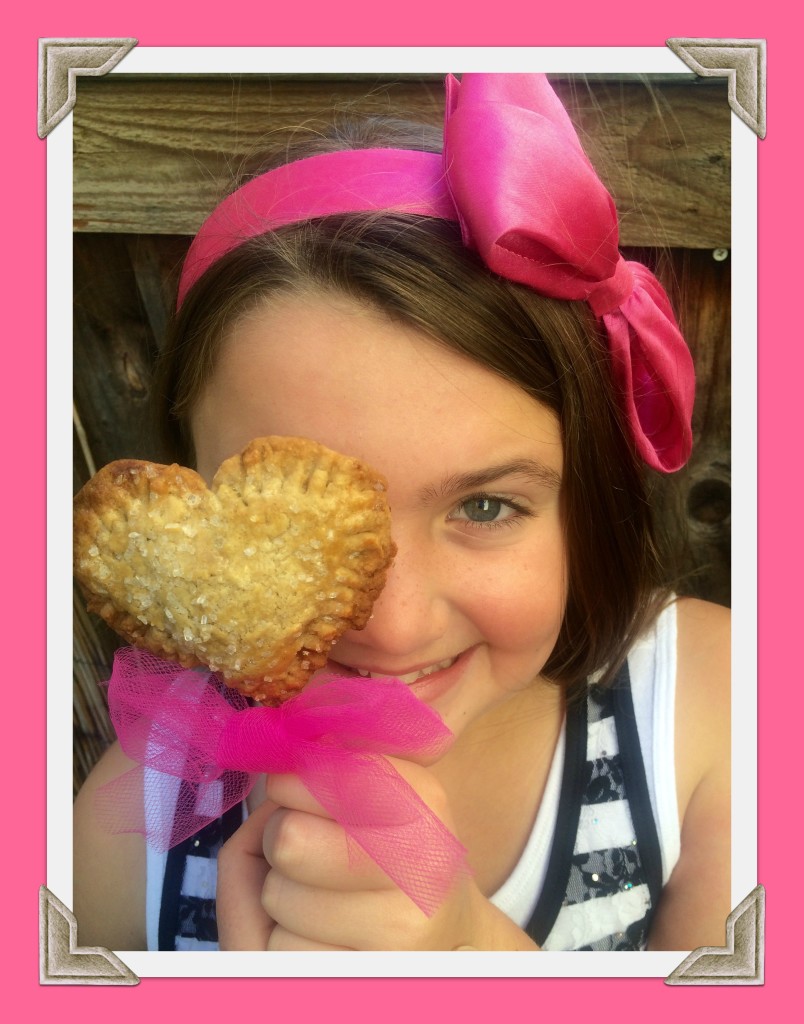
scoring-the-edgesShe was SO excited when I took the baking pan out of the oven and her Valentine Heart Tarts were done! How cute did these turn out?

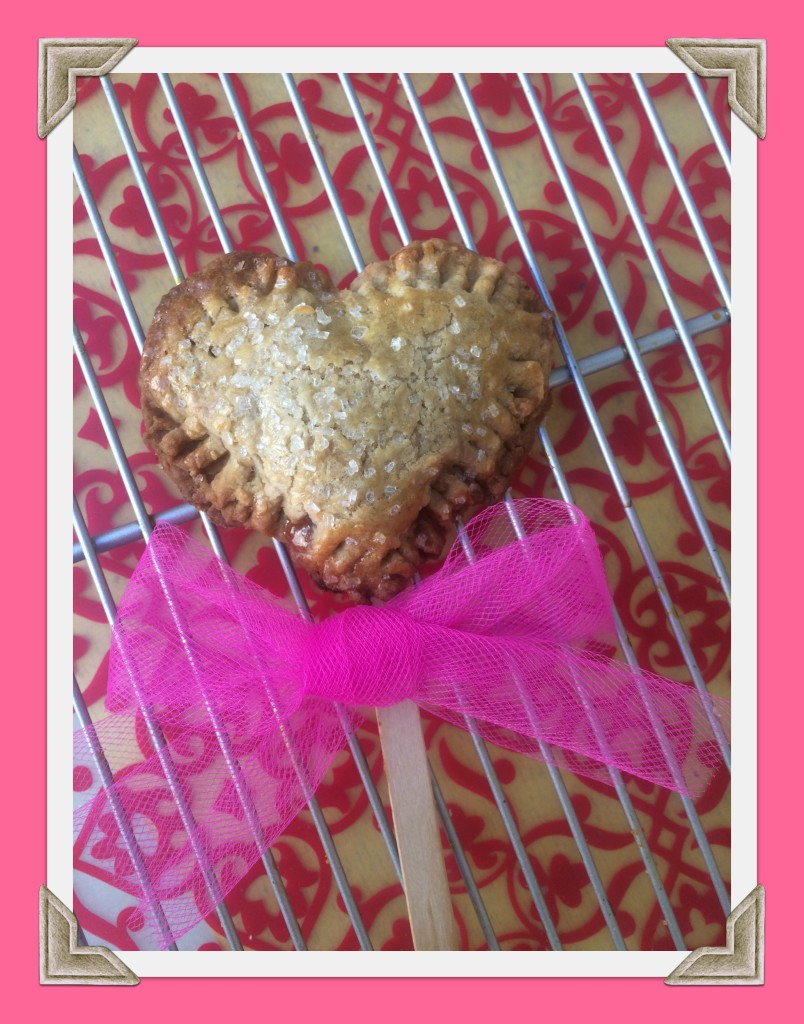
so-cute!Our kit included goodie bags with baker’s twine, along with Valentine gift tags to package up each one for a friend. We also added hot pink tulle to one of the tarts for it’s photo debut! What do you think?

bow-on-the-stickWe had so much fun with our Valentine’s Heart Tart Kit from Foodstirs and can’t wait to make a batch of  turkey and cheese tarts next! Each kit costs only $29.99 and includes FREE shipping. You can order kit and receive a $5 off with the discount code: HEARTS! What a perfect way to help your child(ren) cook up something special in time for Valentine’s Day!

heart-eyeVisit Foodstirs on Facebook, Twitter, and Instagram!

DIY Holiday Thank You Cards Using Behr Paint Chips!

With the holiday season coming to a close, I can look back and smile, just thinking about some of the new Christmas memories our family made together this year. As we were putting away the ornaments and our Christmas tree, I looked at the huge pile of opened gifts near the fireplace and it realized that someone’s got  quite a few thank you notes to write now. I thought it would be fun for her thank you notes to have a homemade touch and to be handwritten because I think people appreciate those kinds of things.

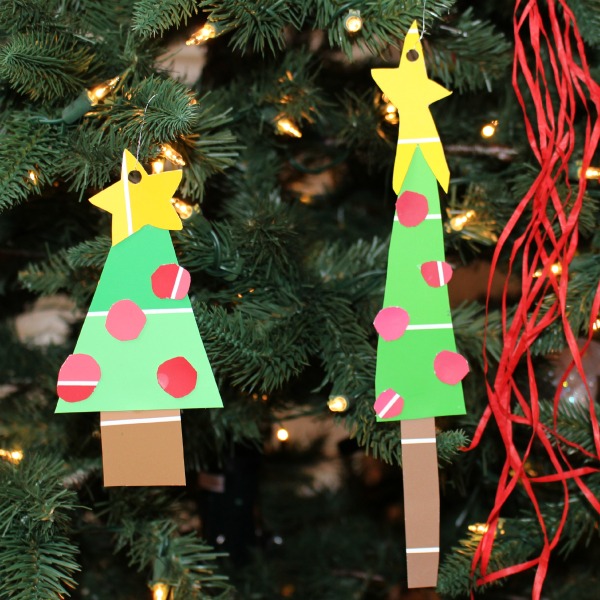
I was recently inspired by one of my favorite crafting Superwomen, Laura Kelly! She did a tutorial post showing how to make simple and adorable Christmas tree ornaments using paint chips.

Paint-Chip-Trees-With-LightsHow adorable are her trees? (photo credit: Laura Kelly)

I had been wanting to make them with Emi prior to Christmas, but it just didn’t happen. So, I decided to put my own twist on them and use them in this project. (Bloggers are sometimes really big copycats of other bloggers, which is actually a form of flattery)

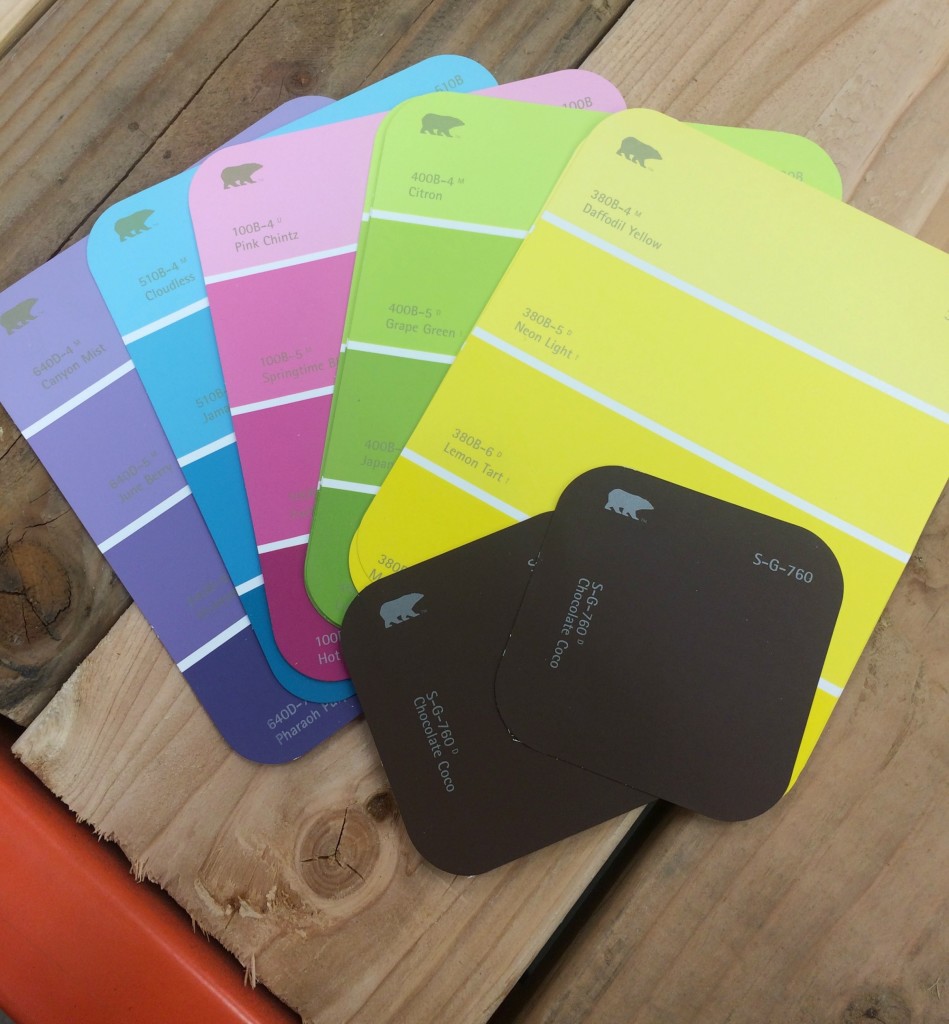
 Behr paint chipsWe shuffled off to pick up some Behr paint chips to use for our project. I love Behr paint. It’s what we used to paint the inside of Emi’s closet and also her room. Behr just has so many beautiful palettes to choose from. It’s probably a good idea to ask the people working in the store if it’s OK to take some paint chips for your project. They’ll most likely say “yes” and probably even ask you what you’re making with them.

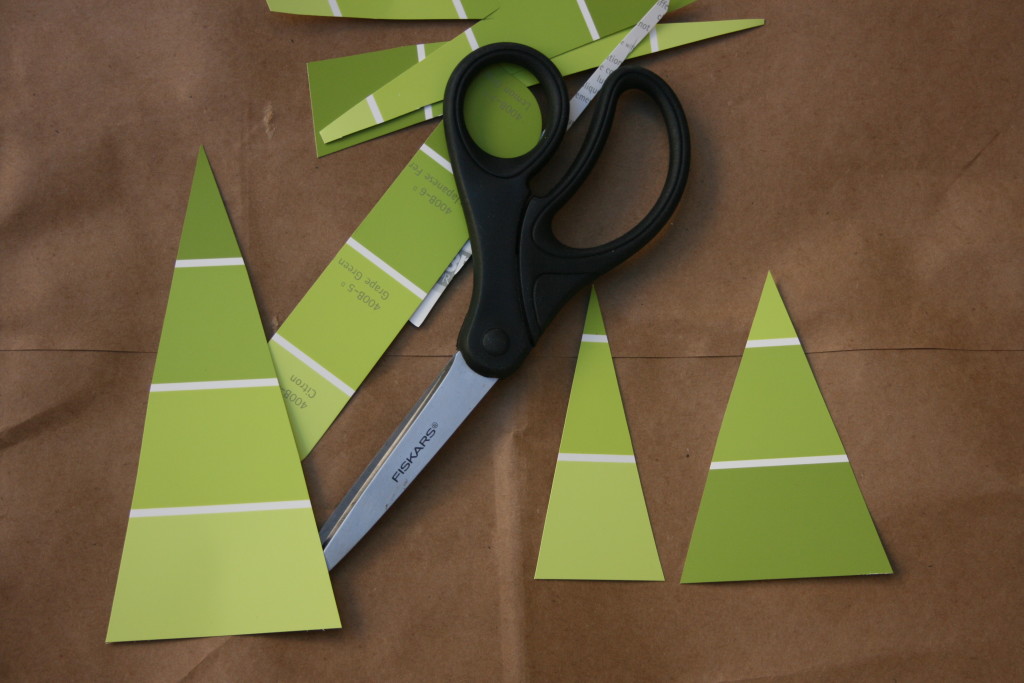
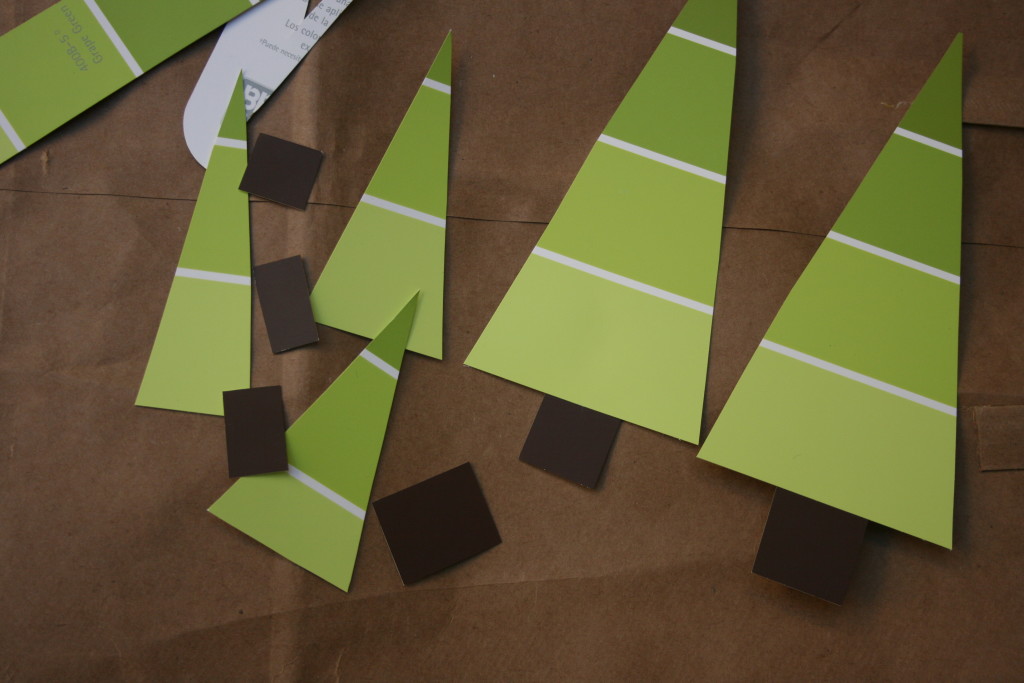
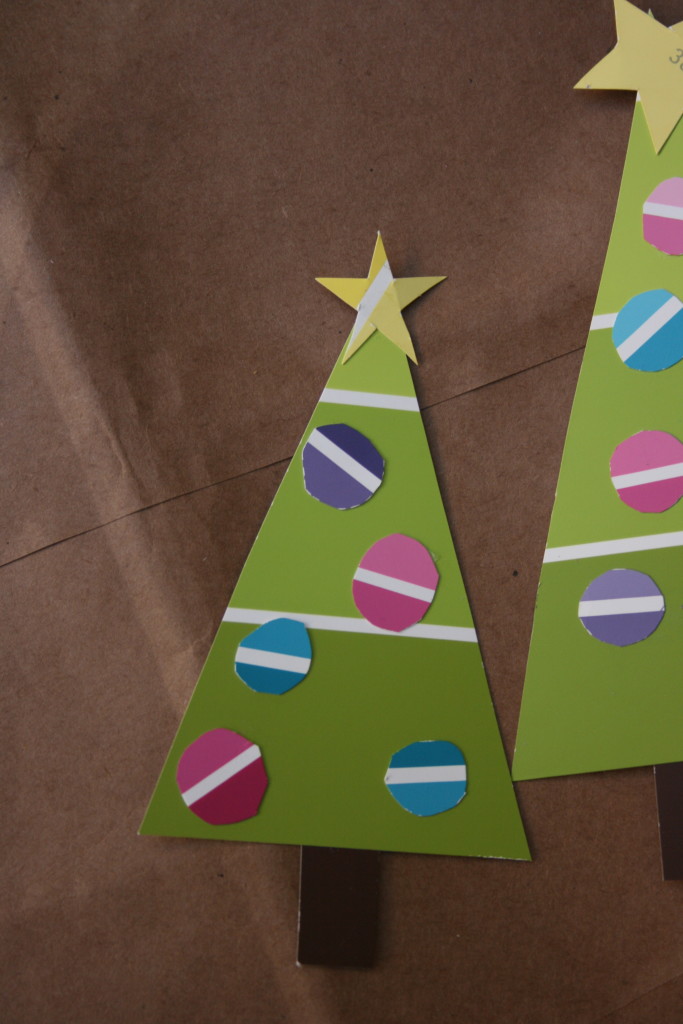
paint-chip-treesEmi and I spent the entire day, crafting in our pajamas. First we made the trees, some big and some small. It’s much easier to avoid mistakes if you draw the trees on the back of the paint chip and then cut. Our tree trunks were very simple and we only used a single hue of brown.

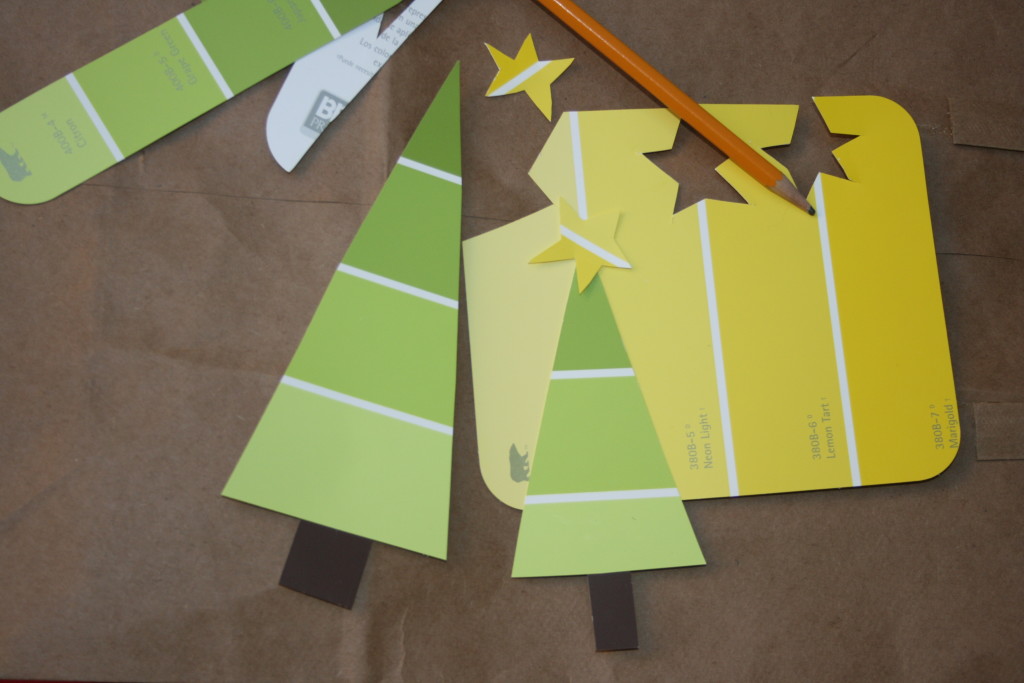
Behr-paint-chip-tree-trunksNext, it was time to make the stars for the tops of the trees. This part can be frustrating for some children (I know this from my experiences in my own first grade classroom) but for some reason, Emi loved making the stars and even “fixed” some of mine!

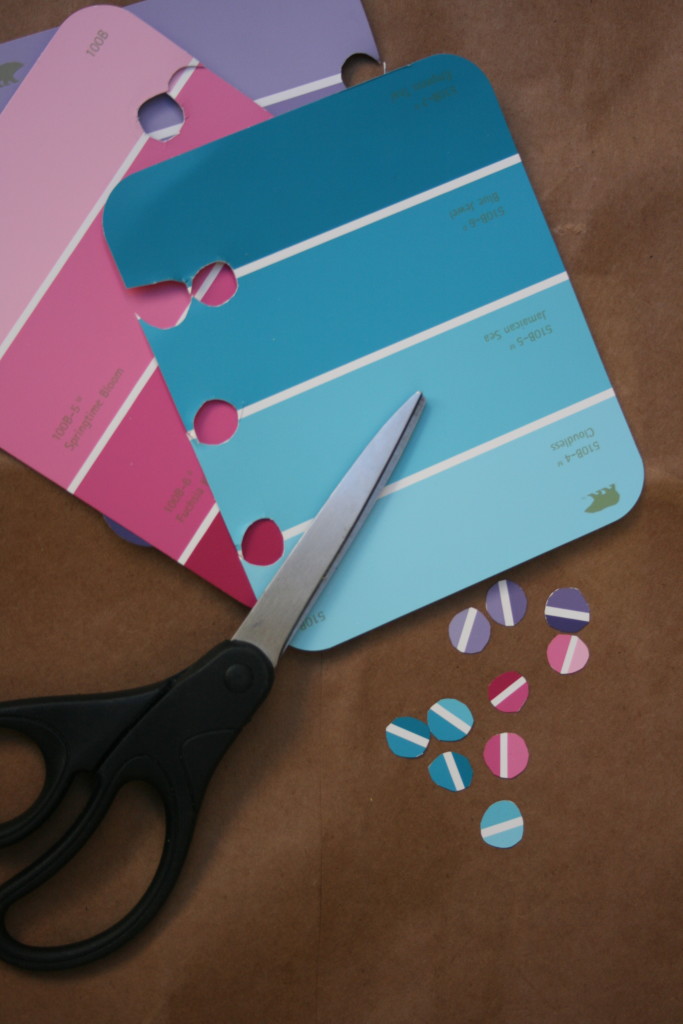
Behr-paint-chip-starsFinally, we made the ornaments. It was fun to use non-traditional colors for our ornaments, which is what our own Christmas tree has on it. You could also use a hole punch to make the ornaments into perfect circles and all the same size, but I think that hand-cut ornaments are cute because they are each uniquely shaped.

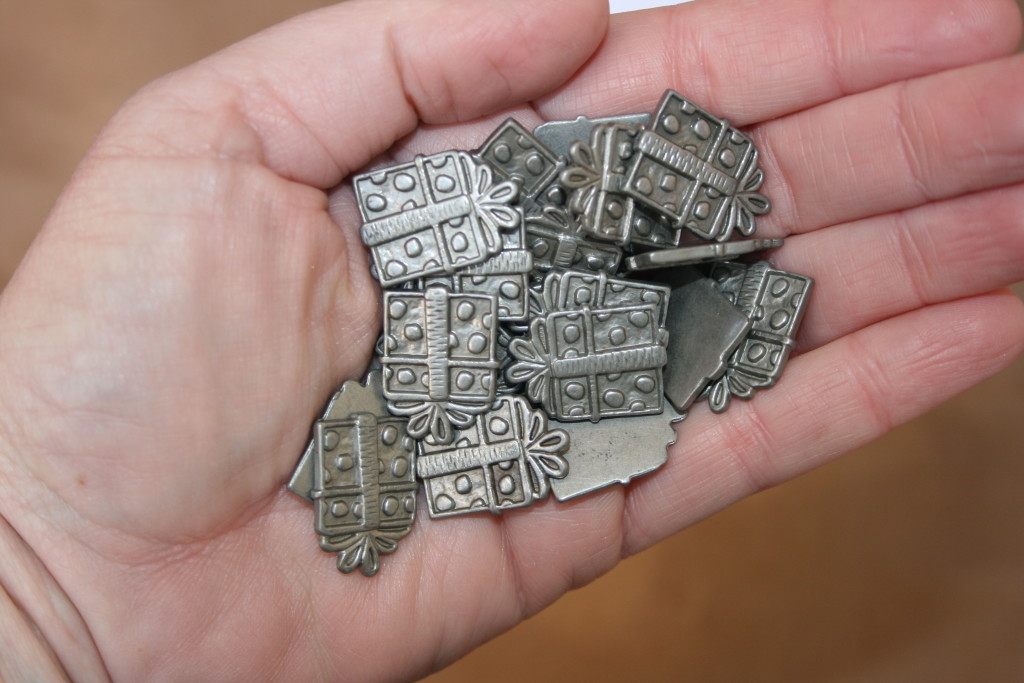
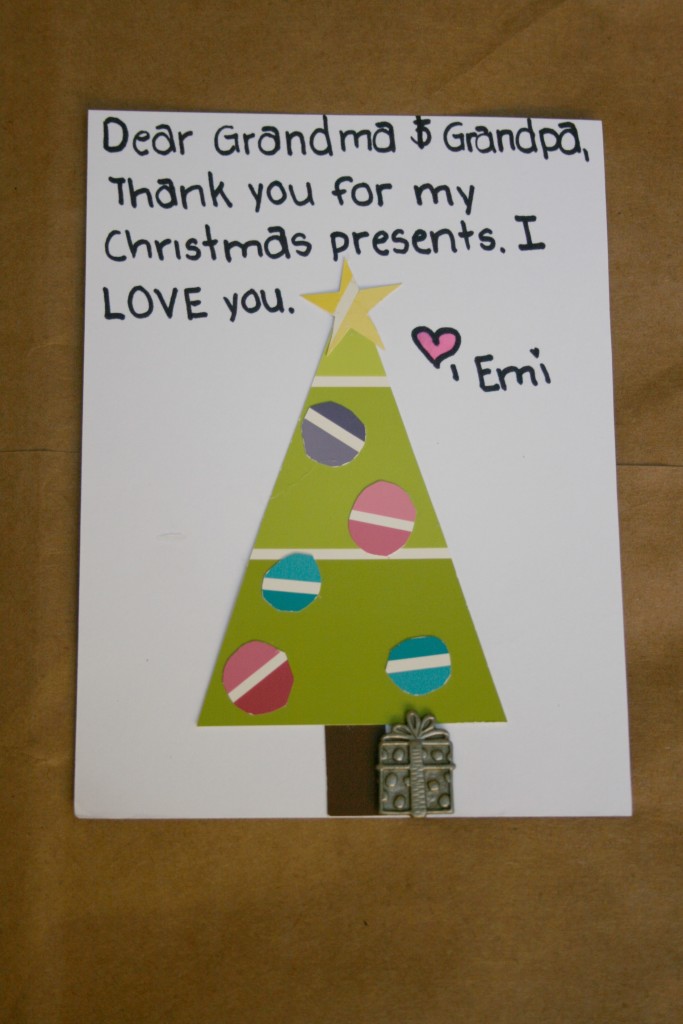
Behr-paint-chip-ornaments Behr-paint-chip-Christmas-treesAfter the trees were finished, we glued each one to the front of a thank you card and used a hot glue gun to stick a little metal gift embellishment around the bottom of the tree to finish each one off.

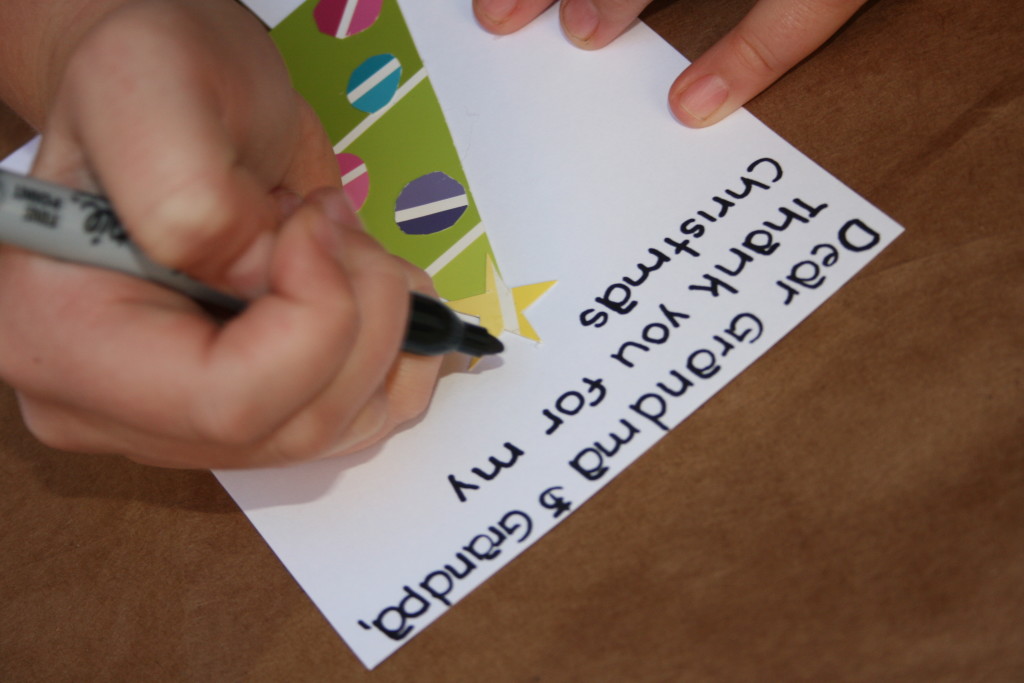
metal-gift-embellishmentsEmily then wrote her thank yous inside and we addressed them and mailed them off to lucky recipients!

thank-you-note

Behr-paint-chip-Christmas-tree-thank-you-cardsI love receiving handmade cards and handwritten notes in the mail. It’s just something about that personal touch. I recipients will treasure these little works of Emi’s art! Do YOU have your kids send thank you notes for gifts?

Learn more about Behr products here. Connect with Behr Paint Facebook, Twitter & Instagram!

This is not a sponsored post.